
If you joined in the fun of the 2021 Old School BOM you now have twelve 12.5″ sampler blocks made. What should you do with them? Well – you could just sew them up and make a small lap quilt (36″ x 48″) or you could add a bit to them and set them in a fun fashion. I’m going to share with you how I decided to set my blocks and then after that I’ll share some links to some other block setting options. 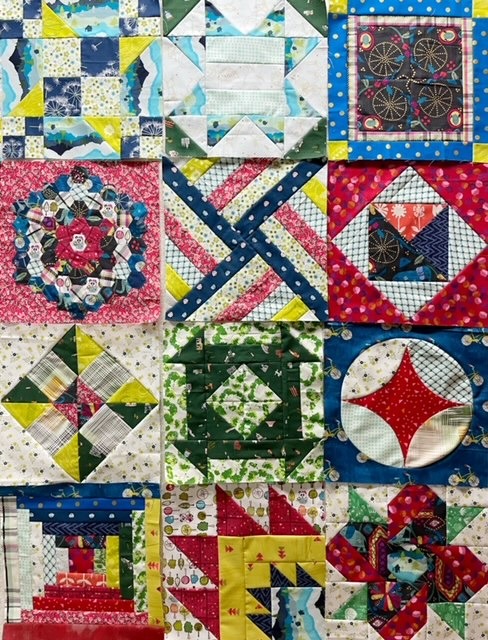
I’ll start by walking you through my process. I did a few live videos in the Facebook Old School BOM Group on this as well if you want to check it out. Spoiler Alert – I am in my PJs and decided to do it last minute so they are a bit rough and real.
- Video 1 – Moving the blocks around in a more pleasing manner
- Video 2 – Creating the corners
- Video 3 – Final layout with the sashing
First – I put my twelve blocks up on the design wall in the order we made them for the 2021 Old School Block of the Month. While it’s nice to see how they progressed this was not the most appealing way for me to put them together in the final quilt. You can watch in Video 1 how I moved blocks around on my design wall, stepped back, looked at it and decided what needed more moving. Once I decided they were good it was time to add sashing borders to each block. YES I sashed each block – not just between blocks.
The sashing required per block is (2) 12.5″ x 2.25″ rectangles and (2) 16″ x 2.25″ rectangles.
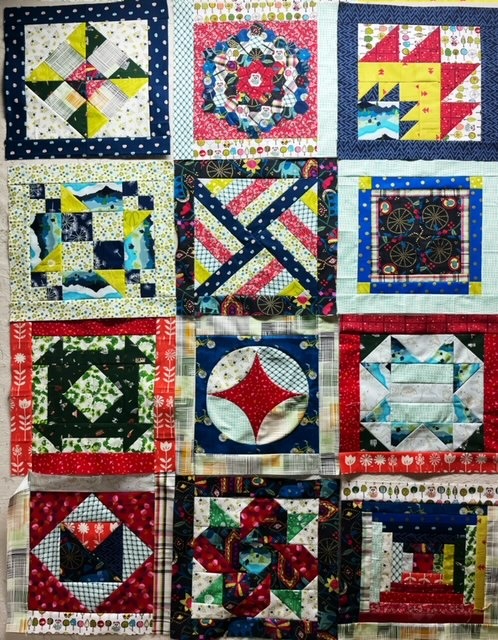
I chose to sash with the remaining fabric I had pulled to make my blocks. I did try to alternate light and dark sashing to create a checkerboard effect.
- If you would prefer to use all one fabric you will need 1.25 yards of fabric.
- If you would prefer to use two different fabrics and alternate between blocks you will need 3/4 of a yard of fabric for each.
Now for the fun part – let’s add some wonky corners!
For each block you will need to cut four 4″ x 7″ rectangles (48 total). These rectangles don’t have to be exactly 4″ x 7″ but I wouldn’t go much smaller than that. you’ll see why soon!
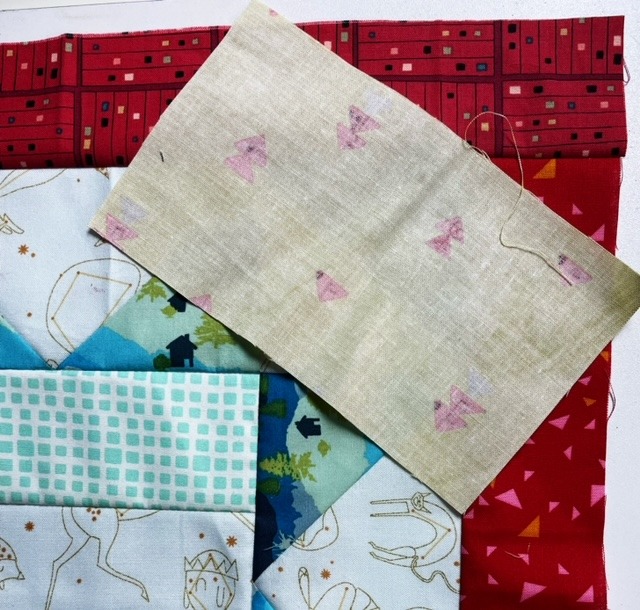
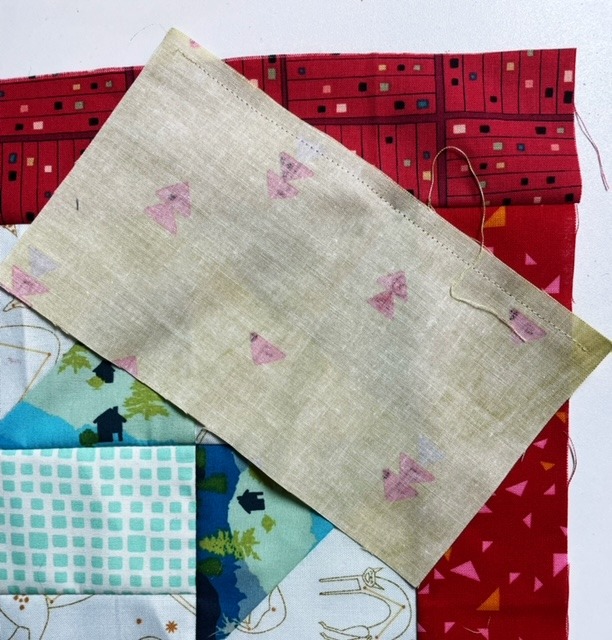
Take your first rectangle and lay it right sides together onto a sash block. 
When you decide the placement of your rectangle make sure when you press it over it covers the corner of the block fully as shown in the image above.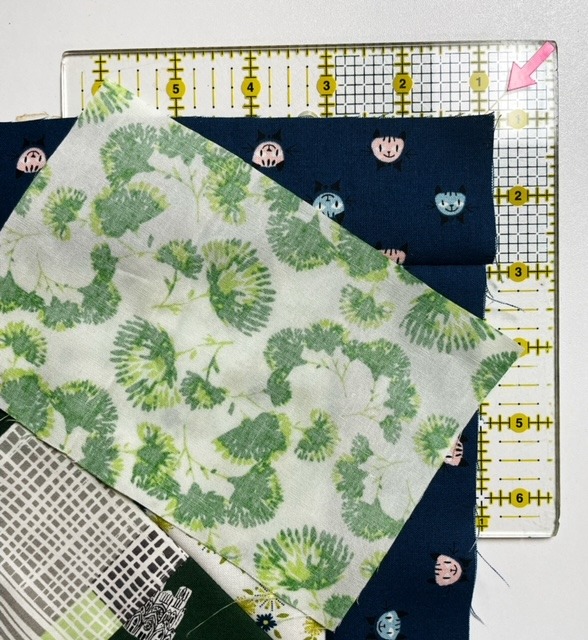
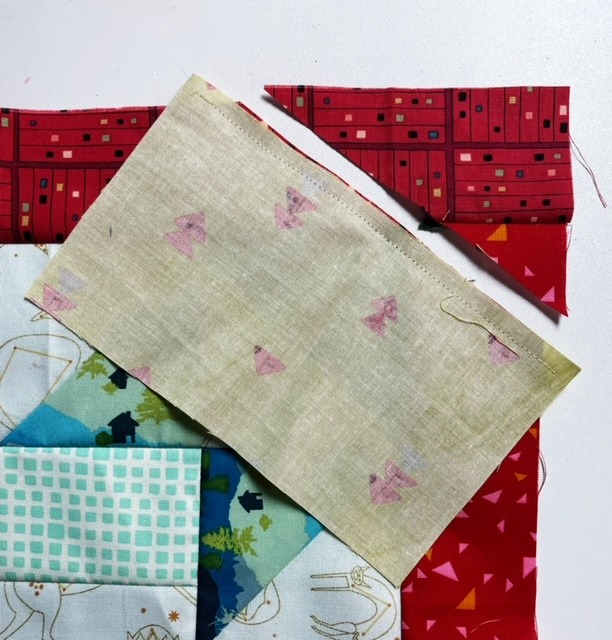
Also make sure the horizontal edge is farther over than the vertical edge. You can see in the image above that the horizontal edge is over about 4″ and the vertical edge is down just 3″. Make sure to repeat this on each corner always orientating it in the same way.
Stitch a quarter inch seam on the top rectangle.
Trim the triangle off as shown above.
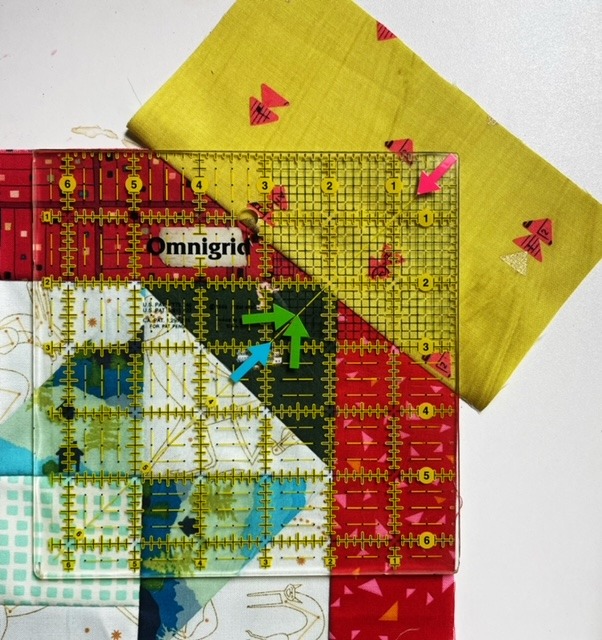
Press towards the rectangle and square the corner up.
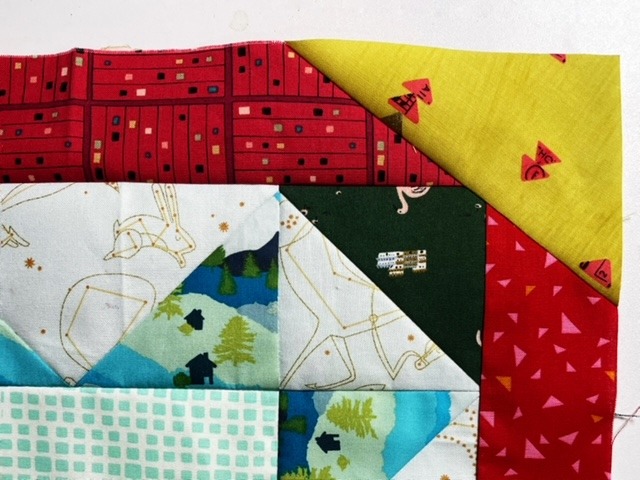
Repeat this method on all four corners.
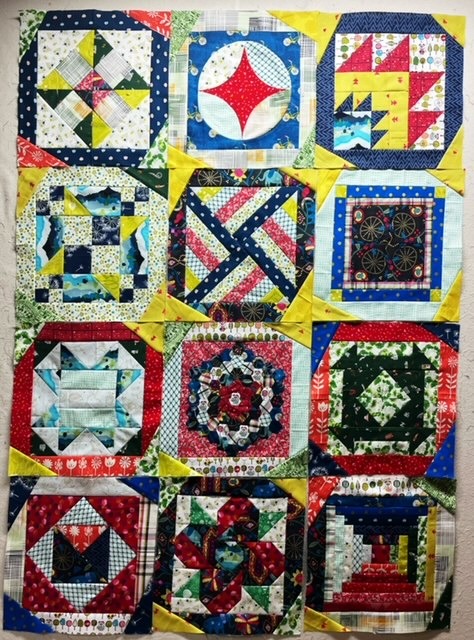
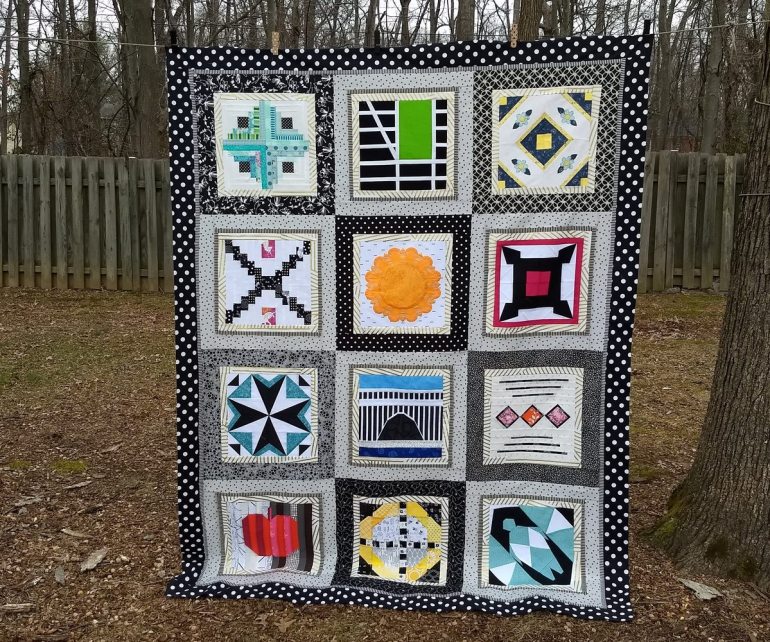
When you put your blocks on the design wall you will see that these added corners create a “star” effect. Sew them together and you’ll have your finished quilt top!

If you follow this method for your final quilt your top will measure 47″ x 66″.
Not feeling this option? No worries! There are plenty of other layouts out there! I have three great options from other Old School BOM Designers to send you too!
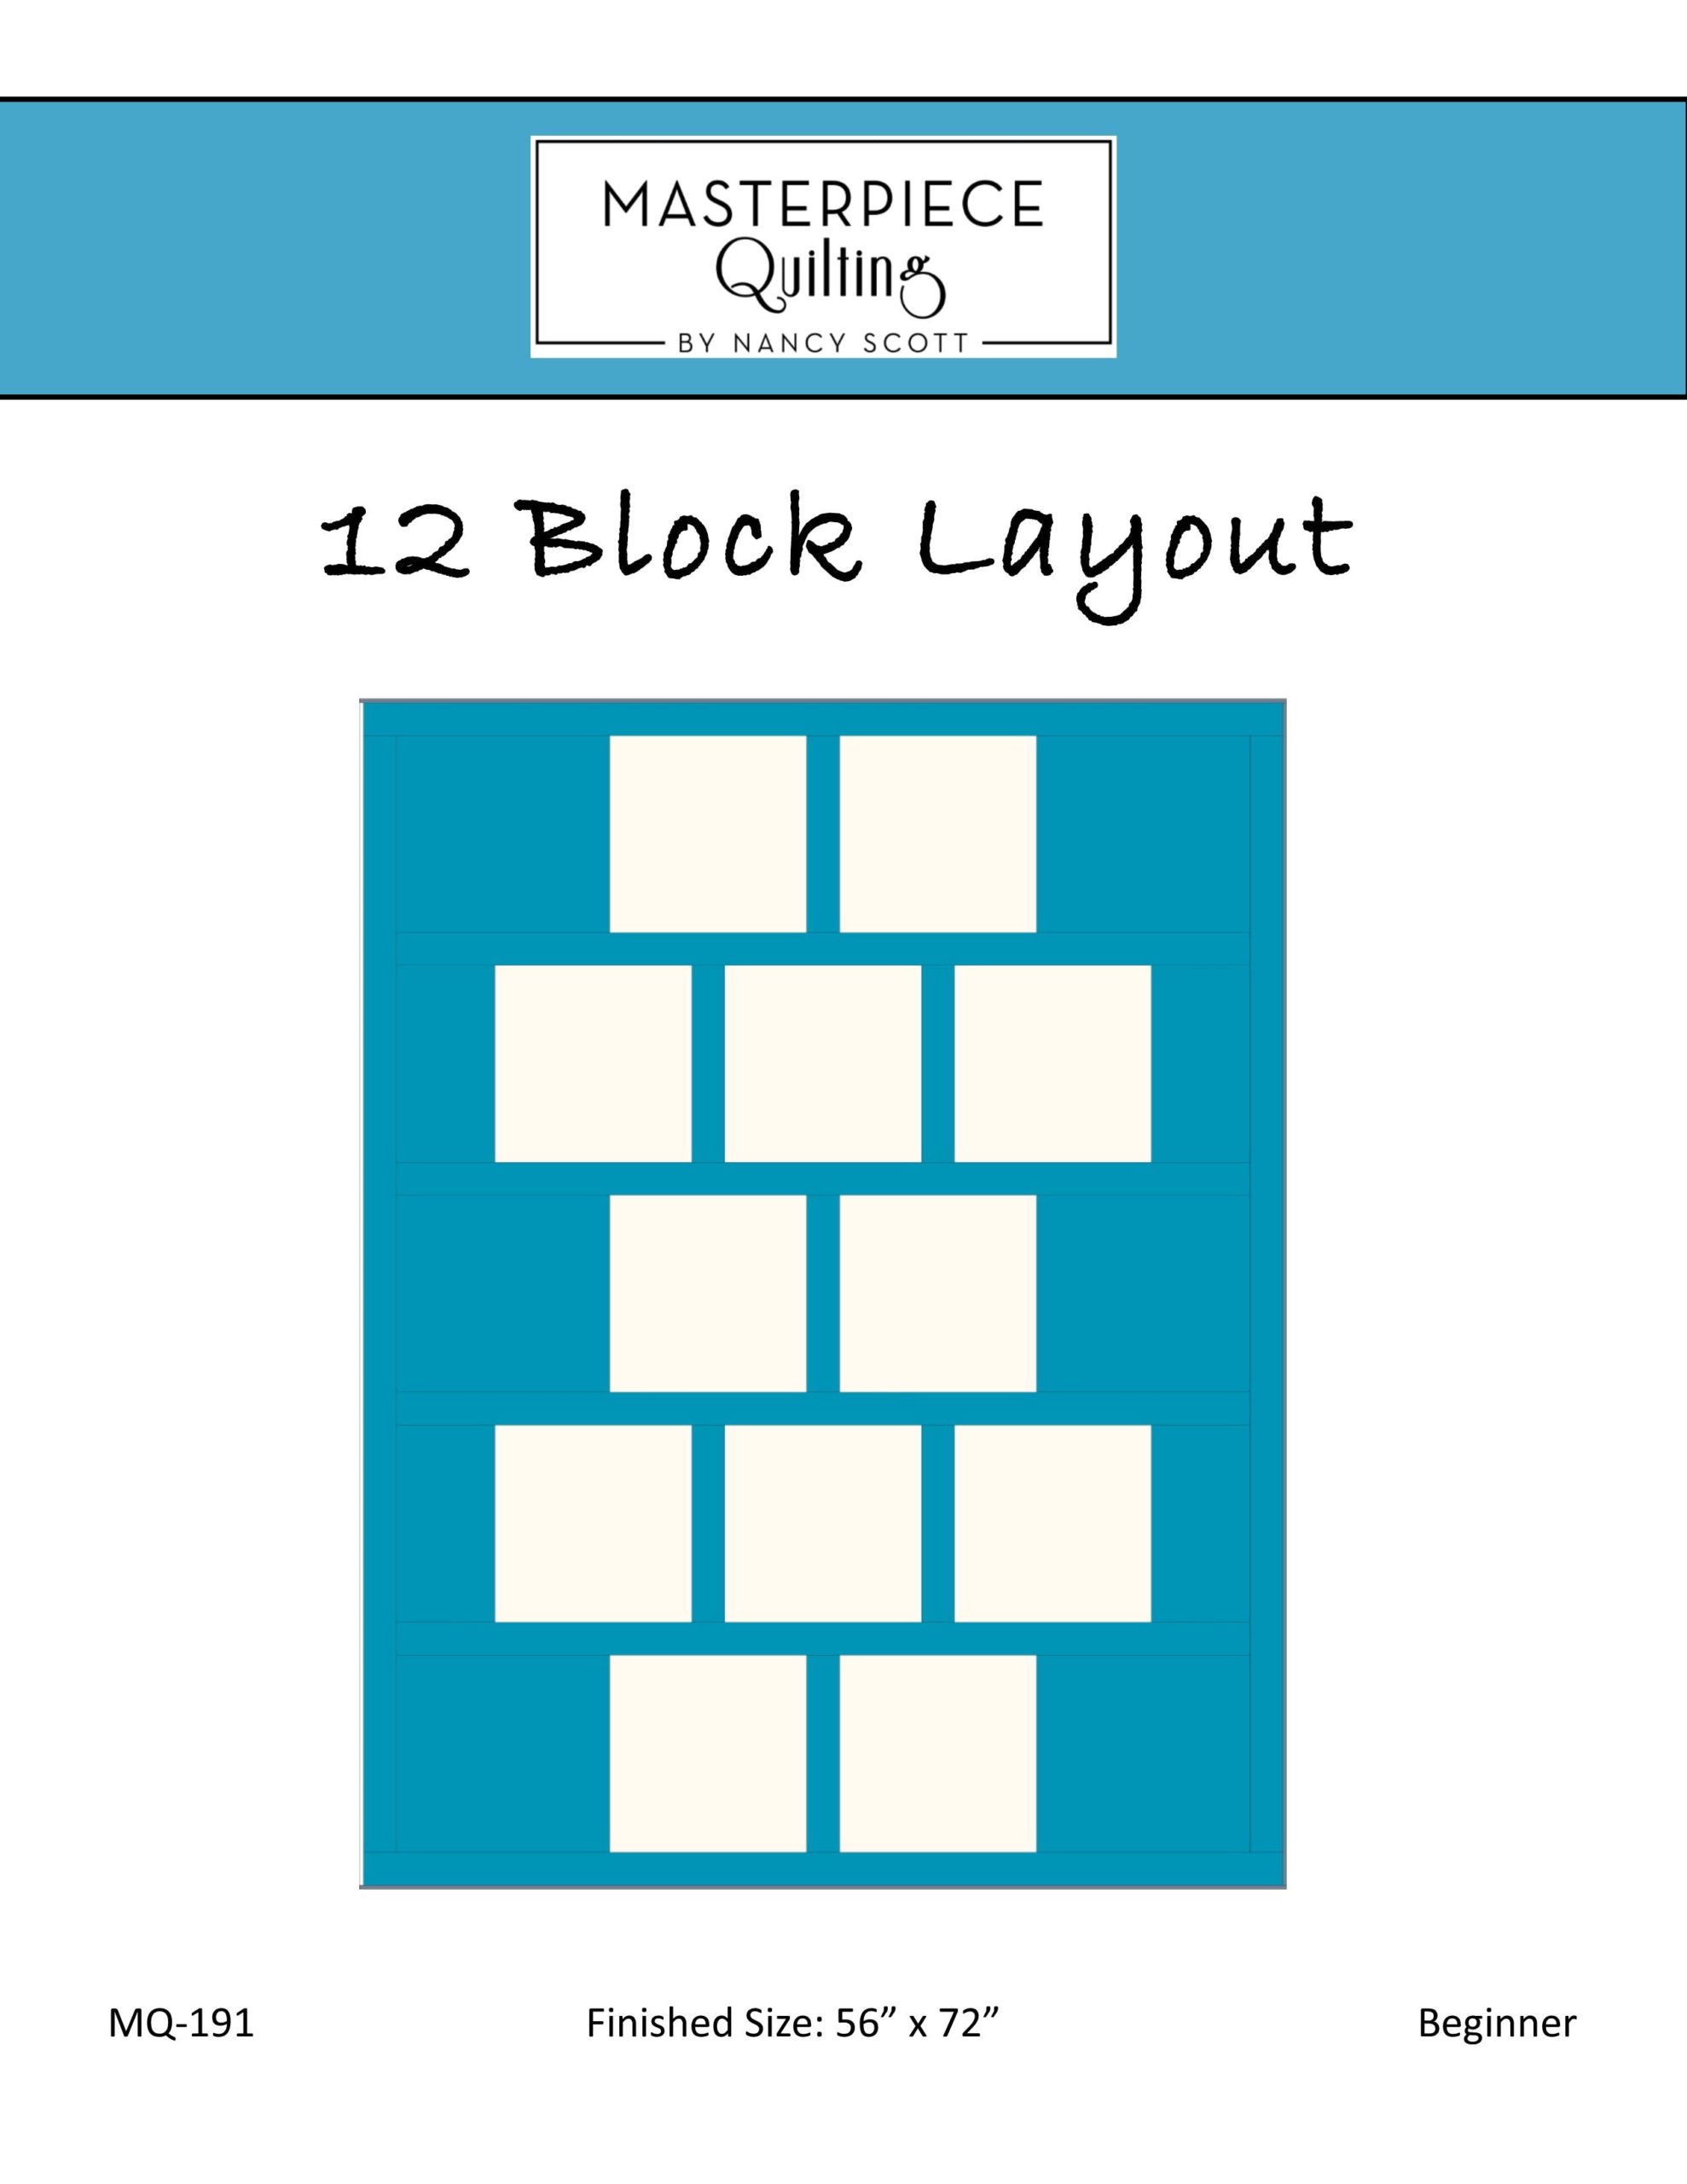
Nancy Scott of Master Piece Quilting has this one here. Notice hers is a 13 block layout so you can incorporate both blocks you made in May.
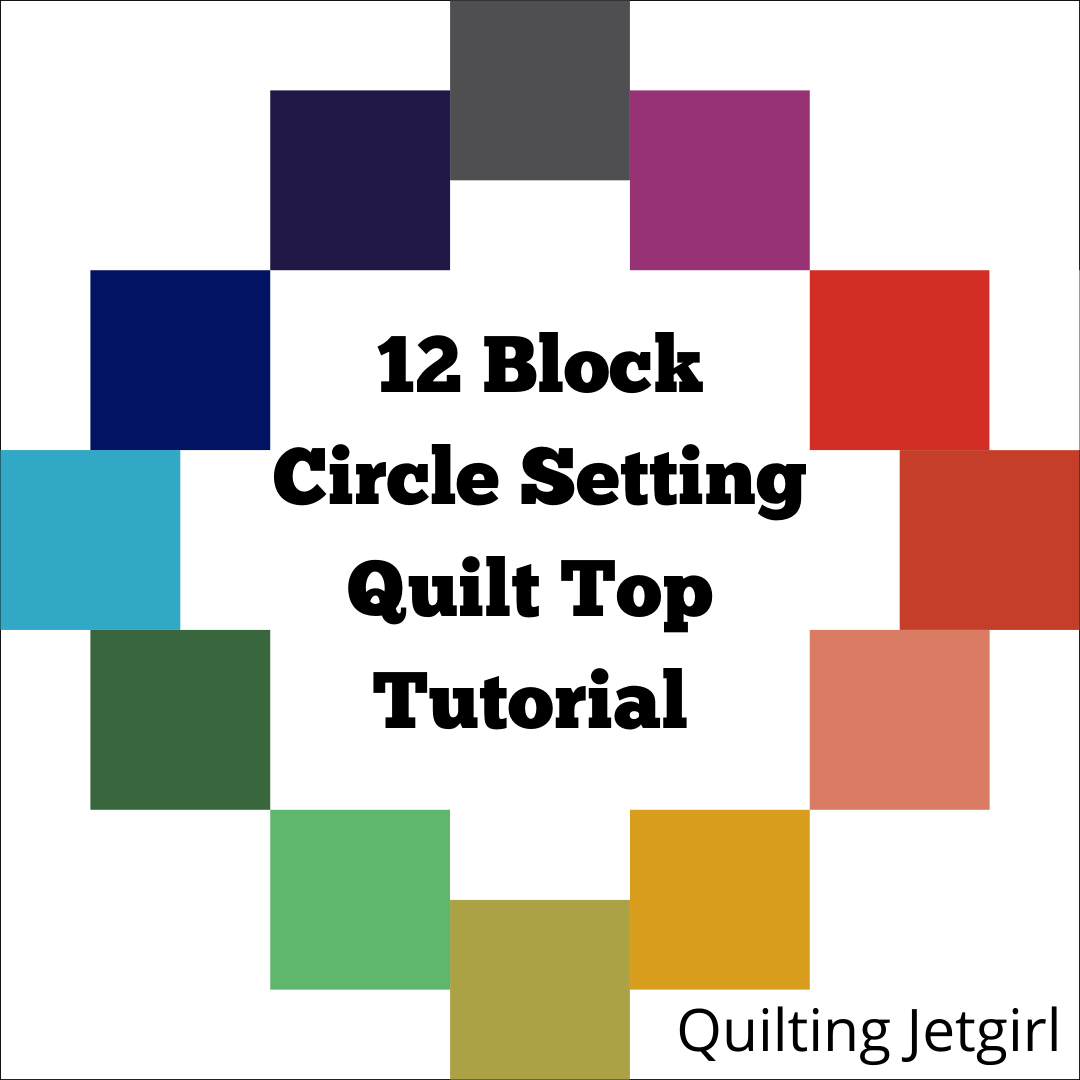
Yvonee @Quilting Jetgirl has a super fun 12 Block Circle Setting you can find HERE.
Now – Pat Sloan has help run the Aurifil Block of the month for years so she has quite a few layout options available for your blocks.
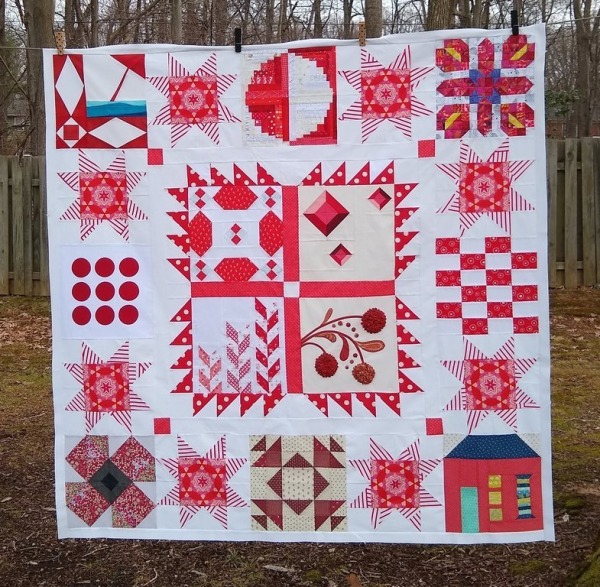
This setting from 2019 involves making a few extra star blocks but I love how it helps bring it all together!
This quilt setting features a double frame!
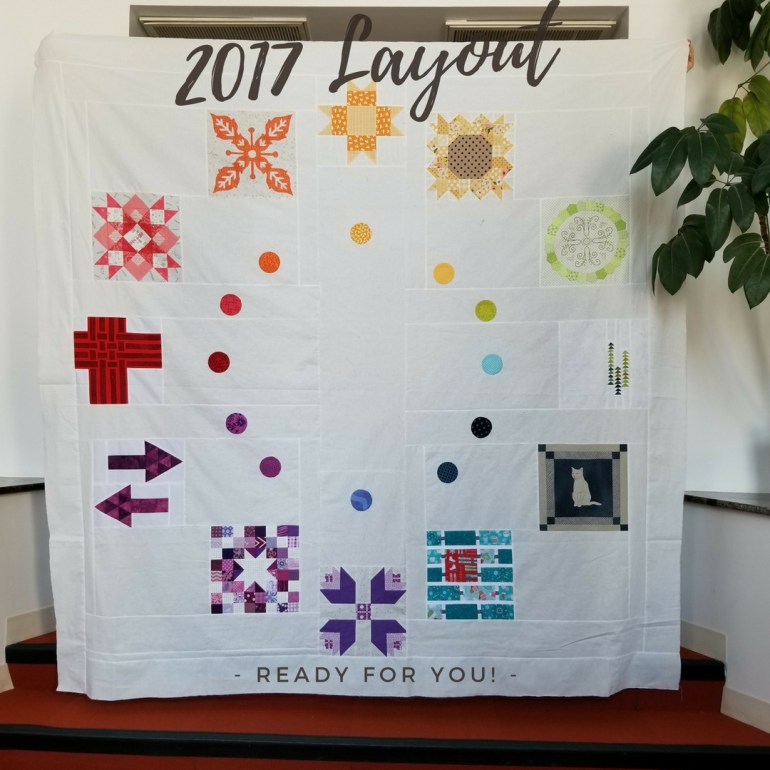
Perhaps this fabulous color wheel setting is the right one for your blocks!?

This is the 2016 setting – some fun sashing’s and corner stones!
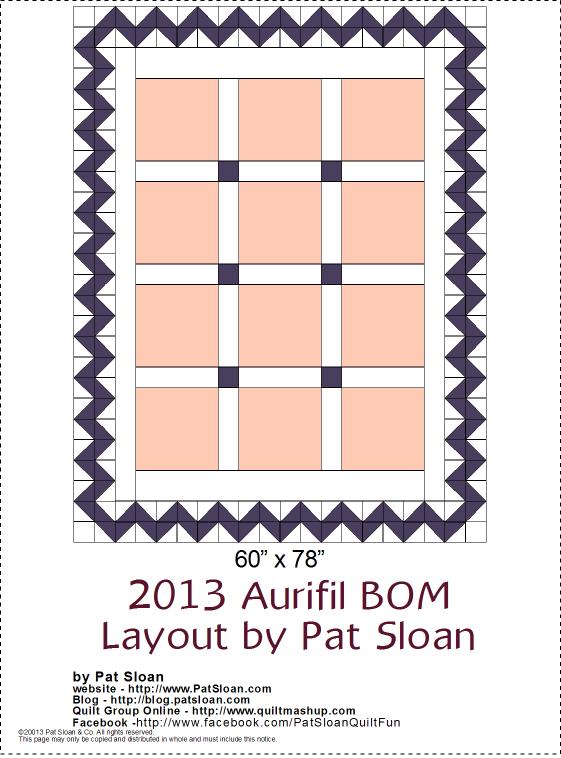
And here is the 2013 setting with a great border to help tie it all together.
I would love to see your final quilts – quilted or not! Feel free to link up below so we can all see them!
Thanks for sharing all those layouts. Sometimes I forget about all of the options! Your quilt look great.