
Things are getting real on day 6 of 7 of the Project QUILTING Mystery Quilt Along! If you don’t know what we’re making yet – today it will become obvious.
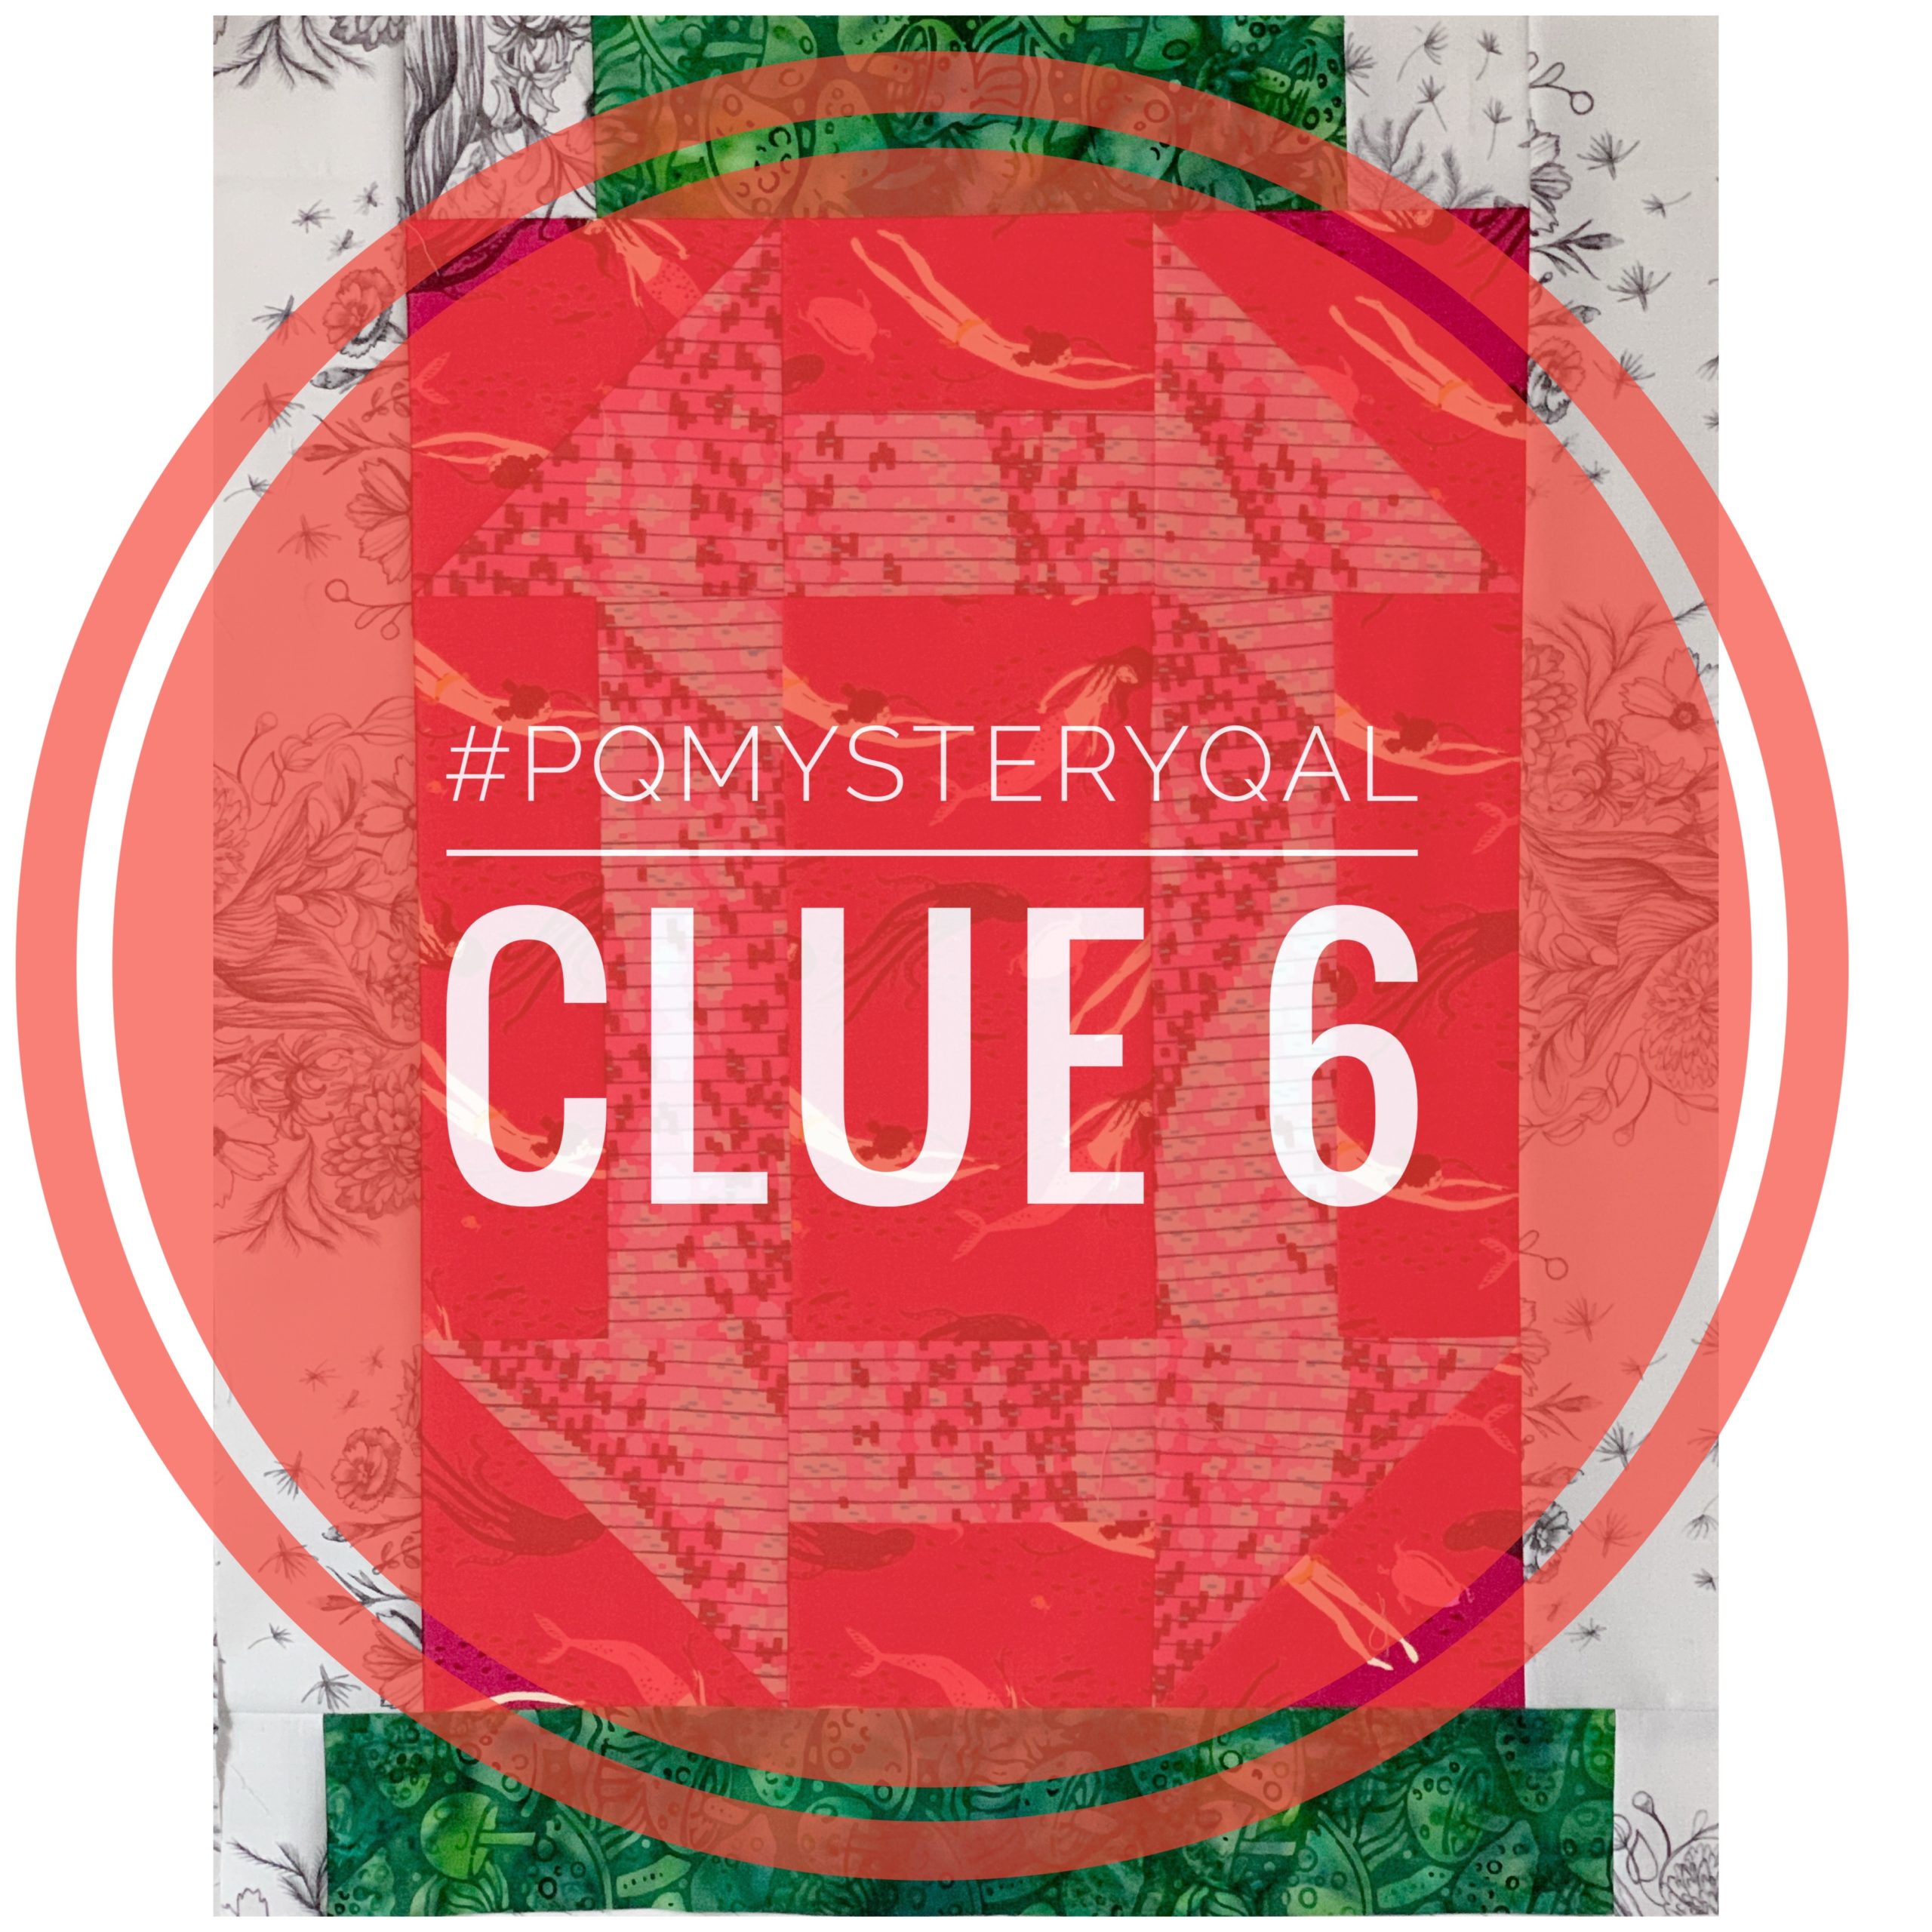
Each day for seven days I am posting a new clue at noon CST. By the end of the week you’ll have all the clues needed to create a cute little mini quilt that will inspire you through the 11th season of Project QUILTING.
I’m going to switch things up a bit and have you start by cutting out all the fabric you need for the background of this quilt. Please read the ENTIRE instructions before you start cutting.
Background Fabric –
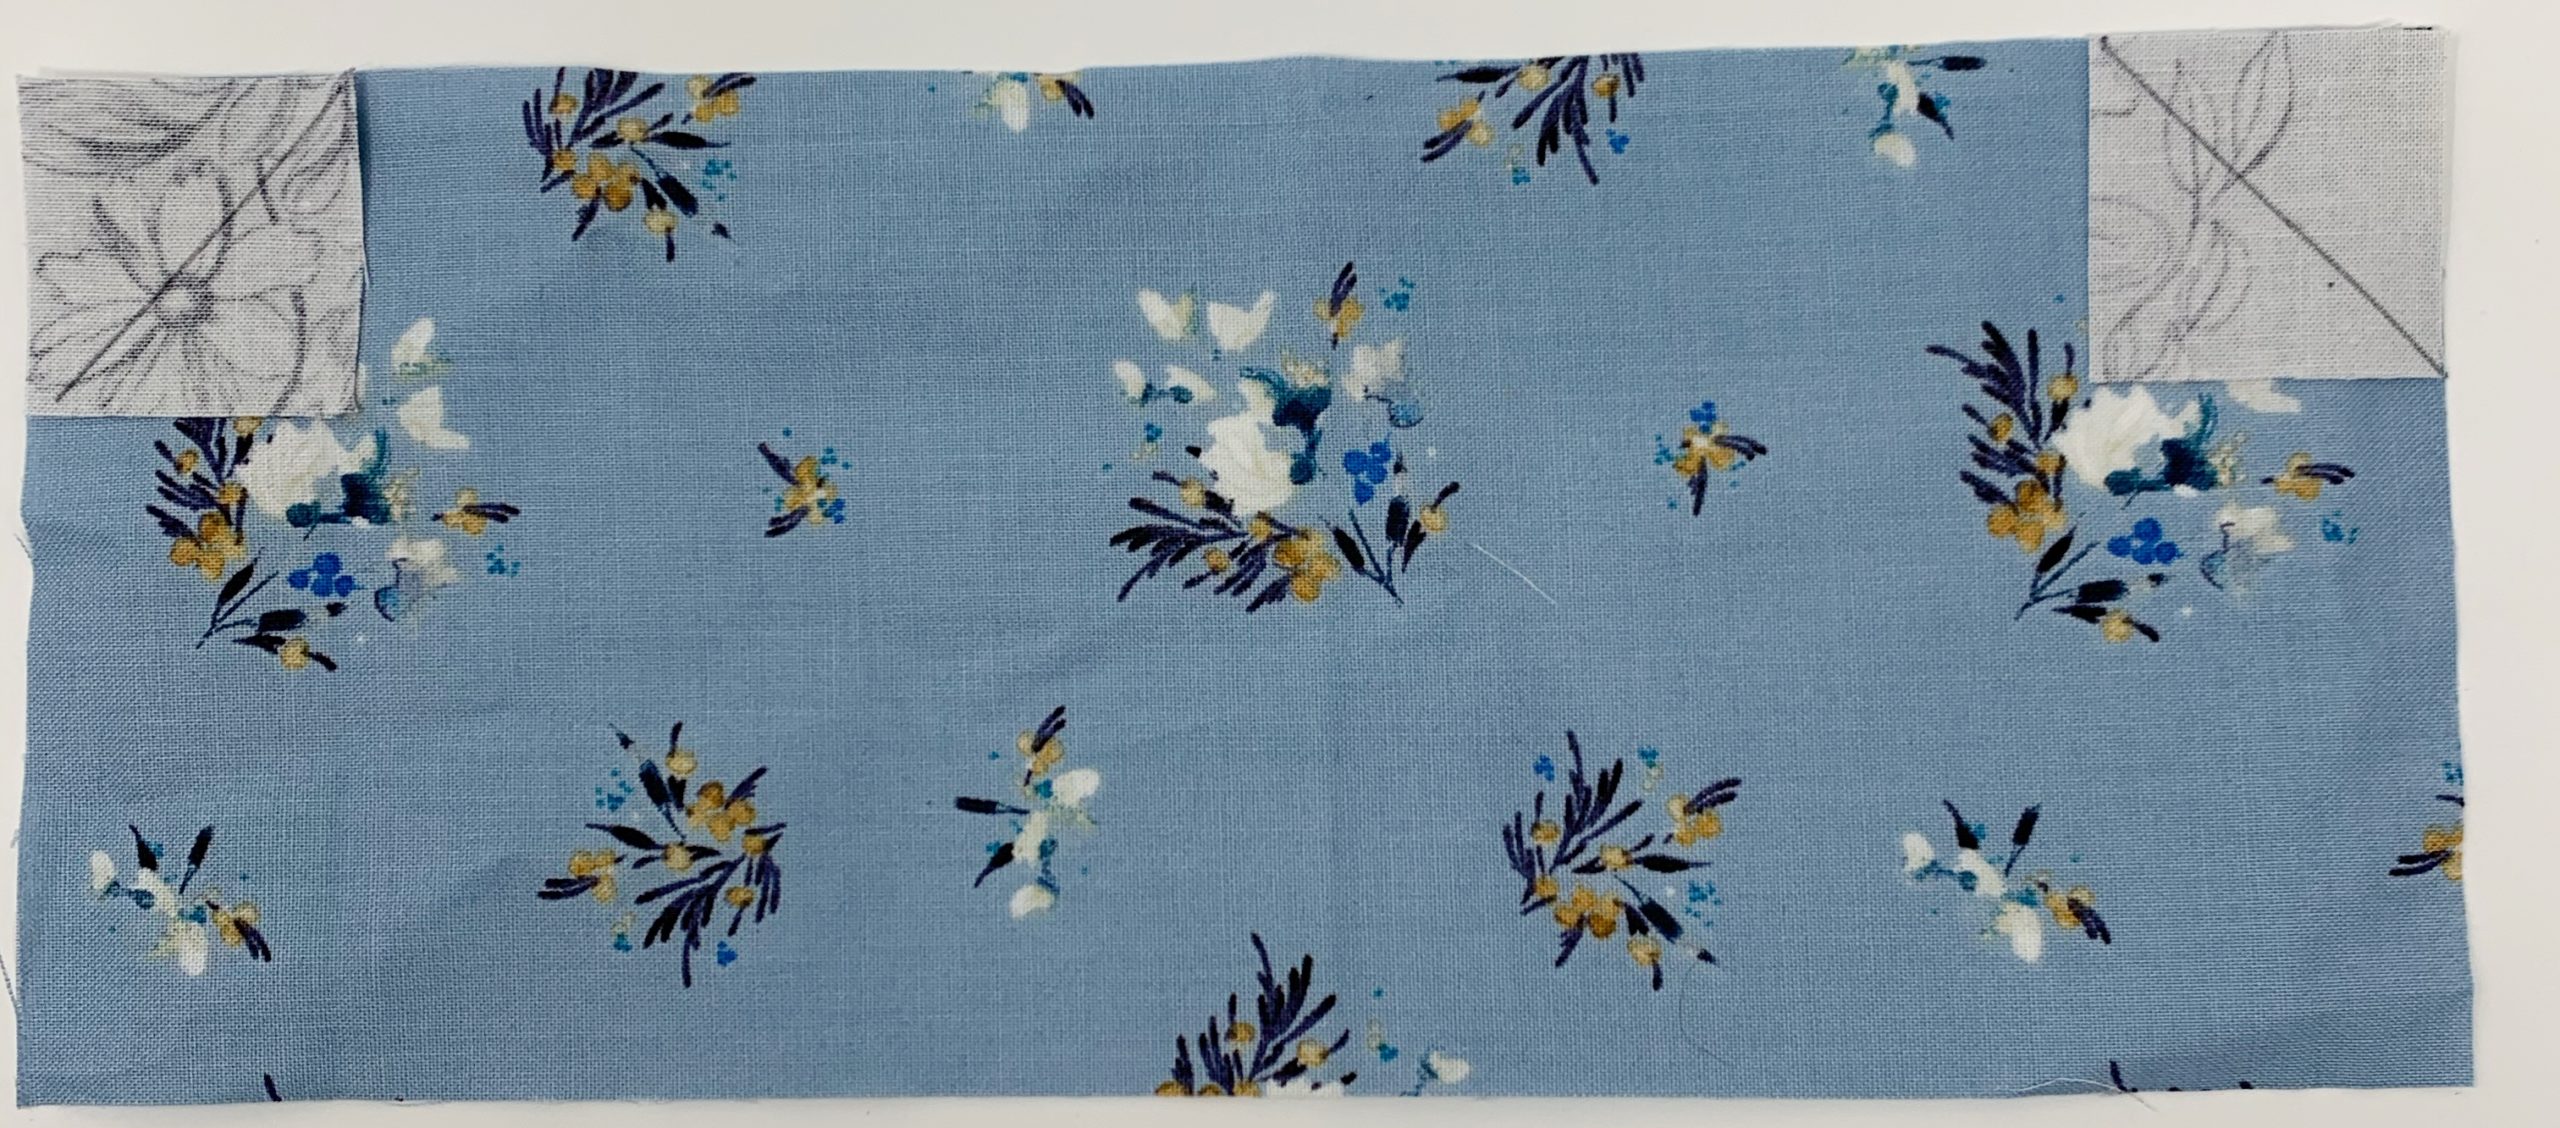
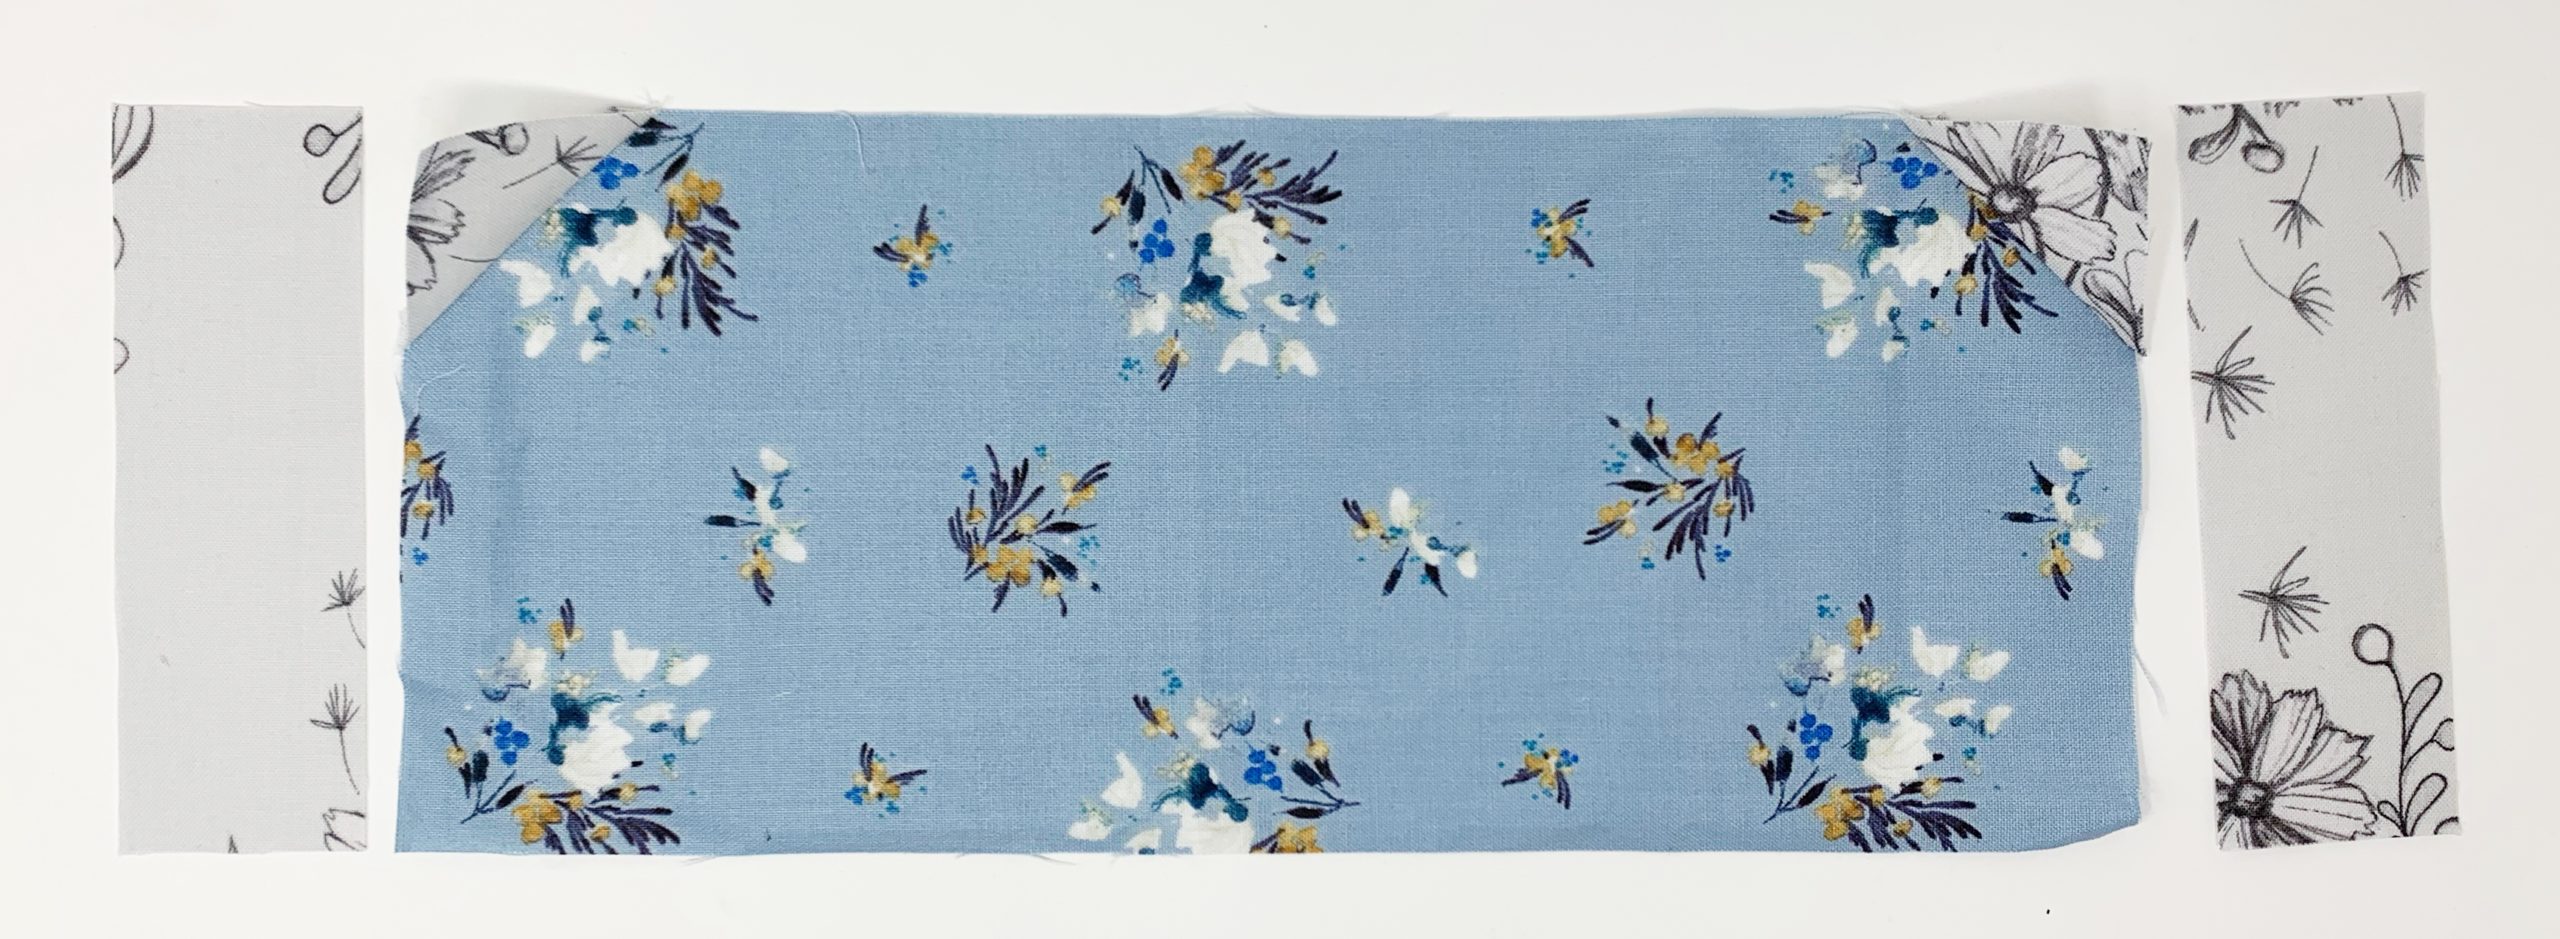
1 yard – choose a fabric that will contrast nicely with the first five blocks you’ve made. If it doesn’t contrast perfectly with ALL of the blocks just choose something that contrasts with most of them. Also, if you don’t have a yard of anything that you think will work – feel free to piece a background together with your scraps and “make” some fabric!
Cut:
(2) 2 – 12.5″ x 12.5″
(1) – 4.5″ x 16.5″
(1 )- 4.5″ x 12.5″
(1) – 6.5″ x 8.5″
(2) – 2.5″ X 24.5″
(2) – 2.5″ x 10.5″
(2) – 2.5″ x 18.5″
(2) – 2.5″ 14.5″
(2) – 2.5″ x 8.5″
(2) – 2.5″ x 12.5″
(8) – 2.5″ x 2.5″
(4) – 1.5″ x 4.5″
(8) – 1.5″ x 2.5″
(4) – 1.5″ x 1.5″
I recommend cutting the 12.5″ squares first and then moving down the list to utilize your yardage. You will not be using all the fabric you’ve cut for your background to complete today’s clue. The remaining cuts will be used tomorrow in the final clue.
Clue 1/6 Block
Fabric A (white with flowers):
(1) – 2.5″ x 10.5″ strip
(1) – 2.5″ x 8.5″ strip
On both ends of the 2.5″ x 10.5″ strip of Fabric A sew a 1.5″ x 2.5″ background strip. Press towards the background fabric. This is the “bottom” strip.
On both ends of the 2.5″ x 8.5″ strip of Fabric A place a 2.5″ square of background fabric. Draw diagonal lines on the wrong side of the 2.5″ background squares and stitch directly on the drawn line. (similar to what we did for flying geese in Clue 3).
Trim outside the stitched line. Press towards the background triangle to make the “top” strip.
Take the 8.5″ square block you created in Clue 1 and put it in the middle. Place the “top” strip and the “bottom” strip as shown. Then on either side of the block place a 2.5″ x 10.5″ strip of background fabric. First sew the “top” strip to the Clue 1 block and press towards the strip. Then sew both of the side strips on, pressing towards the strips, and finally sew on the “bottom” strip, pressing towards the strips.
Can you figured out what we’re making yet?
Clue 2/6 Block
Fabric B (island batik green mushrooms):
(1) – 2.5″ x 14.5″ strip
(1) – 2.5″ x 8.5″ strip
On both ends of the 2.5″ x 14.5″ strip of Fabric B sew a 1.5″ x 2.5″ background strip. Press towards the background fabric. This is the “bottom” strip.
On both ends of the 2.5″ x 8.5″ strip of Fabric B sew a 2.5″ x 2.5″ background strip. Press towards the background fabric. This is the “top” strip.
Take the 12.5″ x 16.5″ block you created in Clue 2 and put it in the middle. Place the “top” strip and the “bottom” strip as shown. Then on either side of the block place a 2.5″ x 18.5″ strip of background fabric. First sew the “top” strip to the Clue 2 block and press towards the block. Then sew both of the side strips on, pressing towards the block, and finally sew on the “bottom” strip, pressing towards the block.
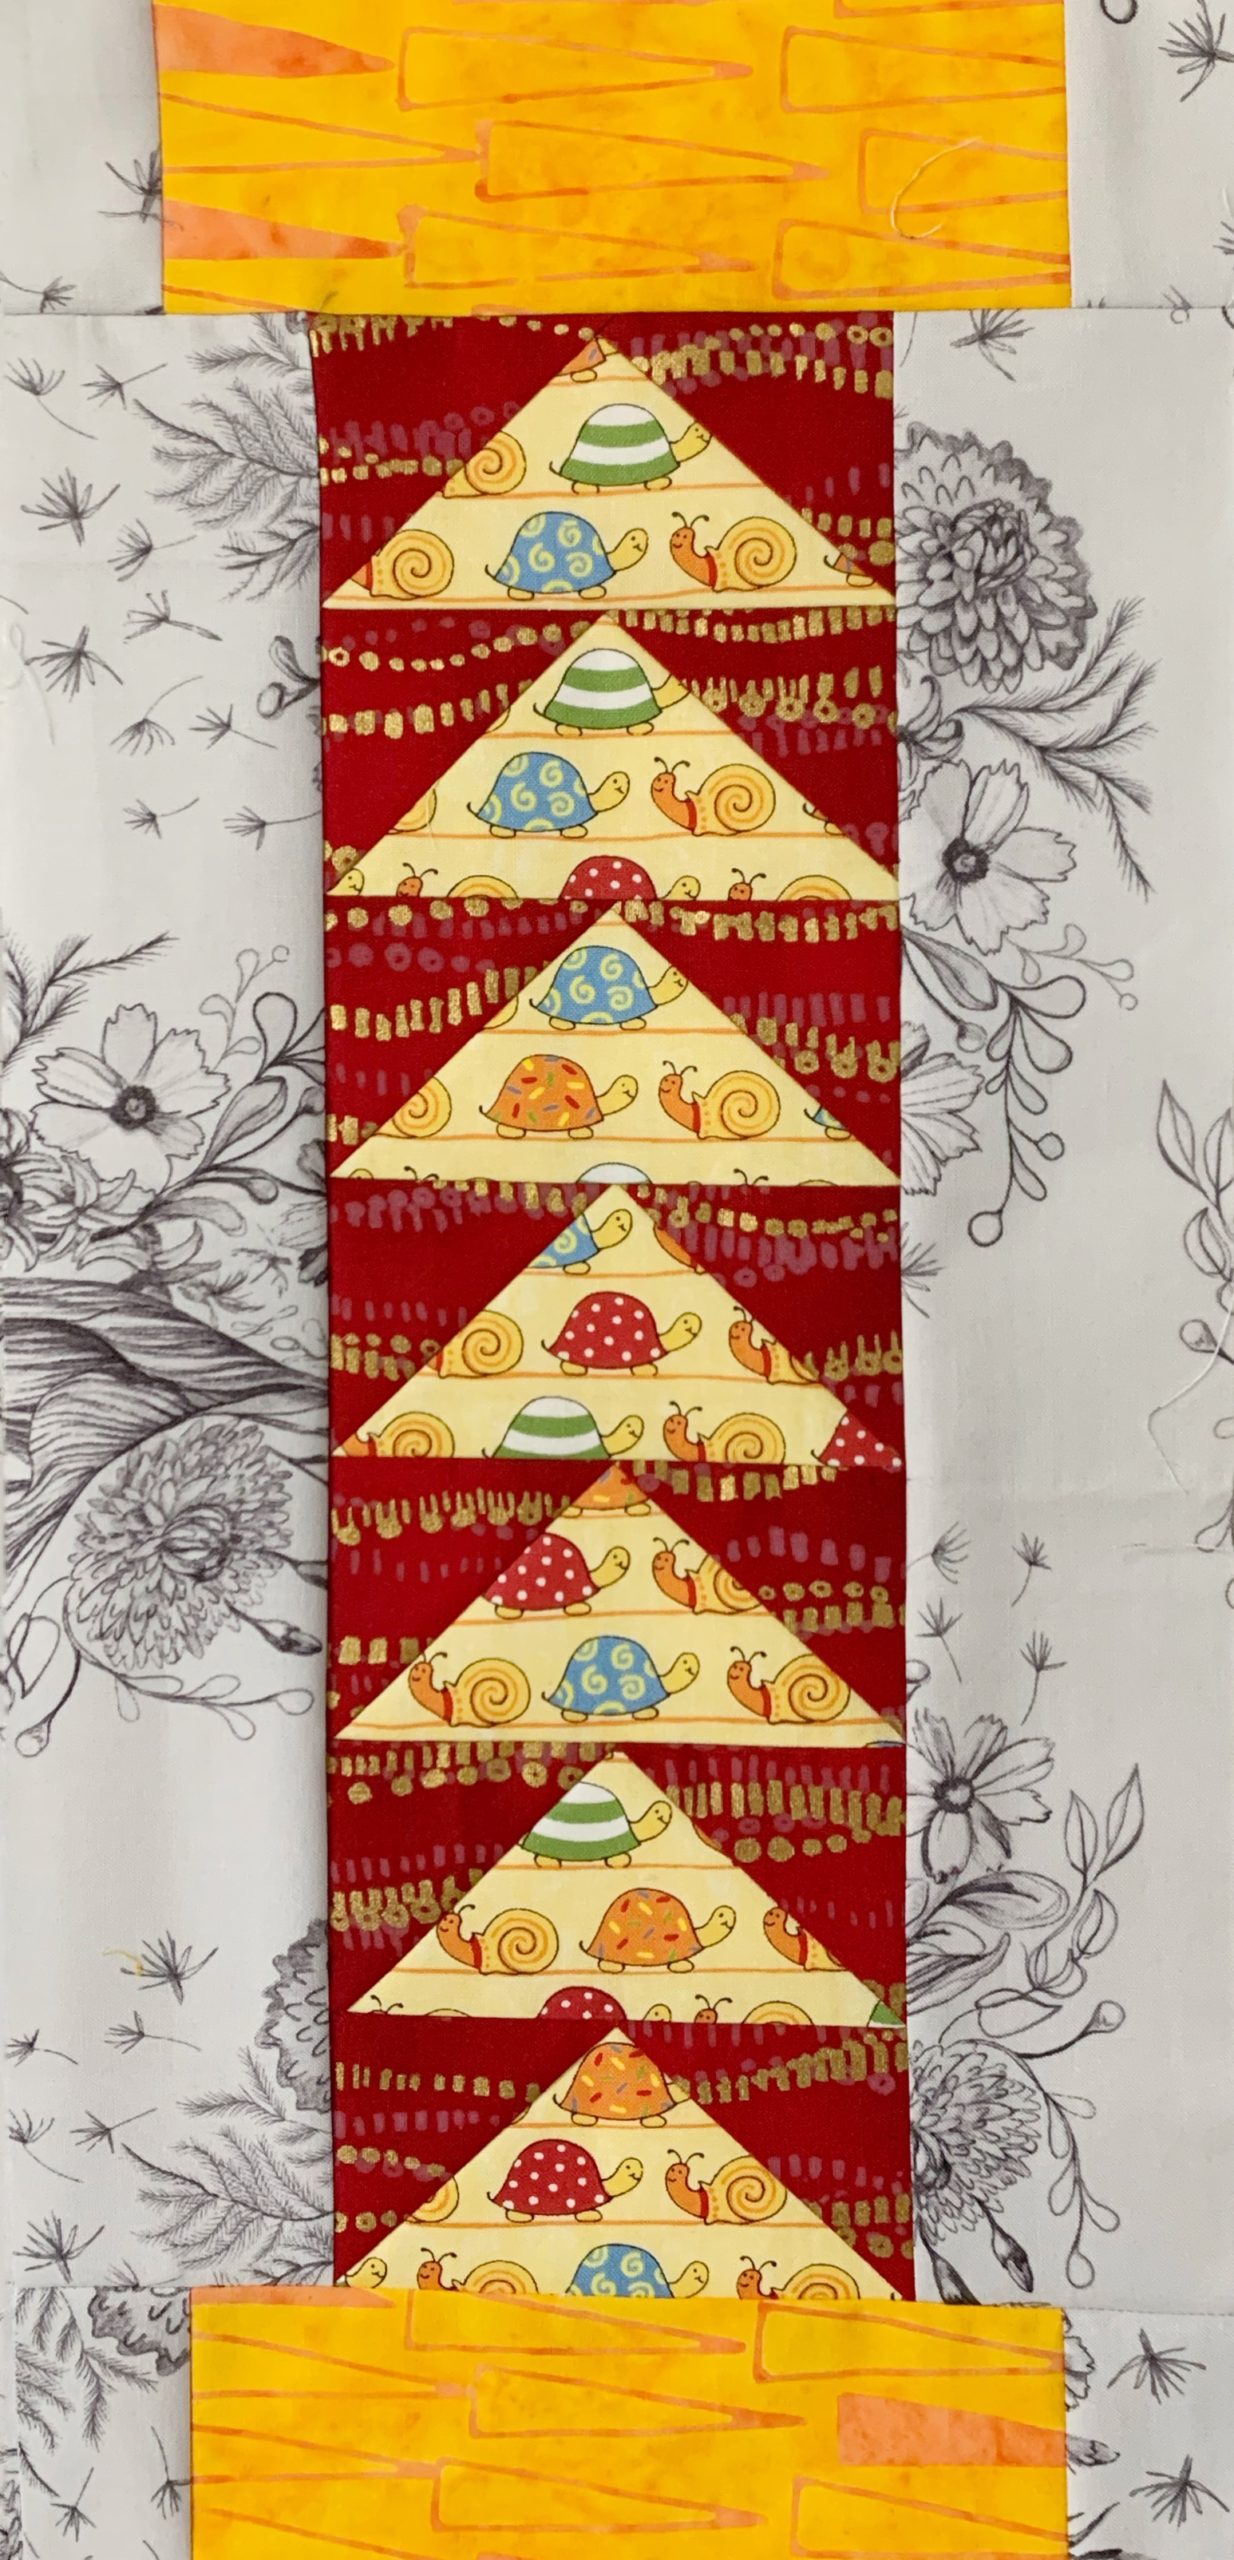
Clue 3/6 Block
Fabric C (island batik golden triangles):
(2) – 2.5″ x 6.5″ strip
On both ends of both of the 2.5″ x 6.5″ strip of Fabric C sew a 1.5″ x 2.5″ background strip. Press towards the background fabric. One will be the “bottom” strip and the other the “top” strip.
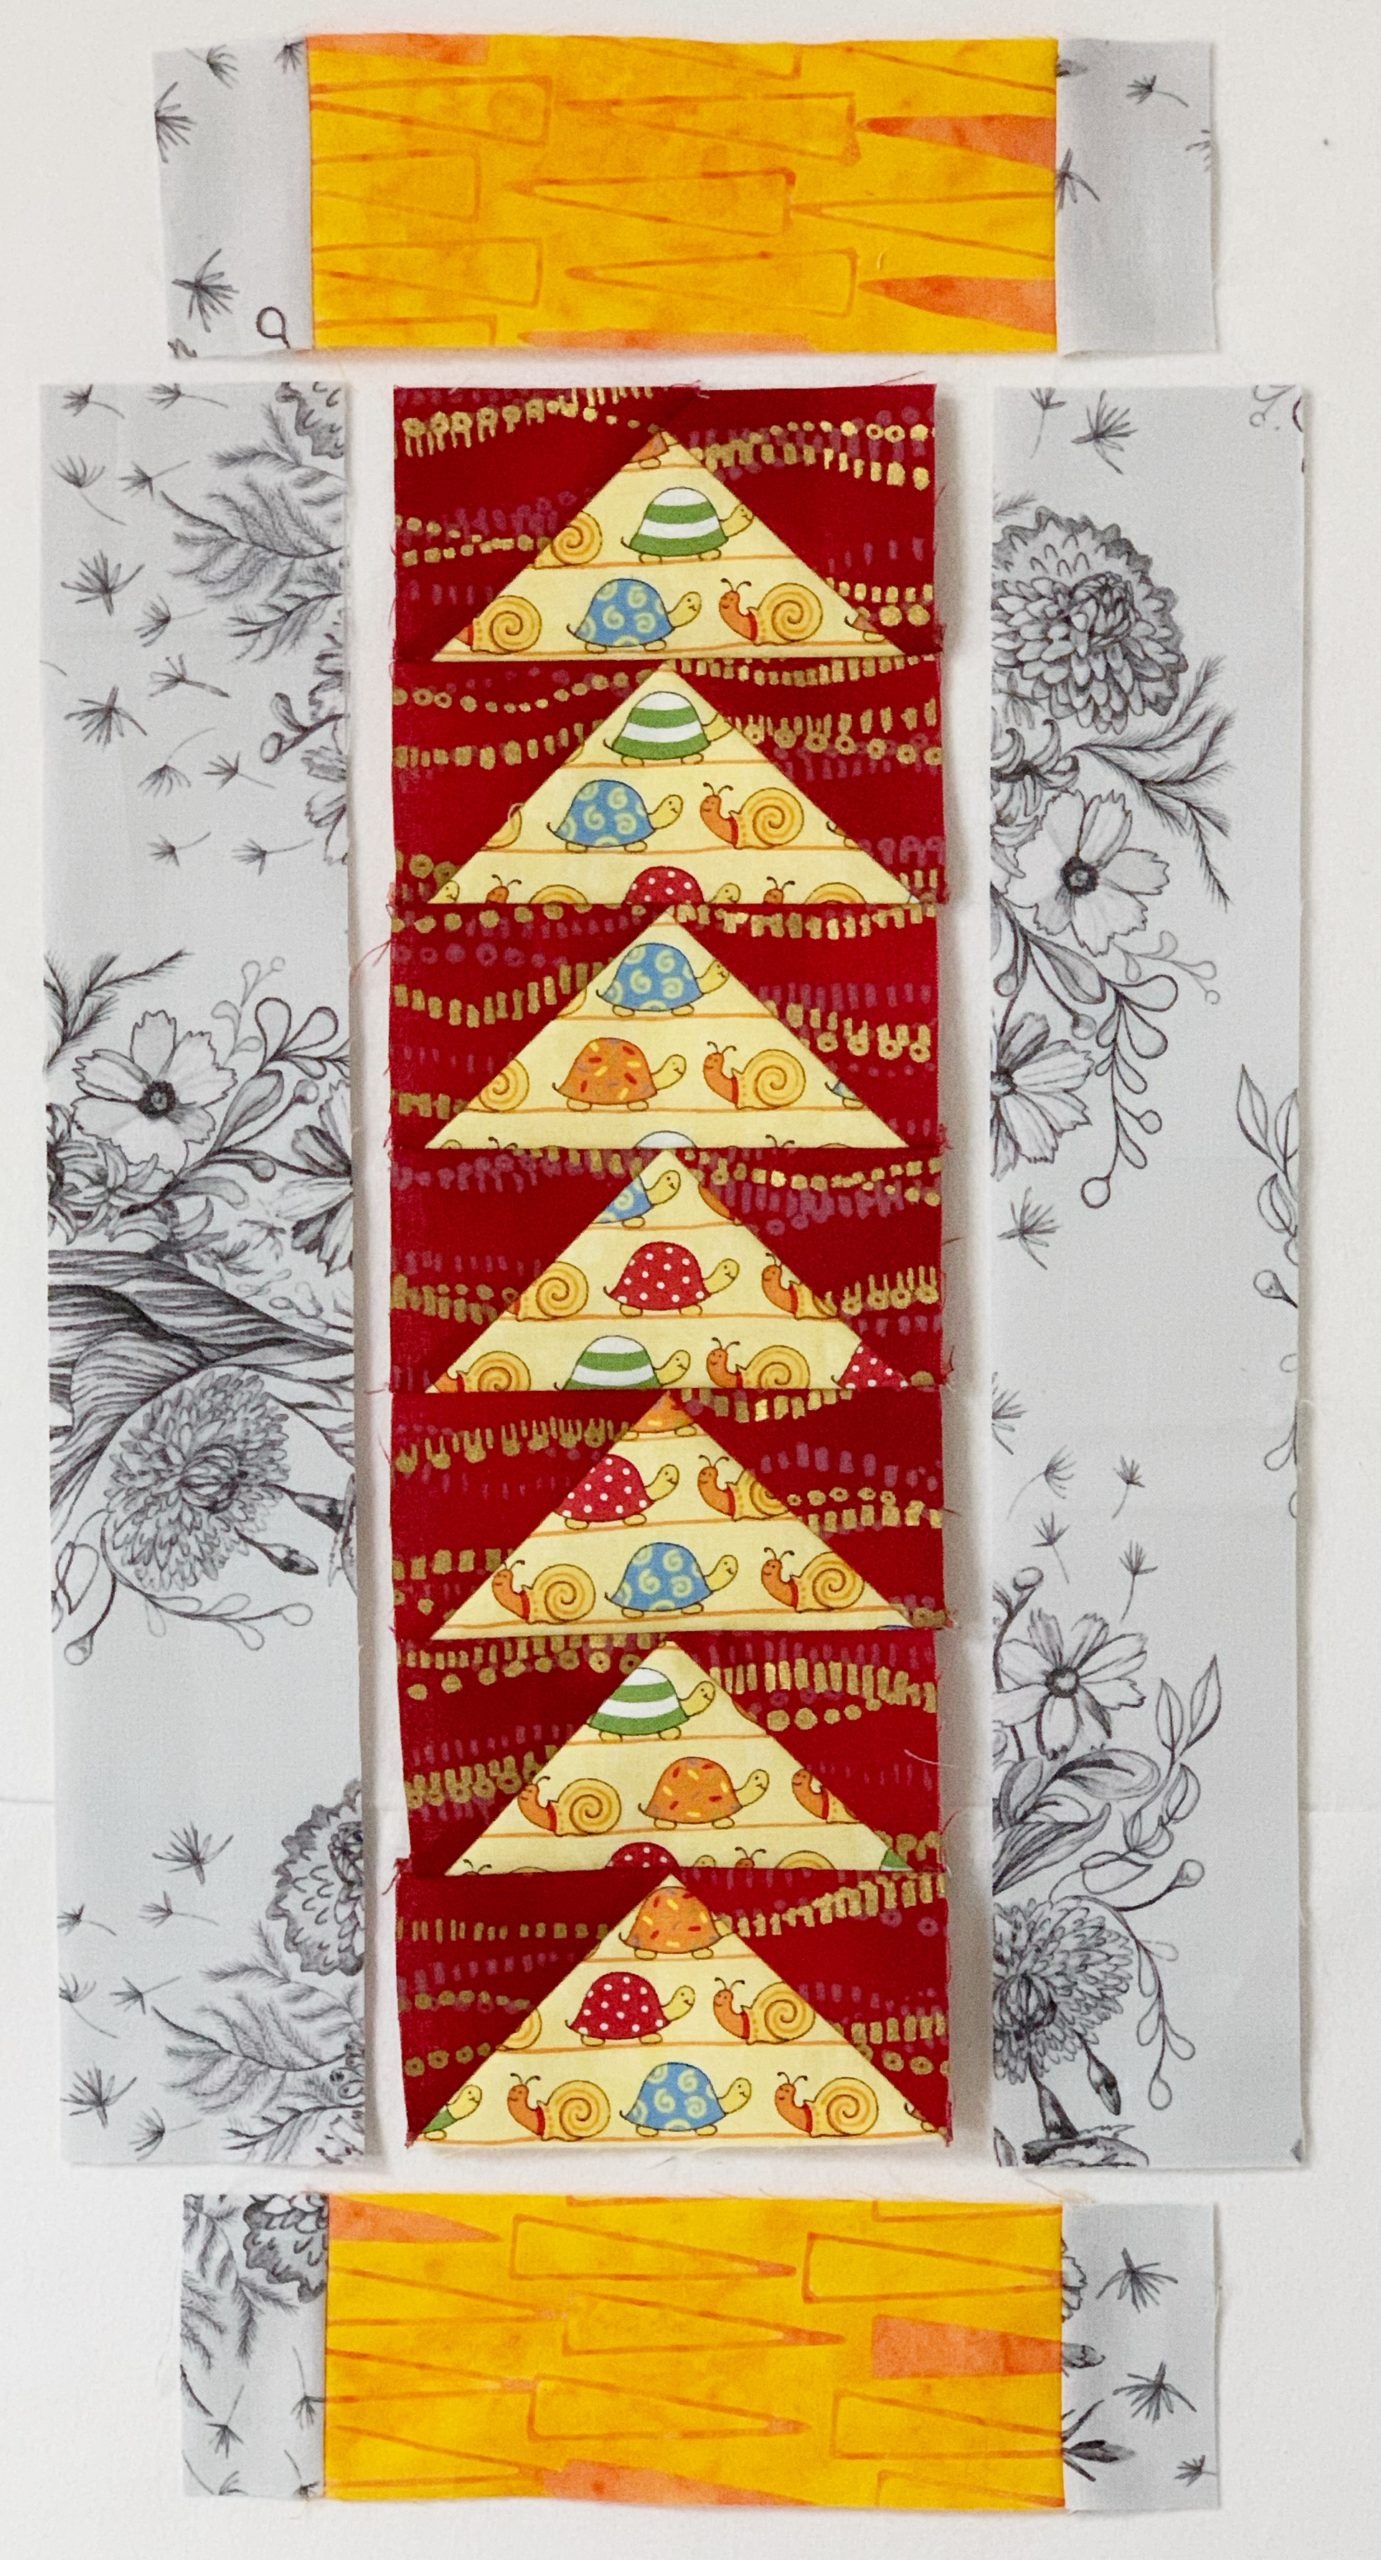
Take the 4.5″ x 14.5″ block you created in Clue 3 and put it in the middle. Place the “top” strip and the “bottom” strip as shown. Then on either side of the block place a 2.5″ x 14.5″ strip of background fabric. First sew the side strips to the Clue 3 block and press towards the strips. Then sew the top and bottom strips on and press towards the strips.
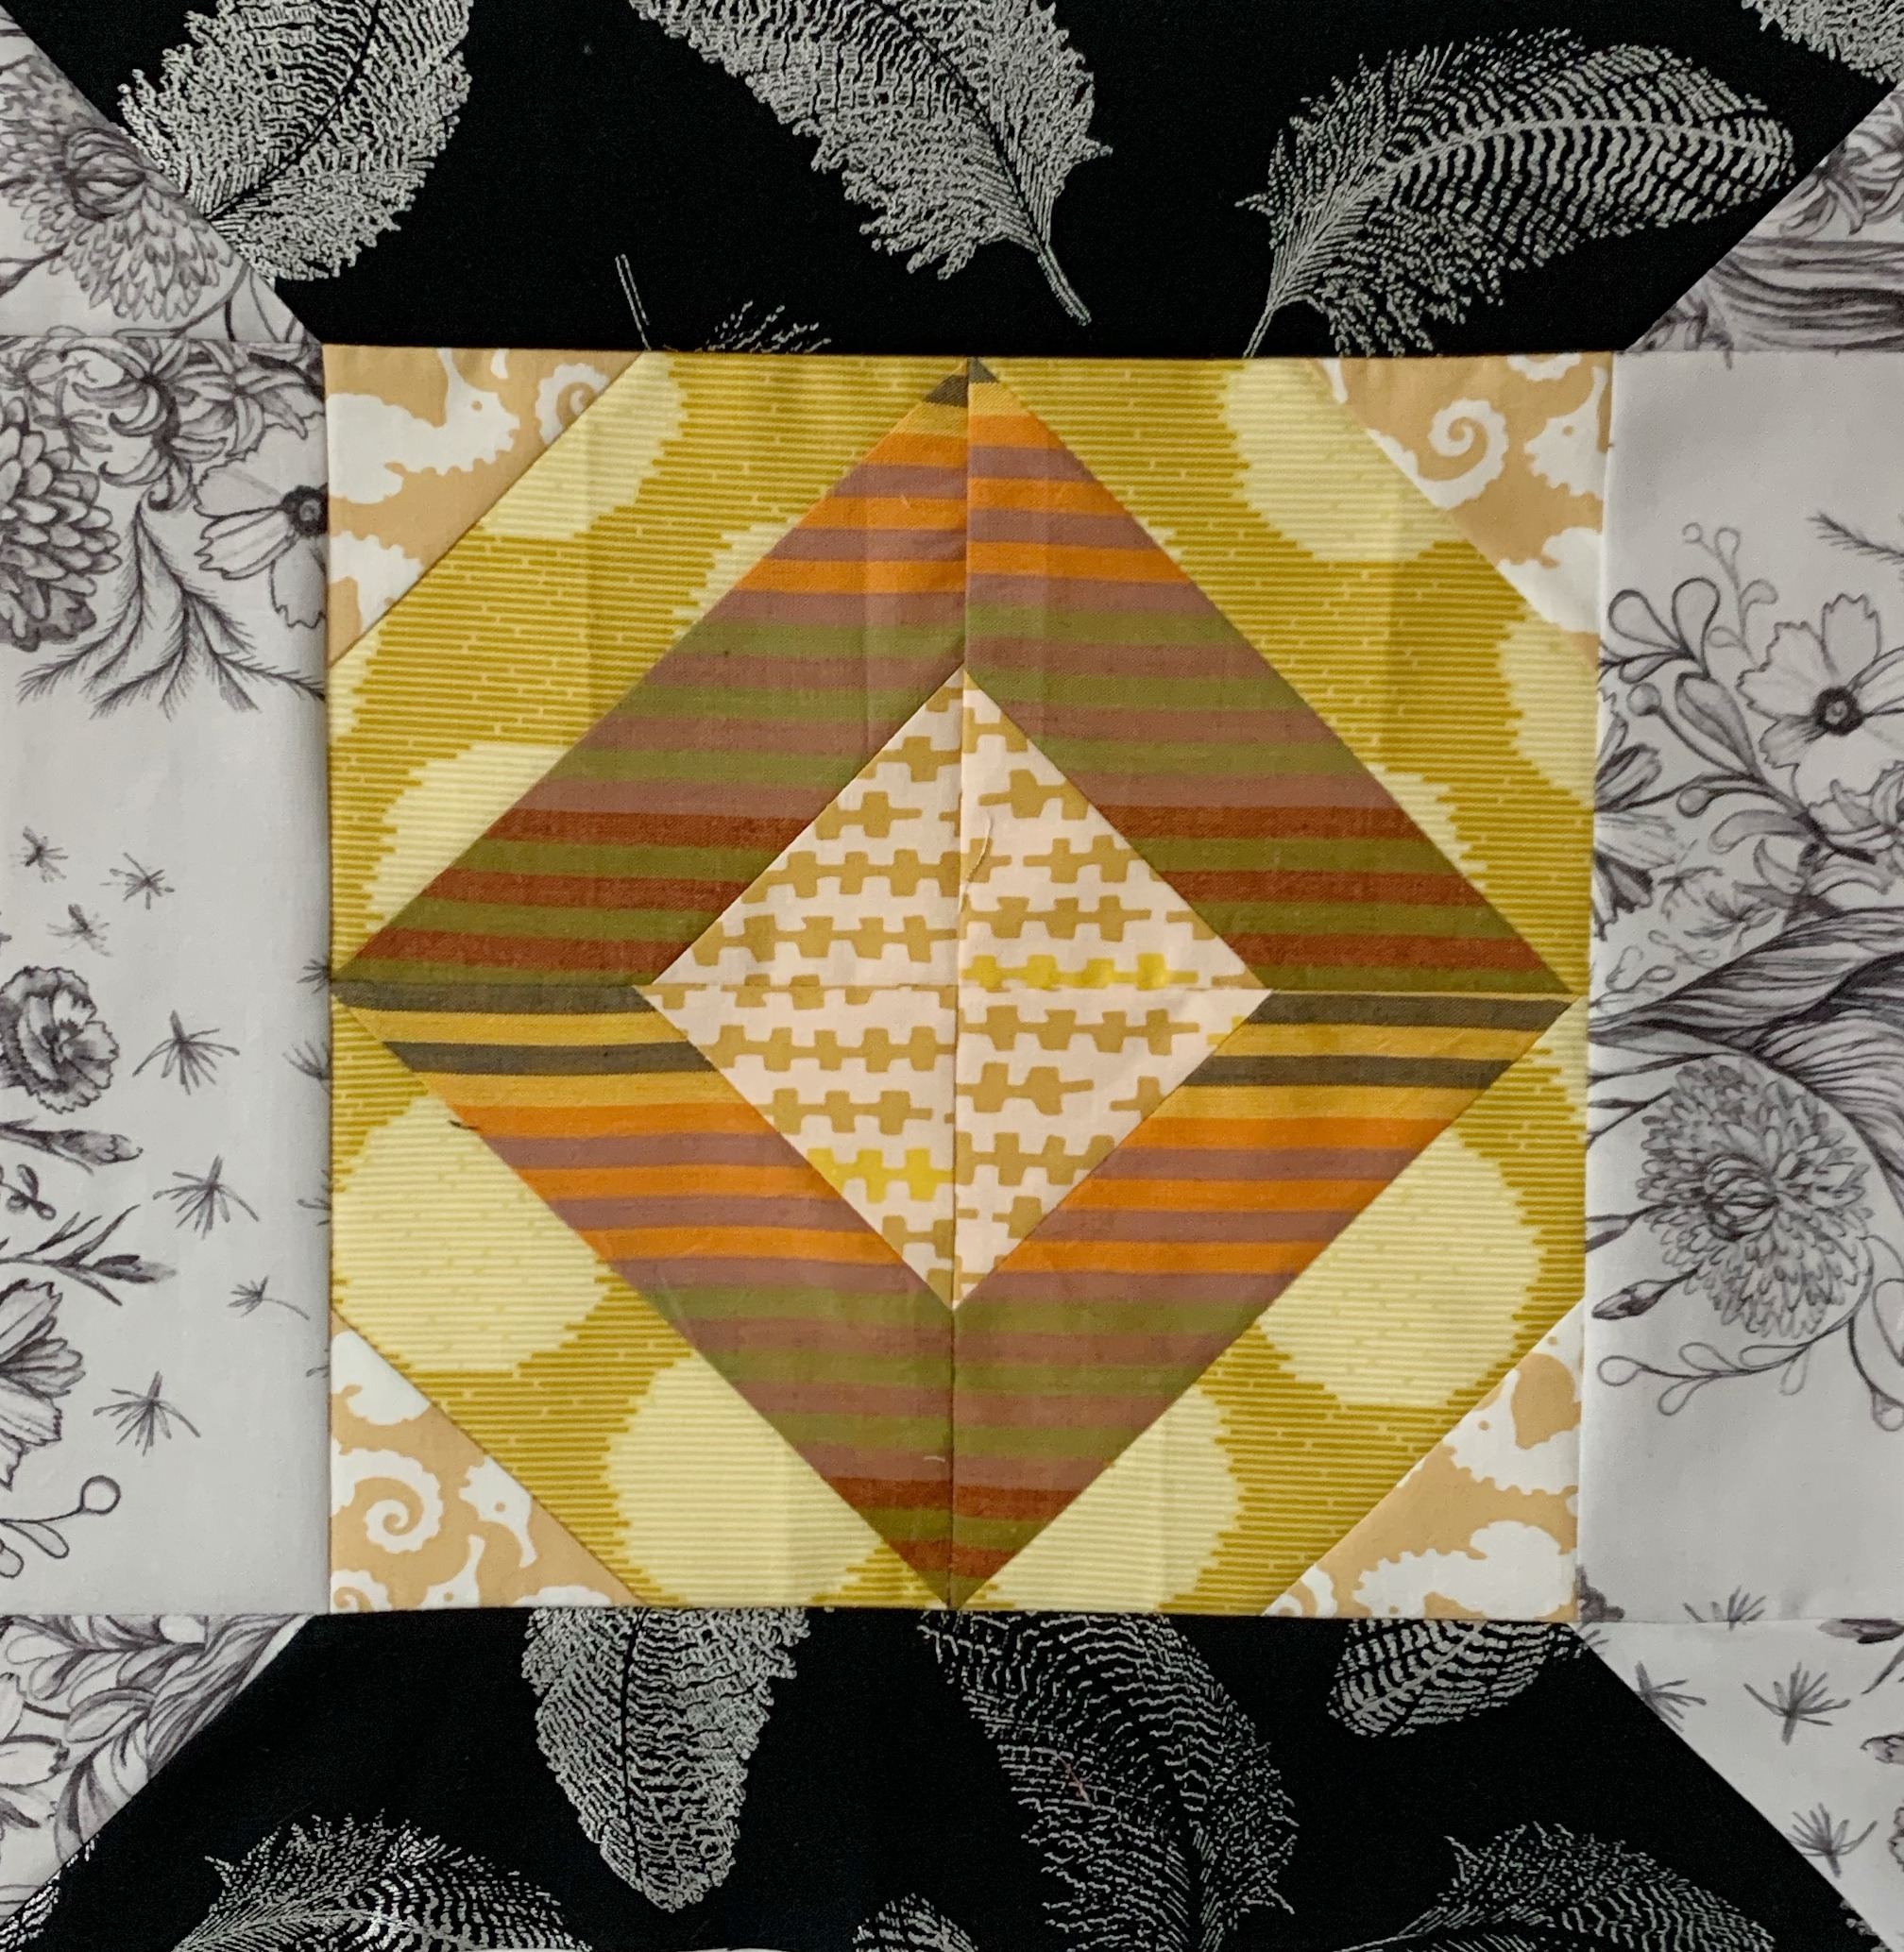
Clue 4/6 Block
Fabric D (Black with silver feathers):
(2) – 2.5″ x 12.5″ strip
On both ends of the 2.5″ x 12.5″ strip of Fabric D place a 2.5″ square of background fabric. Draw diagonal lines on the wrong side of the 2.5″ background squares and stitch directly on the drawn line. (the same as what was done in the Clue 1/6 block above and similar to what you did for flying geese in Clue 3). Trim outside the stitched line. Press towards the background triangle to make the “top” strip.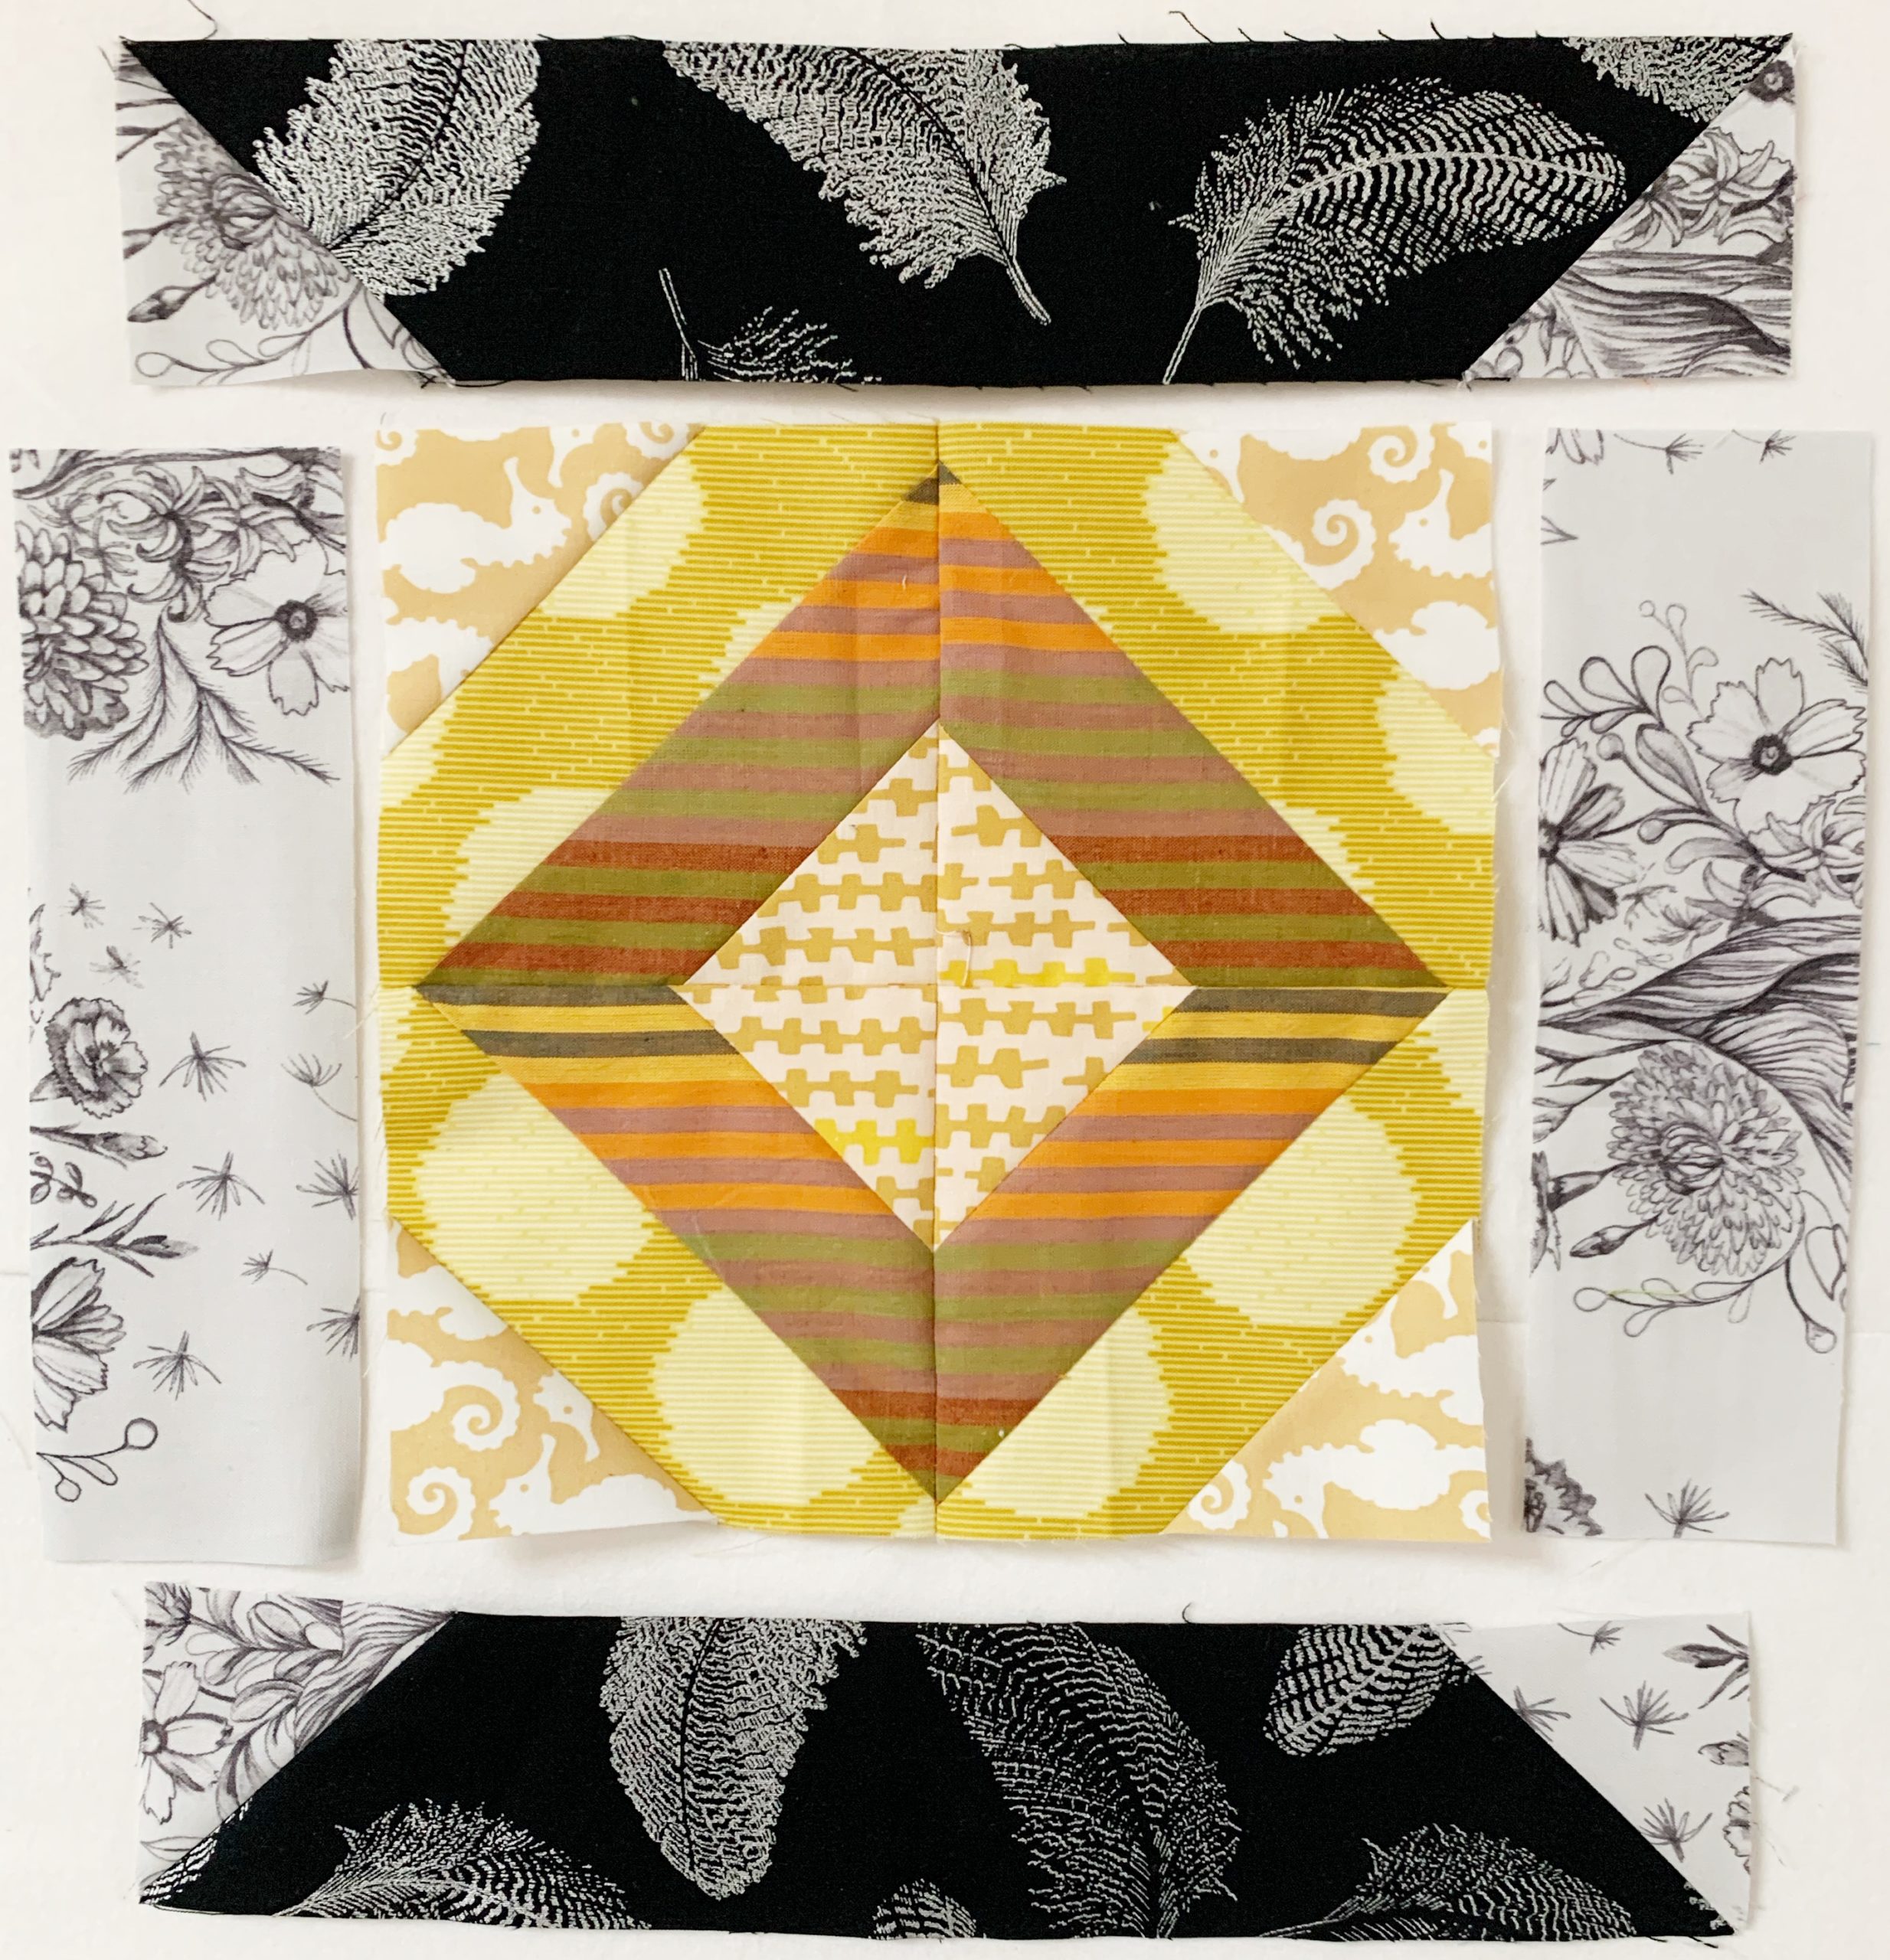
Take the 8.5″ x 8.5″ block you created in Clue 4 and put it in the middle. Place the “top” strip and the “bottom” strip as shown. Then on either side of the block place a 2.5″ x 8.5″ strip of background fabric. First sew the side strips to the Clue 4 block and press towards the main block. Then sew the top and bottom strips on and press towards the main block.
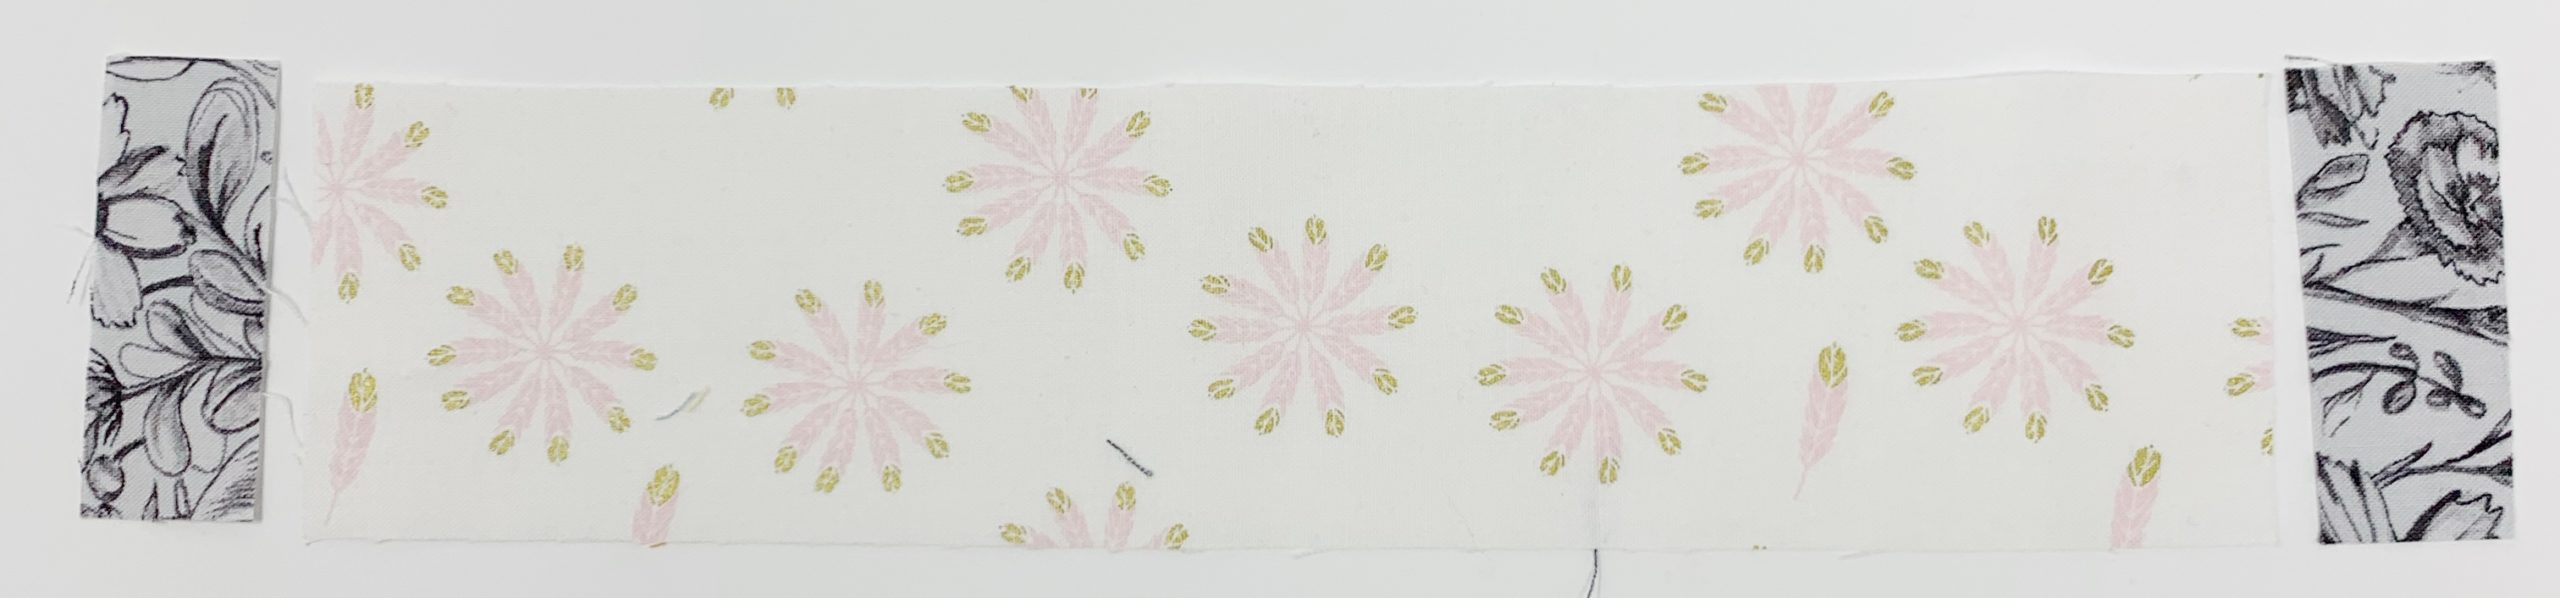
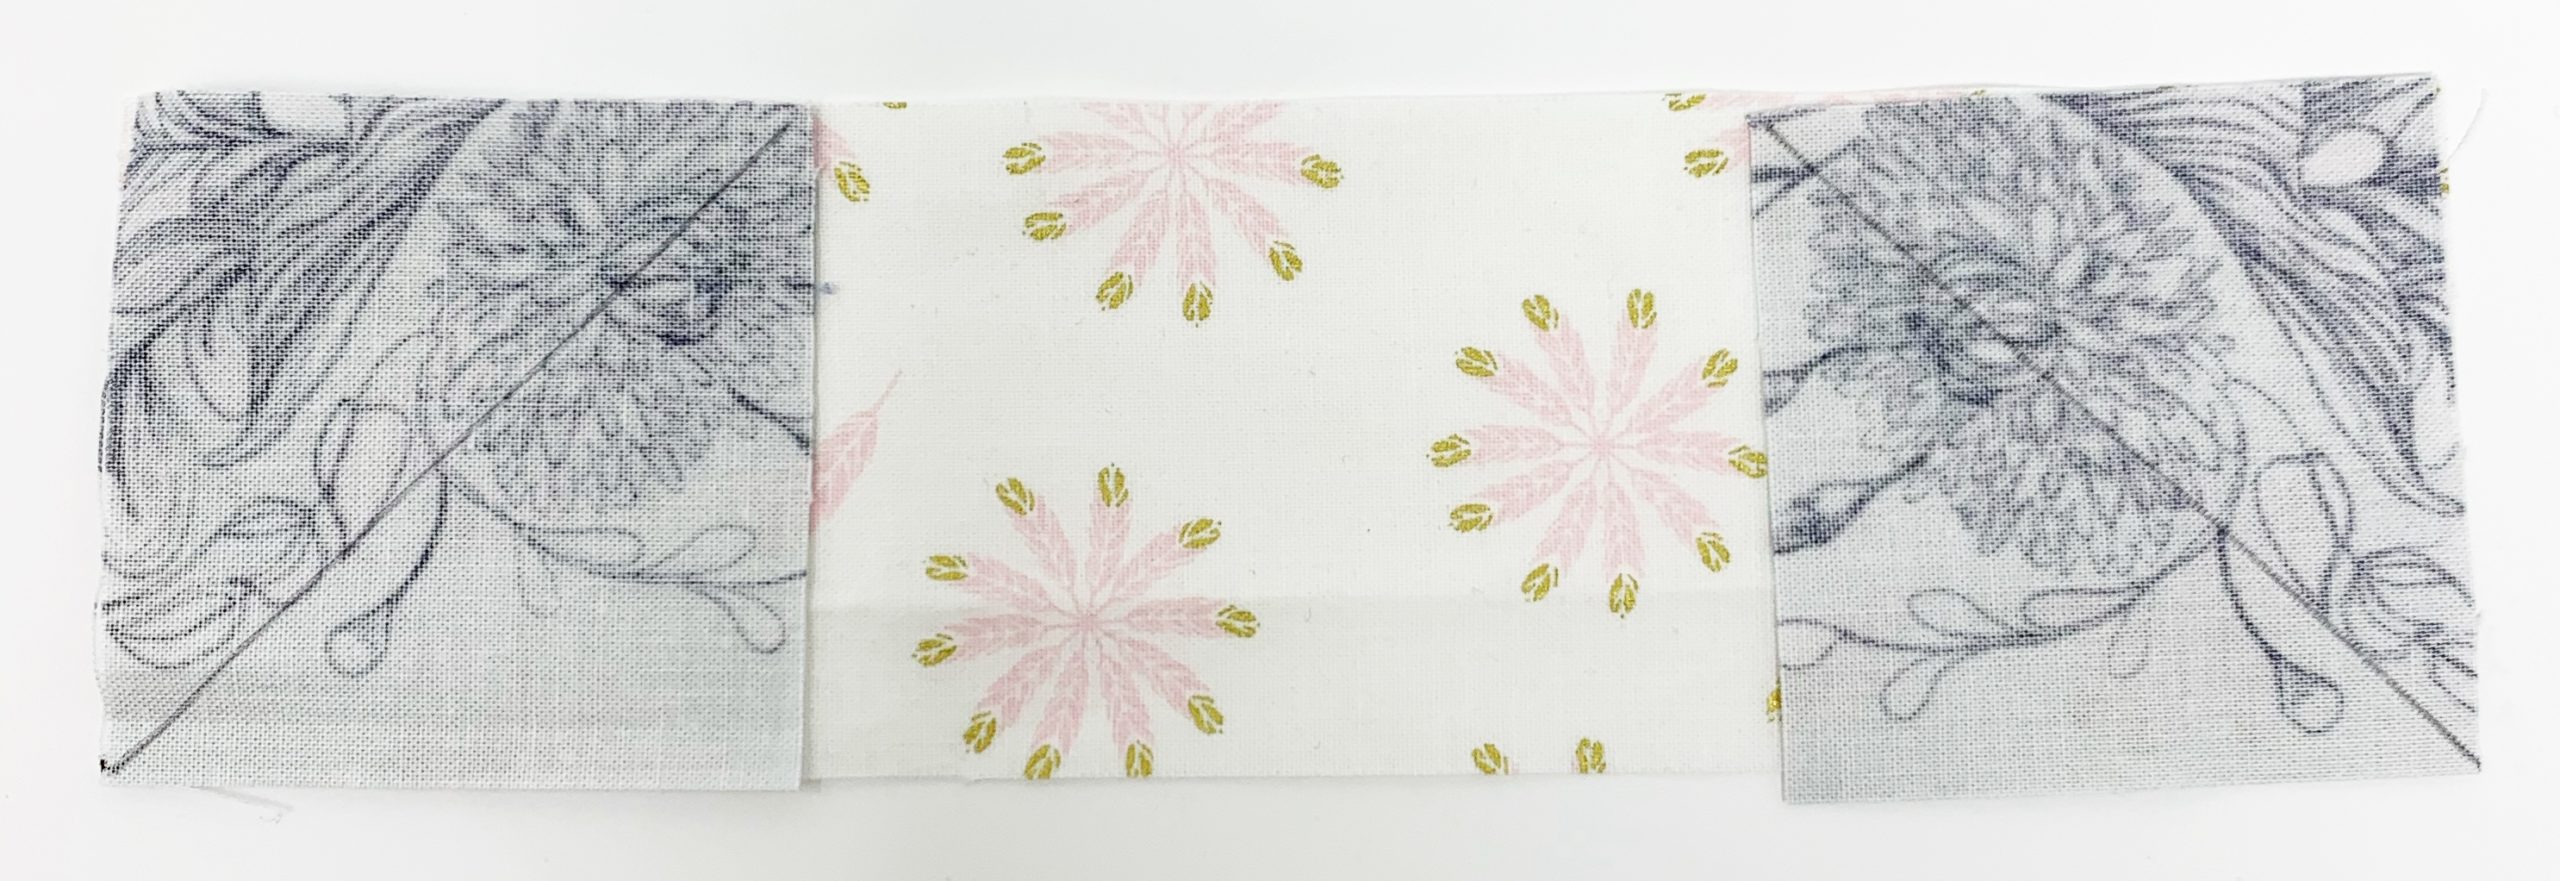
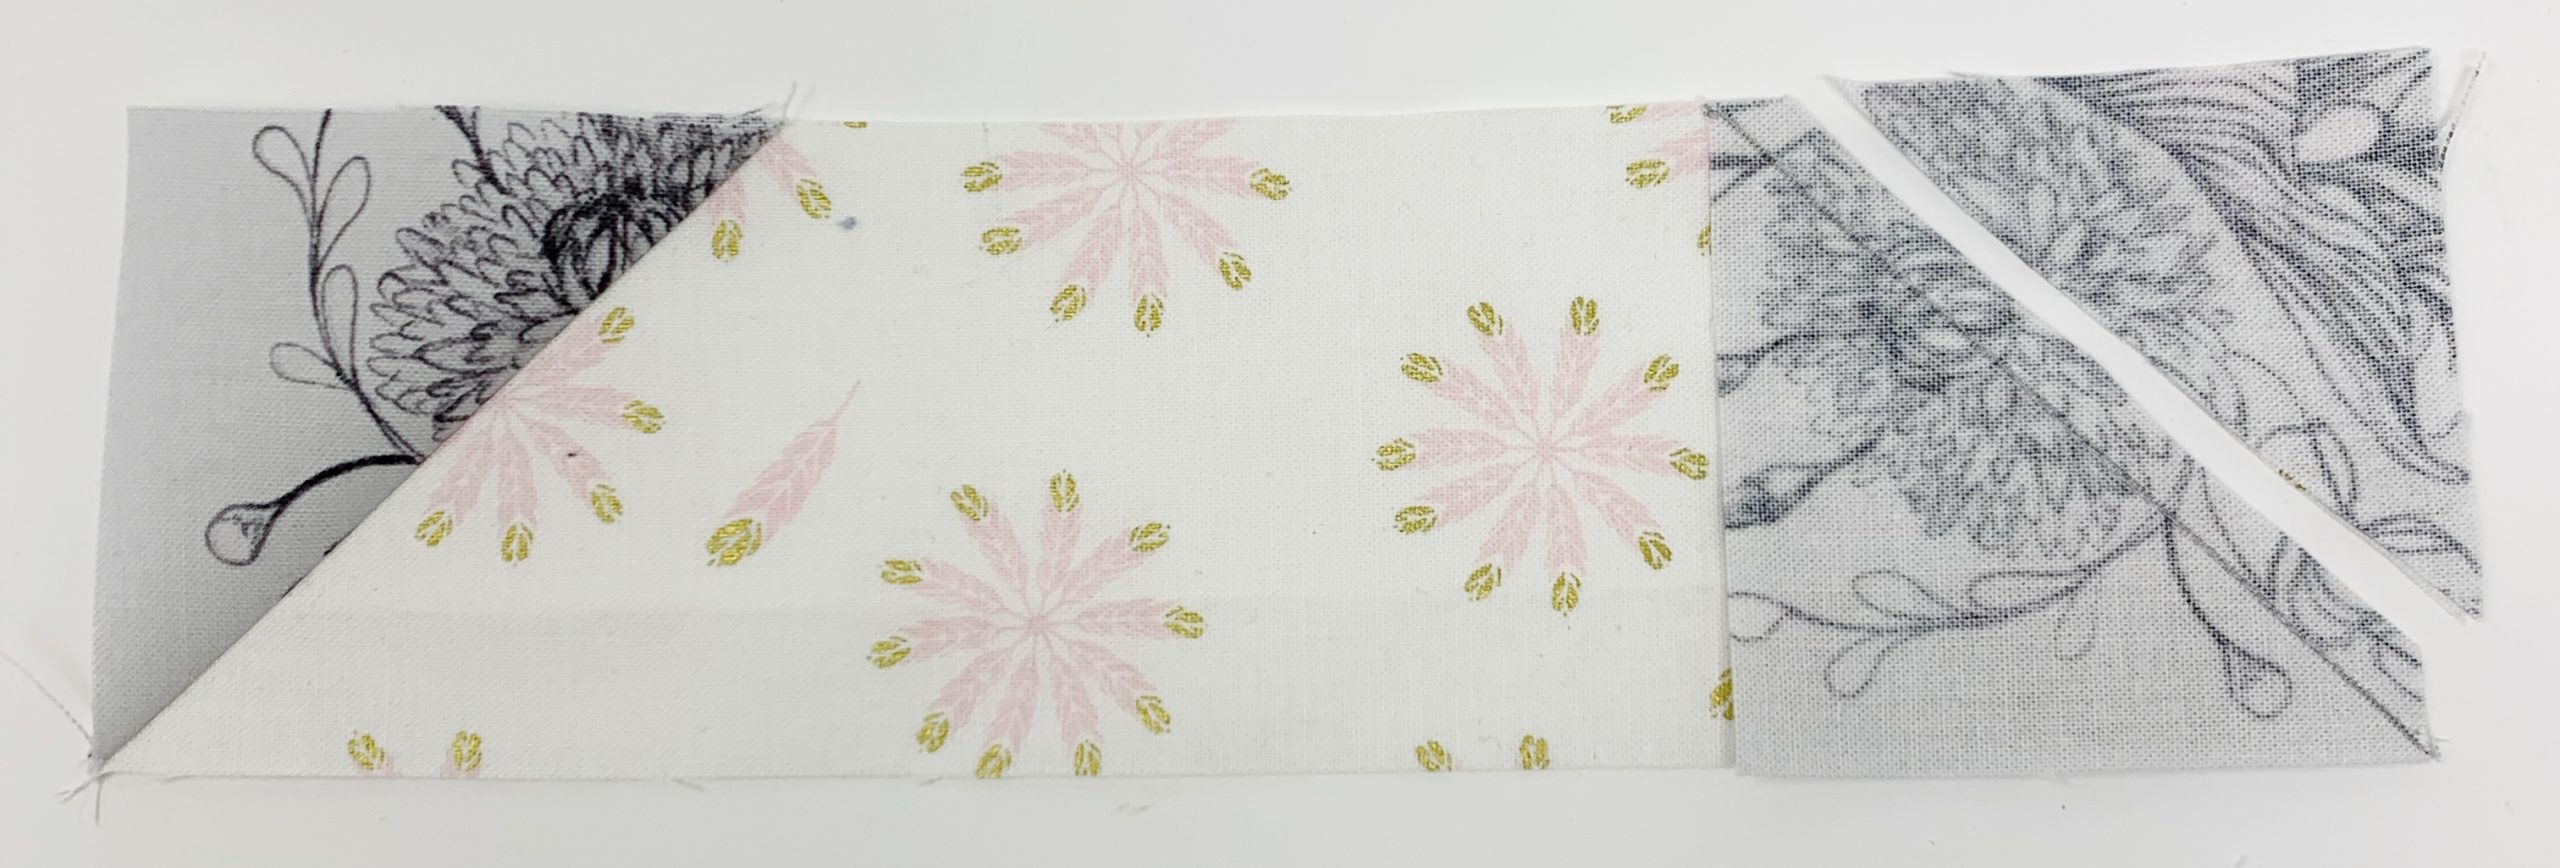
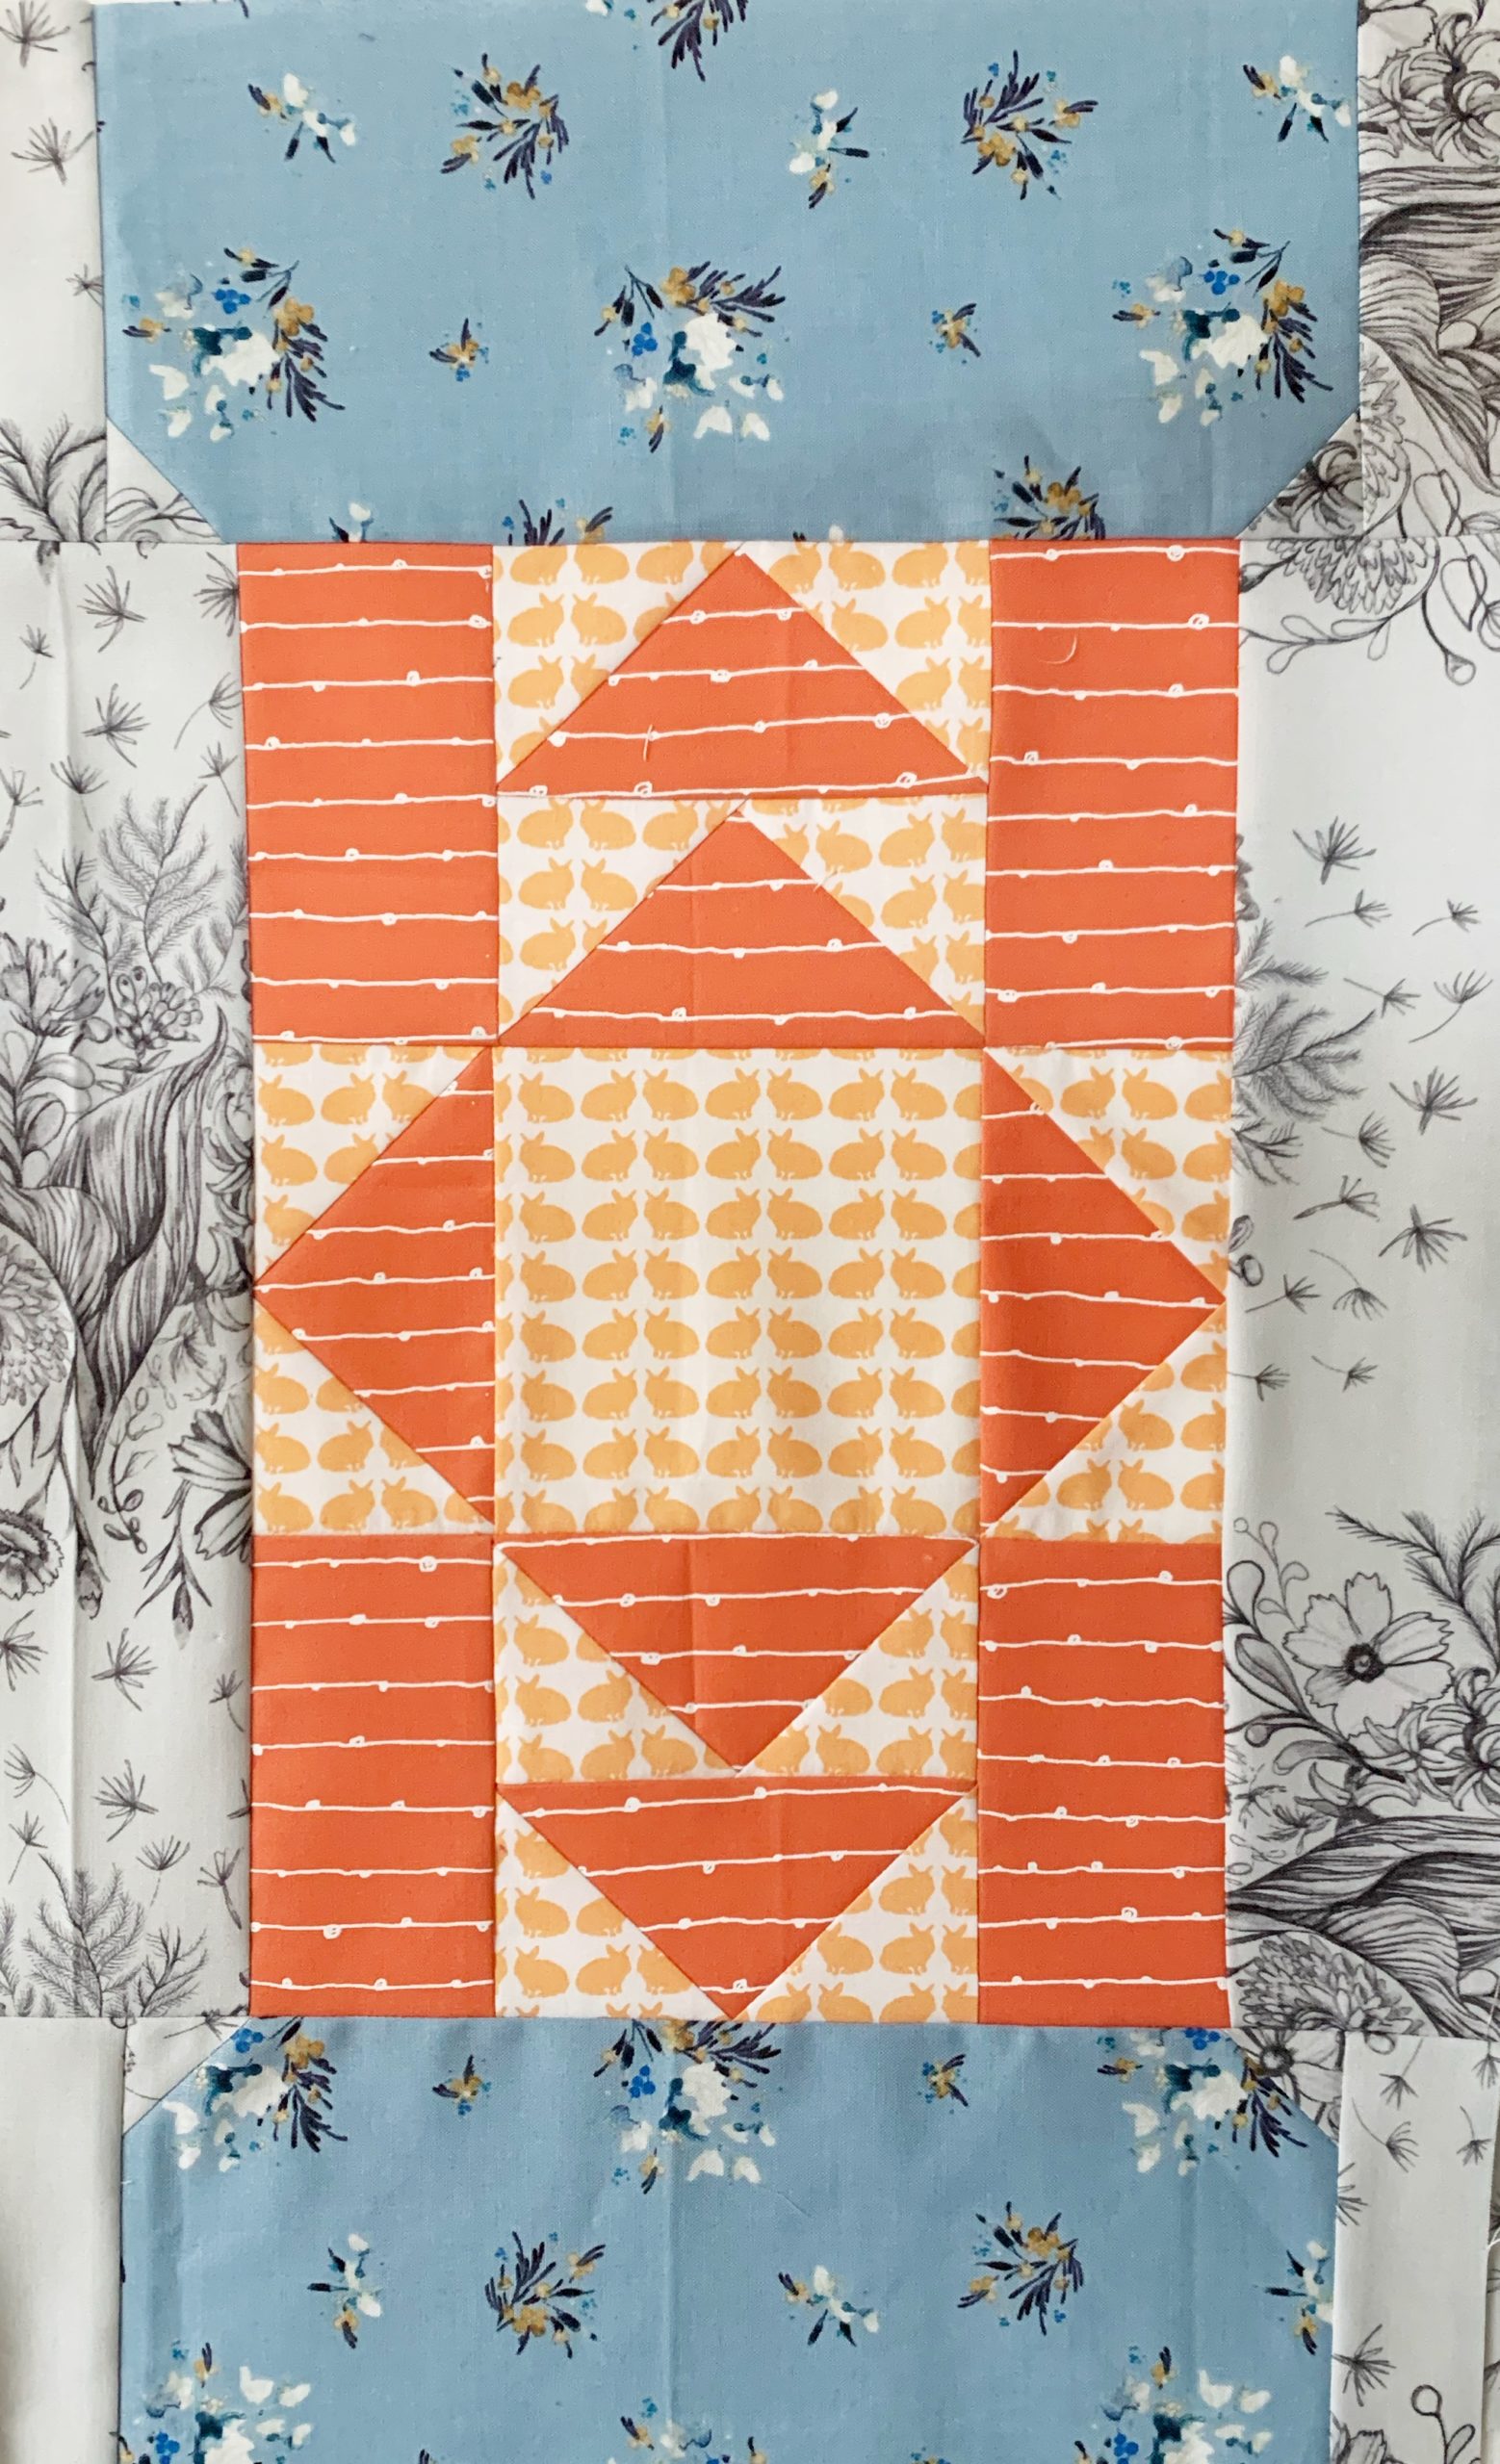
Clue 5/6 Block
Fabric E (cornflower blue):
(2) – 4.5″ x 10.5″ strip
On both ends of the 4.5″ x 10.5″ strip of Fabric E place a 1.5″ square of background fabric. Draw diagonal lines on the wrong side of the 1.5″ background squares and stitch directly on the drawn line. Trim outside the stitched line. Press towards the background triangle. Repeat with the second 4.5″ x 10.5″ strip.
On both ends of the 4.5″ x 10.5″ strip of Fabric E sew a 1.5″ x 4.5″ background strip. Press towards the background fabric. Repeat with the second 4.5″ x 10.5″ strip.
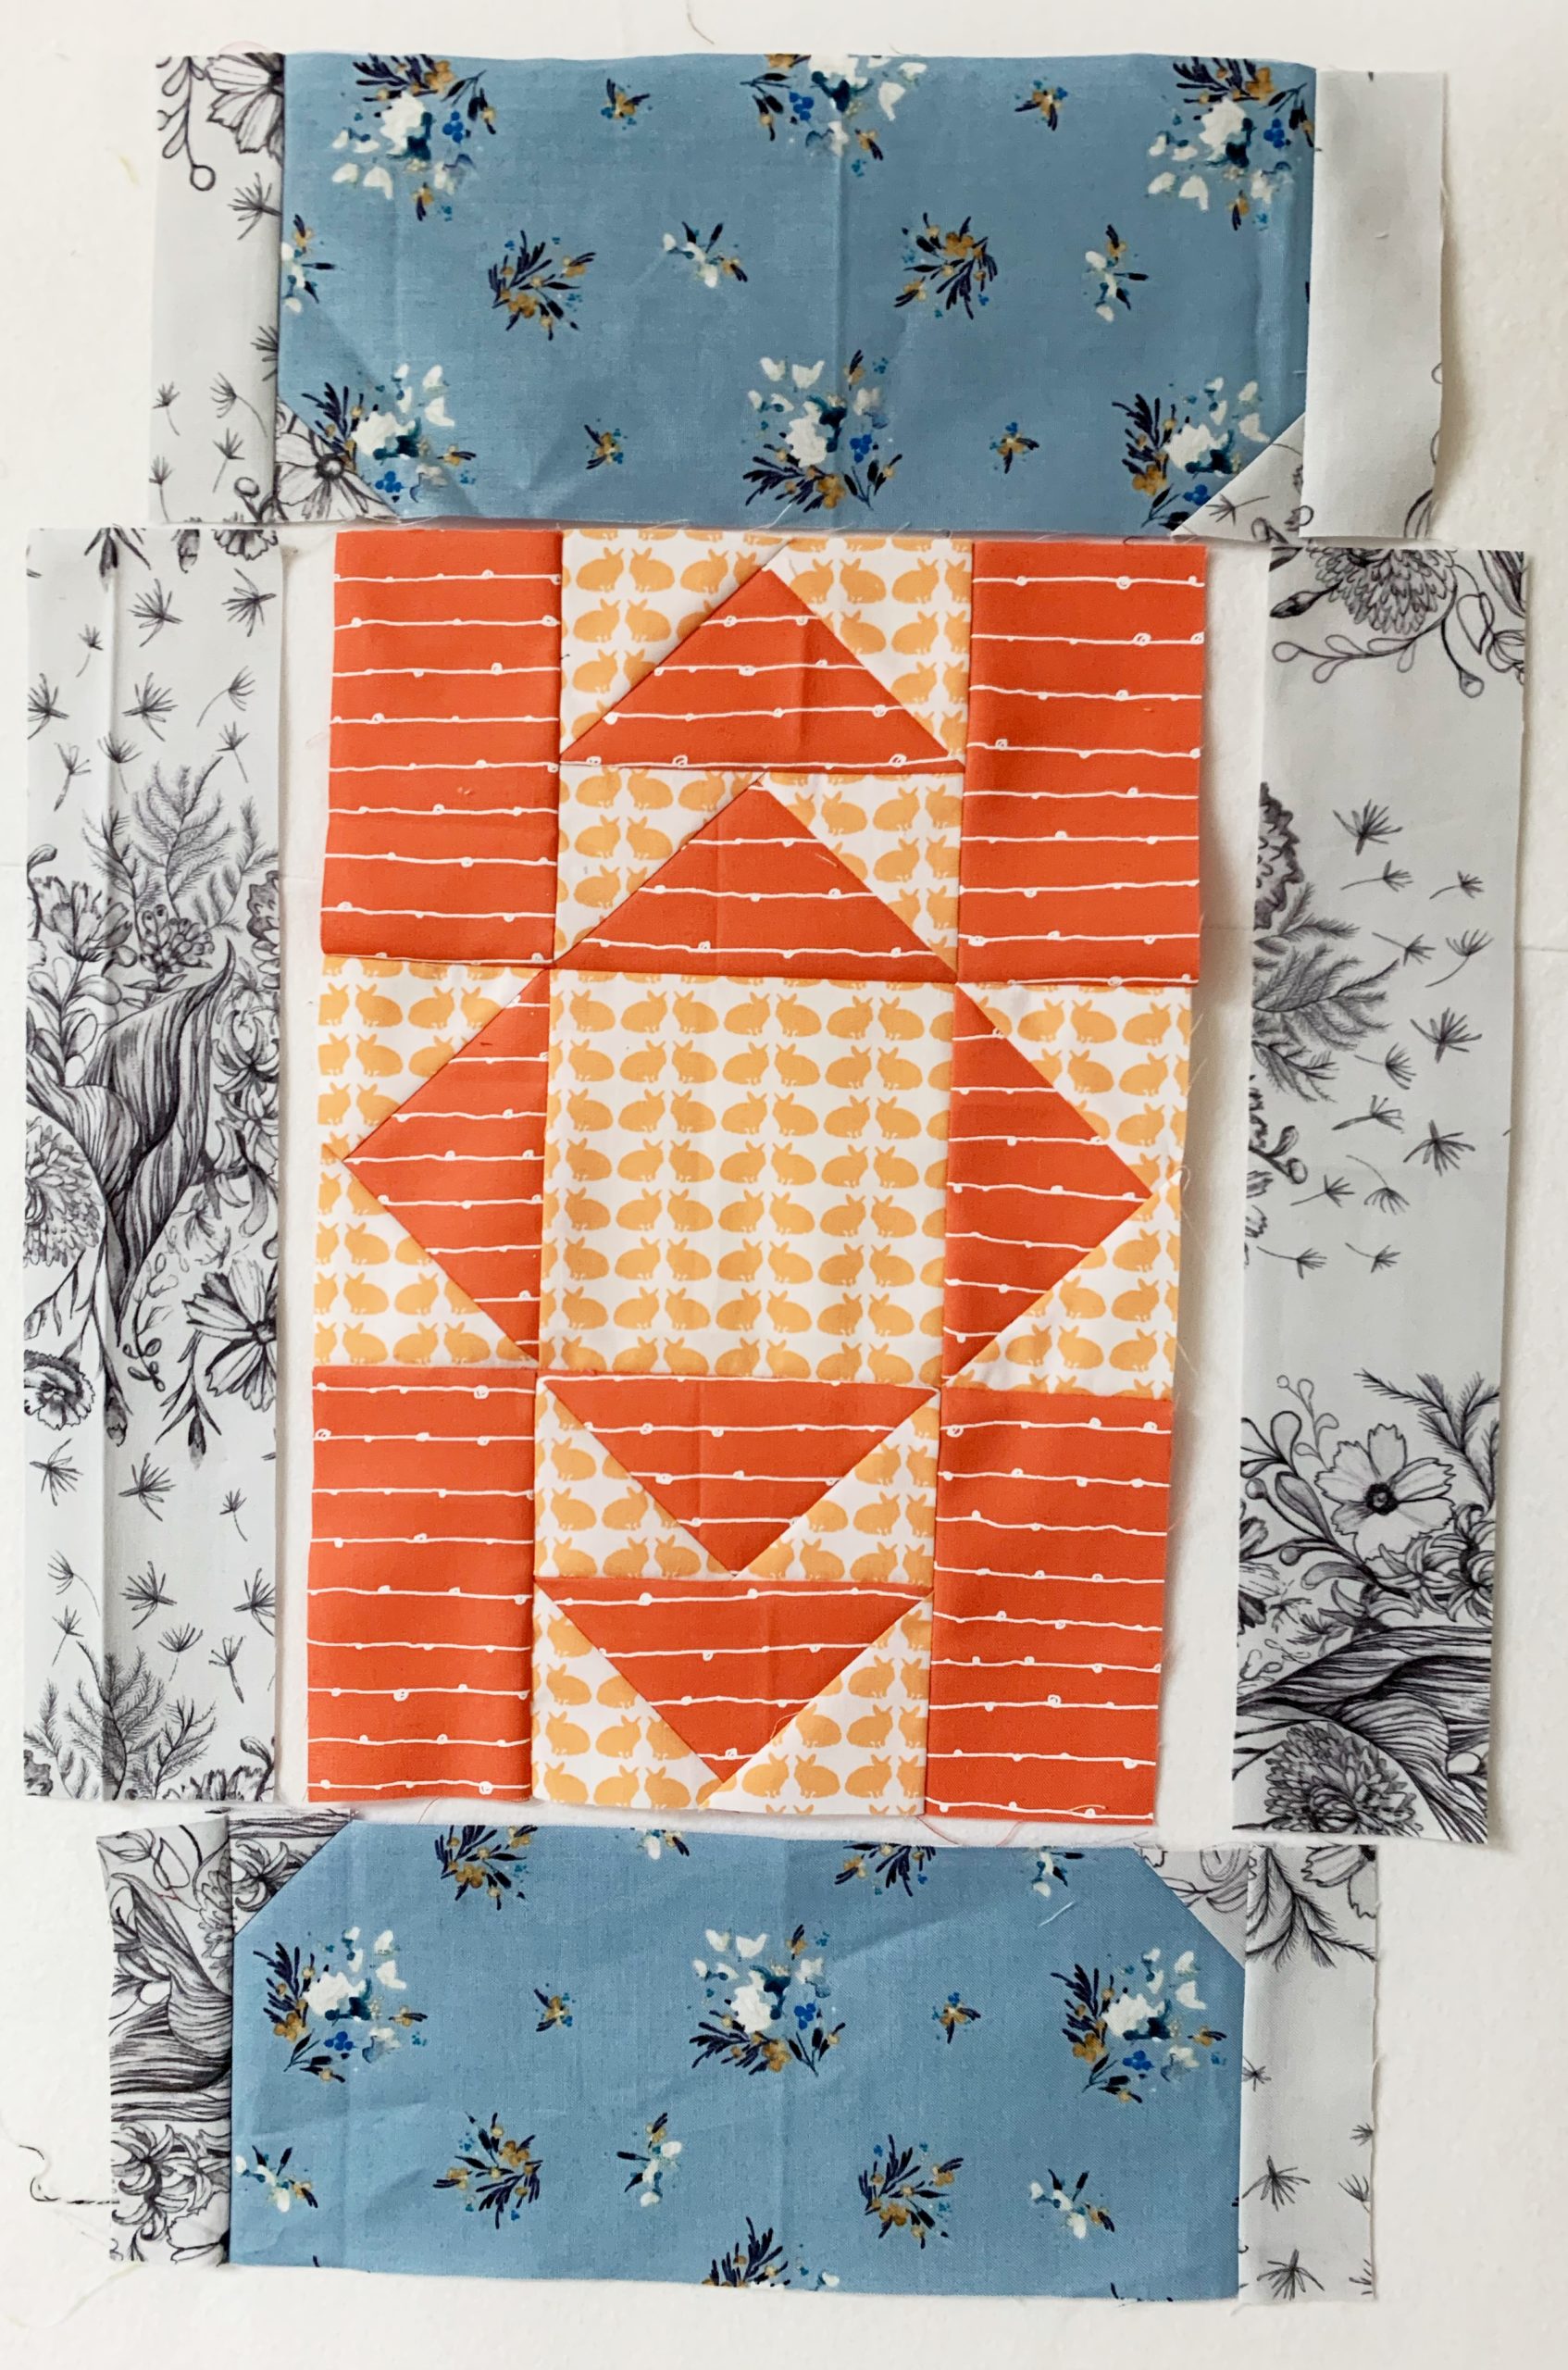
Take the 8.5″ x 12.5″ block you created in Clue 5 and put it in the middle. Place the “top” strip and the “bottom” strip as shown (pay attention to the orientation of the small corners – they should be adjacent to Block 5). Then on either side of the block place a 2.5″ x 12.5″ strip of background fabric. First sew the side strips to the Clue 5 block and press towards the strips. Then sew the top and bottom strips on and press towards the strips.
That is it for Clue #6! Be sure to post your progress on instagram and tag me @persimondreams and use the hashtag #PQMysteryQAL2
Tune in at noon, Wisconsin time tomorrow for the last clue – Clue #7!
Miss the first clues?

Link up your Mystery Quilt (I promise it’s small – this is very doable!) before Season 11 of Project QUILTING Starts on Sunday, January 5th, 2019 at noon CST and your name will be entered to win the Island Batik fabrics and Moda Scrap Nesting bins seen above plus some other fun Project QUILTING swag.
Are their directions for cutting fabrics A-E? Are these brand new fabrics?…choosing to coordinate with block and with background? I’m a bit unclear….thx
yes – these are brand new fabrics and represent the “spool reels” that go on the top and bottom of the blocks.
Never mind…I think I”ve figured it out. Each new block is composed of background fabric plus new fabric chosen for each of the letters. Thanks…
Very fun and unique. Now I get the stripes. And I used different backgrounds for each block because all I had was some batik fat quarters, but I think it will work. I’ll get it together and hang it above my thread collection. Inspiration for 2020 to be more creative!
Another resolution is to use my blog more with my quilt projects.