I had a TON of fun with this challenge … well technically … these challenges. I may or may not have quite a few things on my plate at any given time and I like to combine things whenever it’s feasible. In this case I combined the Project QUILTING challenge – Carolina Lily with the Sun Prairie Heritage Quilt Show “Hexagon” challenge. At first I had no idea how I was going to do this but it came together faster than I thought it would. *Side Note* – I’m going to share the ENTIRE process of this quilt – lots of pictures, lots of info – enjoy! The Carolina Lily challenge is pretty self explanatory – be inspired by the Carolina Lily. The other challenge – the hexagon was a bit more specific. 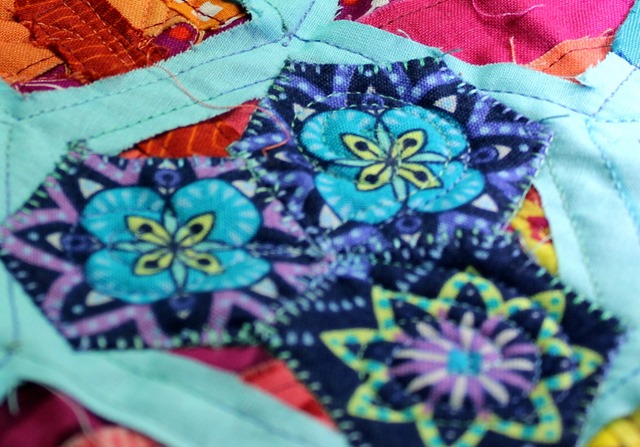 We were given a blue floral-esque fabric and had to include a minimum of 3 hexagons made of the challenge fabric. And the final piece HAS to measure 24-inch square.
  The challenge fabric inspired my choice of fabrics for the 3-inch English paper piecing hexagons I hand stitched together – a mix of blues, blue greens and even a deep blue-purple.
  Before I knew it I had a piece big enough for a dress for Pip – well, half a dress … the back really didn’t cover her very well.
  I love raw edge piecing. In fact my first idea for the hexagon challenge was to just raw edge piece all the hexagons in strips of fabric … I may still do that sometime … but I think this was a cooler solution. The colors for the background where inspired by the Carolina Lily – oranges, yellows, reds – and well some pinks too just because.
  The 3” blue hexagons fit nicely over the raw edge pieced background.
 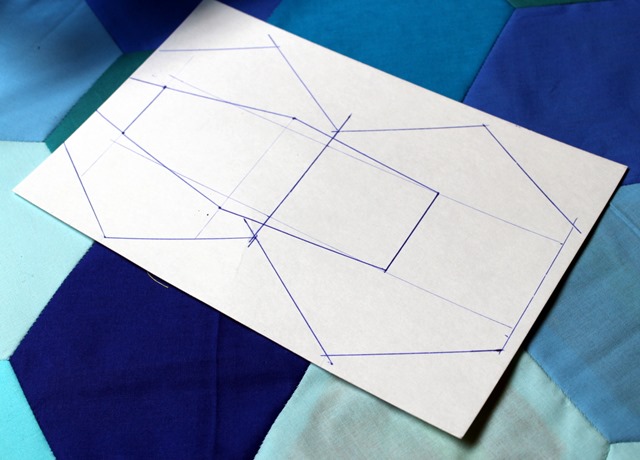 Next I needed to create my very own irregular hexagon template. I traced some of the paper piecing templates so I could scale the “petals” properly and created a six sided shape. This idea was actually inspired by Trisha Frankland when we were chatting.
  I drew a reference line on the irregular hexagon template so I could properly trace the six hexagons onto the English Paper Pieced (EPP) blue hexagon flower with a Dritz Dual Purpose Marking Pen.
 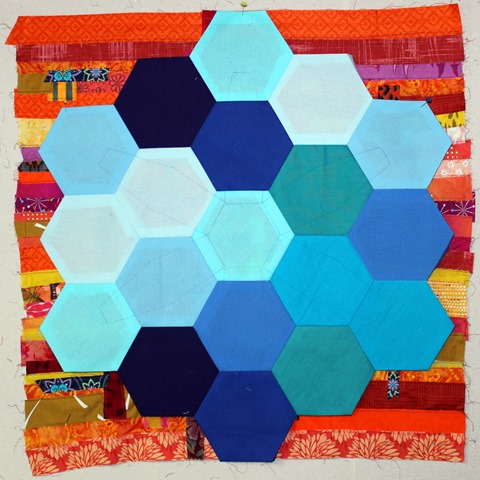 I pinned everything in place.
  And you can see the lines here.
 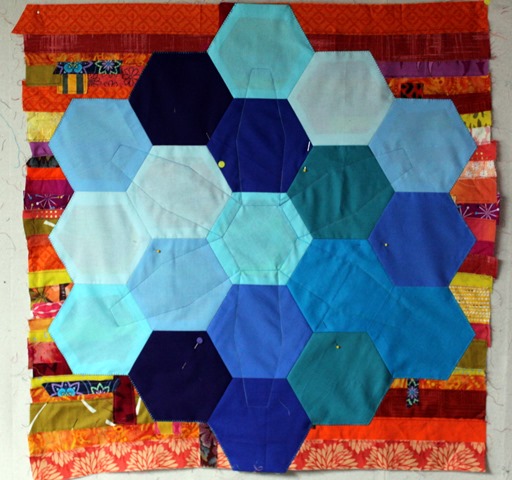 I used a 30 weight Superior Thread that I won in my big prize package in December to stitch RIGHT ON each of the lines I drew and then blanket stitch along the edge of the entire blue EPP Flower.
 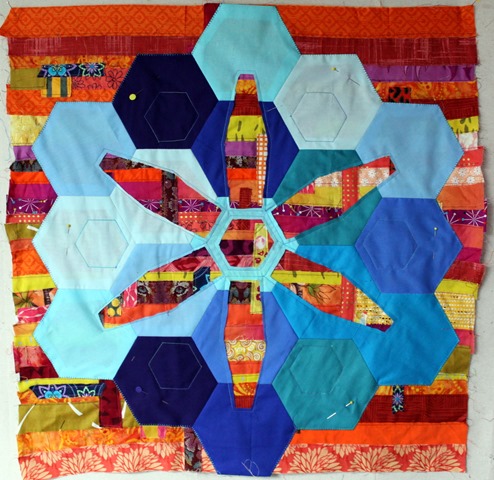 I have a video of how the rest was cut out HERE but my blog kept locking up when I embedded it so you’ll have to go and check it out! Basically – the layers were all stitched together so I pulled the blue EPP away from the background and with a tiny sharp scissor I cut the blue away inside the stitching. Slowly you could see each of the petals show up! I then traced a hexagon in the center, stitched the lines, and cut out the center in the same method. Which each cut I was loving it more and more! But with the six petals and center out it wasn’t enough.
 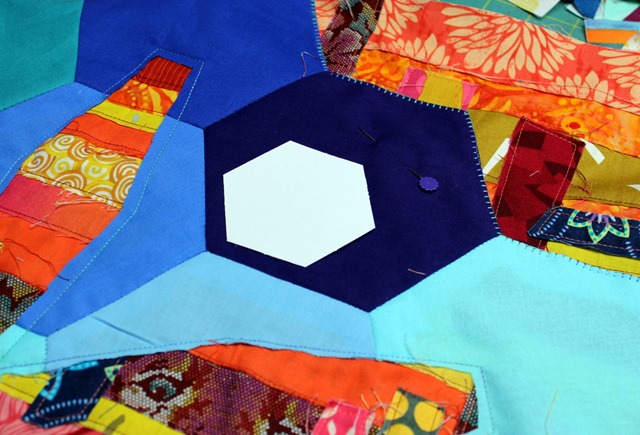 I found another smaller hexagon template and traced it six times.
  You may have guessed that tracing onto the dark purple solid fabric was not working the best. Instead, I used the paper template itself and stitch down right on the edge of the paper (not through the paper … directly next to it) which worked fabulously.
 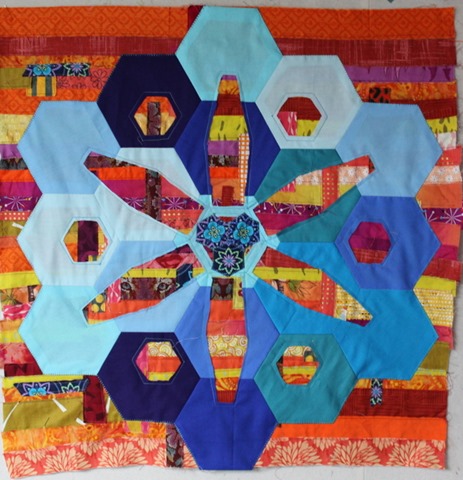 It was long before I had all the sections cut out. I then glued the hexagons in the challenge fabric down to the center and stitched those down too.
 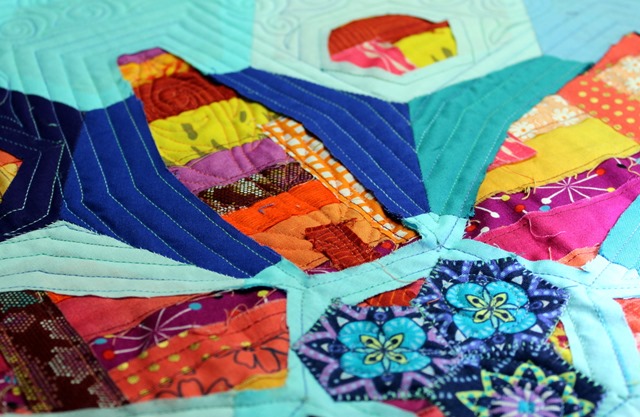 It was time for quilting! I started out with my walking foot and did some echo quilting around each of the petals. Once I felt that I had gone far enough with the echo’s I put on the free motion foot and started to play! A few days ago I attempted my first “Plume Feather” from Angela Walter’s Book “Free Motion Quilting with Angela Walters.” I have to say by this time I felt like Olivia the pig in her first book when she learned how to make sand castles … “She got pretty good.”
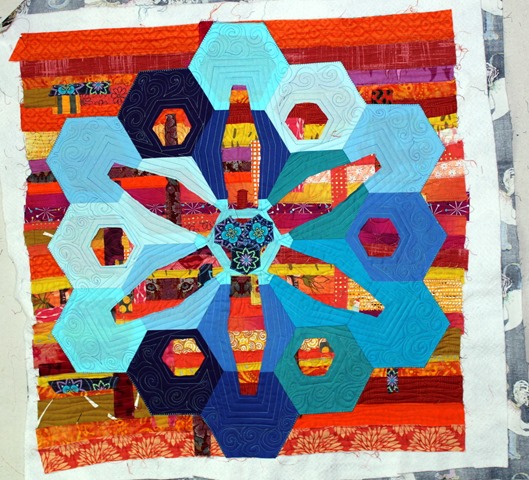 Before I knew it … the piece was quilted! But even though it’s insane … it still needed more.
  I decided to couch down some cording onto the quilt. First, I did the standard zig zag couching … on the left. While I was doing that I remembered Ricky Tims telling us about a special cording foot Bernina has – the #43. You can basically free motion quilt the cording down. I thought that after having that foot for at least 3 years … it was time to give it a go. It worked beautifully! I’m officially obsessed (photo on the right).
 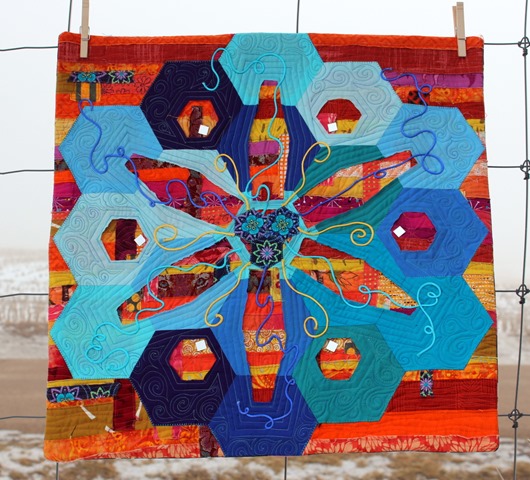 So … I added six blue cording and six yellow cording on. Then I trimmed the quilt up. I decided to face the binding. I stepped back and knew it needed one more thing – mirrors! I glued square mirrors into the six reverse appliqued hexagons. Now I’m done! I attempted a photo shoot on my fence … in the icy fog. The lighting wasn’t really the problem but the wind didn’t help!
 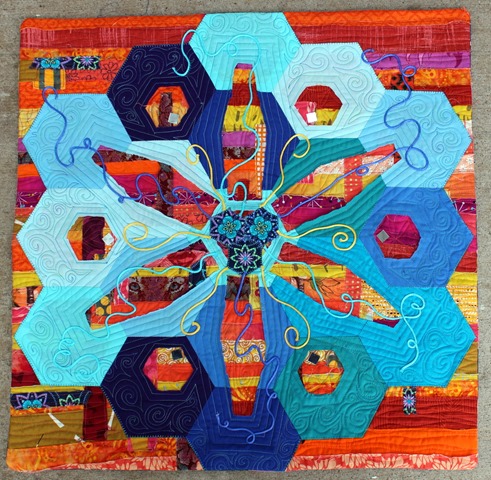 I finally got a decent photo by laying it right down on my driveway. And that … is the story behind my piece “Eye of the Carolina Tiger.”
  Oh! The name! This quilt is named “Eye of the Carolina Tiger” because when I reverse appliqued the petals one of them perfectly framed the eyes of one of Tula Pink’s tigers! When I showed my in-laws who where canning in our commercial kitchen my father-in-law asked if I was going to name it “Eye of the Tiger.” I had to tweak it slightly but it really was a perfect name. If you’re still with me – thanks for reading my story! I’m going to be linking up to the non-voting Project QUILTING link up on Sunday and Finish it Up Friday! Quilt Details:
“Eye of the Carolina Tiger”
Finished size: 24” x 24”
Pieced, quilted and embellished by Kim Lapacek, Poynette, WI

KimLapacek.com | Home of Persimon Dreams and Project QUILTING
Quilt designer, teacher, artist, dreamer
Looks fun! Sooo good to challenge ourselves.
Oh my, Wow. And you did it in a week.
It is amazing!
Oh my, Wow. And you did it in a week.
It is amazing!
Thank you for sharing your thoughts and design process in the creation of the piece. It looks GREAT as Tony the Tiger used to say! A winner to be sure.
Very interesting way to use hexagon and reverse applique. Colour combination is brilliant too!
This is such a stunning finish! I just love all the thoughtful details you incorporated into your design! It is amazing!!
Love, love, love this quilt and the process!