I can’t believe it. I did it! Either myself or a guest blogger posted a tutorial on my blog of a ‘twisted traditional’ block for 1 year – 52 weeks straight! Today is the very last ‘twisted’ tutorial that I’ll be posting. But have no fear – this isn’t the last you’ve heard from me! I have multiple quilt along plans for next year so be sure to stay tuned! But for now – let’s see what I came up with to end this adventure on a high note!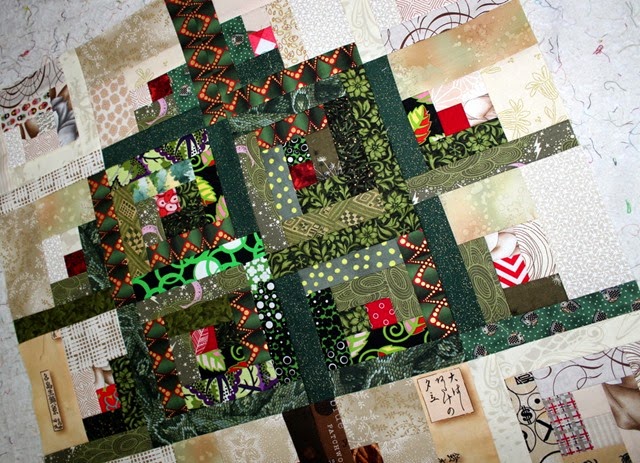
Log Cabin Christmas Tree Block Tutorial for
52 Twisted Traditional Block Quilt Along
Finished Block Size – 24” x 24”
I did things a little differently for this twisted traditional block. By choosing the fabrics and layout correctly – traditional log cabin blocks can form a Christmas tree! So – today we’re making 16 log cabin blocks and making an adorable Christmas tree block! Have fun!
Cutting Instructions
 Since these are all log cabin blocks the hardest part about making this quilt is cutting the correct colors of fabric in the correct sizes. I drew the design up in EQ7 and here are the following pieces you should cut so you’ll be prepared. Also – I am giving you four basic colors to cut. I would recommend doing this with as many different fabrics in that color group at possible. The scrappier the better!
Ornaments (reds) 8 – 1.5” squares (F) Trunk (browns) 2 – 1.5” X 6.5” rectangles (B)
2 – 1.5” x 5.5” rectangles (A)
2 – 1.5” x 3.5” rectangles (D)
2 – 1.5” x 2.5” rectangles (E) Tree (greens) 10 – 1.5” X 6.5” rectangles (B)
14 – 1.5” x 5.5” rectangles (A)
8 – 1.5” x 4.5” rectangles (C)
12 – 1.5” x 3.5” rectangles (D)
16 – 1.5” x 2.5” rectangles (E)
4 – 1.5” x 1.5” squares (F) Background (creams/beiges) 4 – 1.5” X 6.5” rectangles (B)
8 – 1.5” x 5.5” rectangles (A)
8 – 1.5” x 4.5” rectangles (C)
10 – 1.5” x 3.5” rectangles (D)
12 – 1.5” x 2.5” rectangles (E)
14 – 1.5” x 1.5” squares (F)
8 – 2.5” x 5.5” rectangles (H)
8 – 2.5” x 3.5” rectangles (G)
2 – 2.5” x 2.5” rectangles (I) 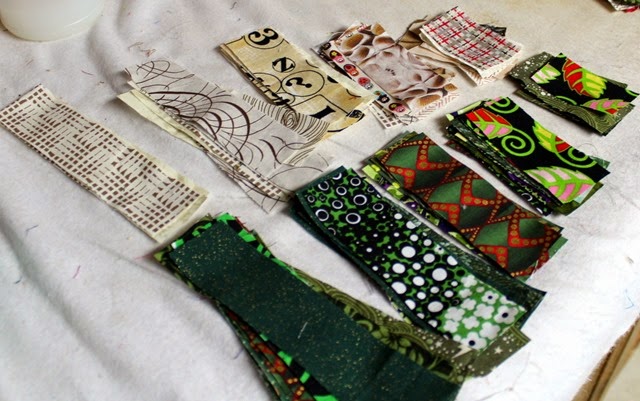 Once you have them all cut I would recommend sorting them into piles by size and color to keep things straight. As you piece your blocks you can pull from your piles as necessary.
Directions
Every piece for this quilt is a log cabin block. There are four slightly different blocks that will be made. The differences are basically just in color or strip size – each one will be pieced with a standard* log cabin method. *Blocks 3a and 4a have one slight non-standard log cabin piecing right at the very end of the block construction. 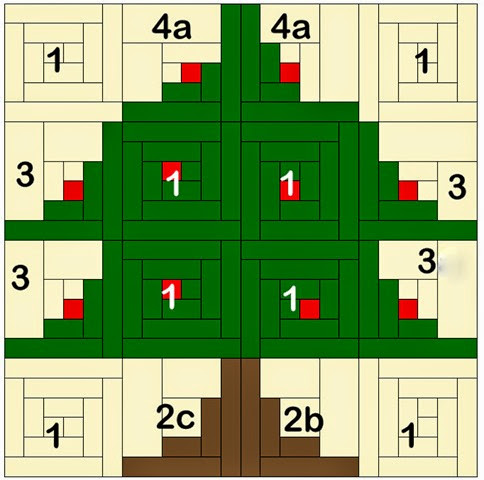
Block 1
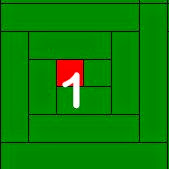 We’ll start by making all the number 1 blocks. These are completely standard log cabins. We’ll be making 4 in beiges and 4 in greens. I’ll walk you through the log cabin process with pictures of each step as the log cabins are added on.
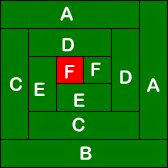
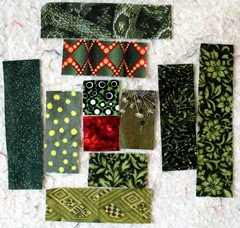 Start by laying out your fabrics in the orientation you’d like to sew them together.
 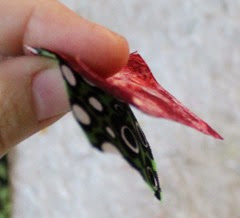 Next – take your two F blocks and sew them together.
 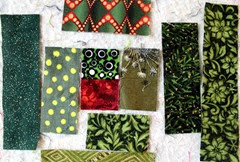 Press towards the green fabric.
 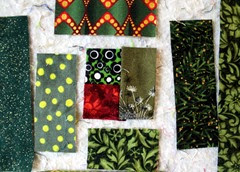 Next, sew an E block to your two F blocks. Always press towards the last strip you sewed on.
 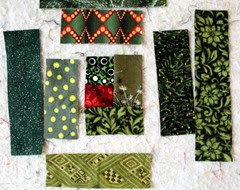 Continuing clockwise, sew the second E block on.
 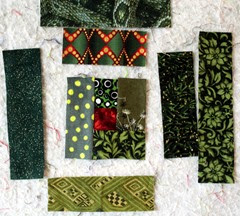 A D strip gets sewn on next.
 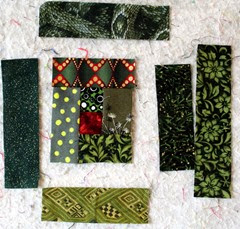 Followed by the second D strip. Are you starting to see the pattern?
 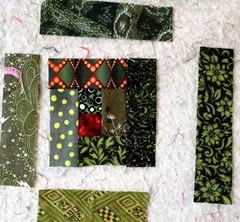 Next add a C strip.
 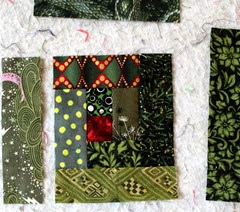 And then another C strip.
 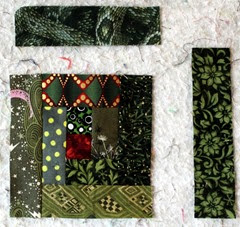 An A strip gets sewn on next.
 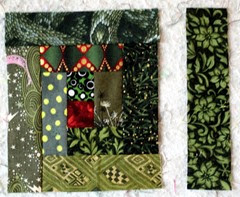 Followed by another A strip.
 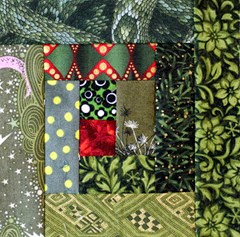 The last strip to sew on in the B strip! You now have a 6.5” log cabin square. Repeat this and make a total of 4 log cabin blocks for the tree (green) and 4 log cabin blocks for the background (cream).
Block 2
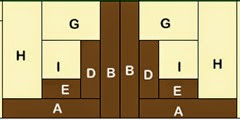 Next – let’s make our trunk log cabins – block 2b and 2c. These blocks are basically the same – they’re just mirror images of each other. So – start by sewing the ‘I’ squares to the E strips.
 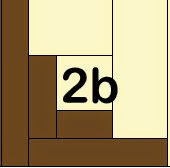 Then on 2b you’ll sew the D strip onto the left side of the IE block. Continue to sew your strips on in a clockwise direction – starting with G then H then A and lastly B.
 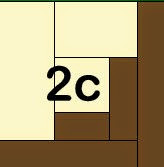 On 2c you’ll sew your D strip onto the right side of the IE block. Continue to sew your strips on in a counterclockwise direction – starting with G then H then A and lastly B.
 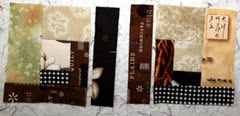 Your 2 blocks will look something like this.
Block 3
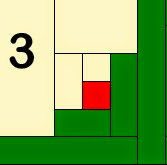 Next make block 3.
 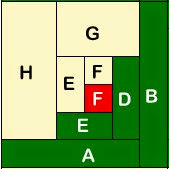 Follow the same method as was shown in Block 1. Sew F to F to E to E to D to G to H to A to B. Make 4 of these.
Block 4a
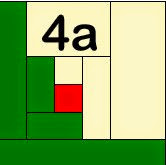 The last set of blocks we need to make is the 4a block. I call it 4a because there’s a slightly alternative method for piecing the very end of this log cabin block.
 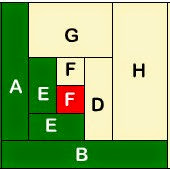 Start by sewing the F to the F to the E to the E to the G to the A. Then on the 5.5” GD edge – sew the H strip on. On the 6.5” AEDH edge – sew on the B strip. Make two of these.
 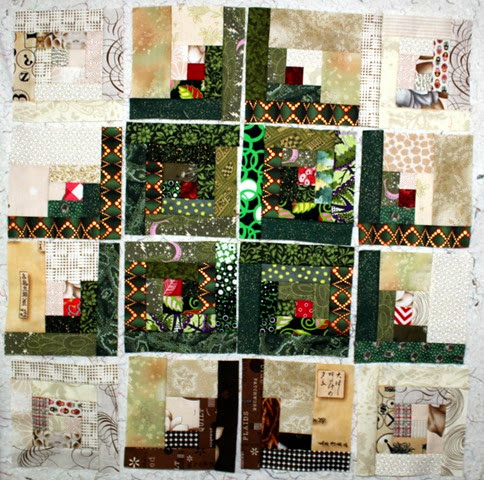 At this point you have 16 little 6.5” log cabins. Place them on your design wall in the orientation shown above. Just sew these 16 blocks together to make a 24.5” square.
 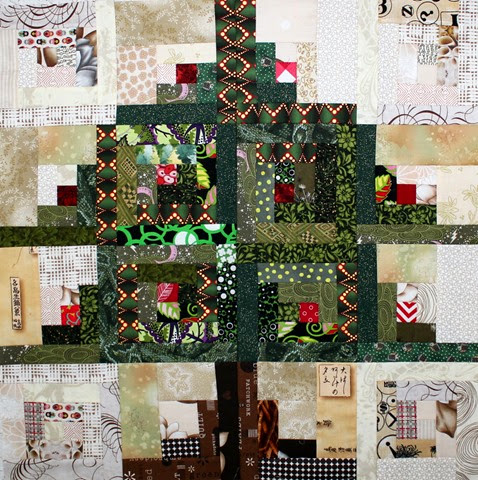 And with that – your log cabin Christmas Tree is complete! Thanks for following along and I hope you enjoyed this block tutorial! — Get your FREE printable PDF of this block by heading to my craftsy store. Don’t wait too long…after a month (1/24/15), the PDF will be $2. Log Cabin Christmas Tree BLOCK TUTORIAL – – – I can’t wait to see what all your blocks look like! Be sure to share you blocks and any projects you make using your blocks onto our flickr group: 52 Blocks Quilt Along Hashtag: #52bTT Stop back next Wednesday for the FINAL twisted traditional block tutorial! —

You have been so creative with these blocks. Thanks for helping me to think outside the box. Merry Christmas!