I’m a little at getting this posted … I’ve spent the day getting ready for surprising the girls with a trip on the Polar Express! But before we set off … here’s your weekly quilt block tutorial!
Hour Mint Block Tutorial for
52 Twisted Traditional Block Quilt Along
Finished Block Size – 6” x 6”
A traditional hourglass block twisted into a fun peppermint!
Supplies and Cutting Instructions
Mint (white)
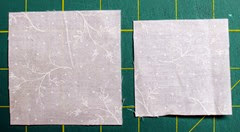 1 – 3” x 3” square
1 – 2.5” x 2.5” square
Background 1 (golden yellow)
Background 2 (green)
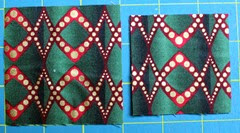 2 – 2.5” squares
2 – 3” squares
Peppermint Swirl (red)
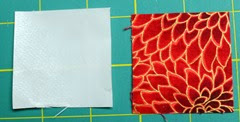 1 – 2” square 1 – 2” square of fusible
Directions
Half Square Triangles
We need to start by making three pairs of half square triangles. 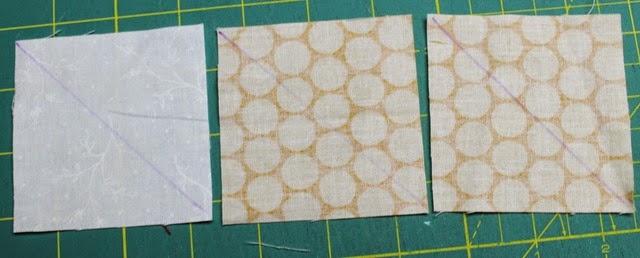 On the wrong side of your 3” square of white fabric and two of your 3” squares of golden yellow fabric draw a diagonal line with a water soluble marker. Pair the white fabric with the remaining square of golden yellow fabric right sides together. Pair the two 3” squares of golden yellow fabrics with the two 3” squares of green fabric right sides together.
 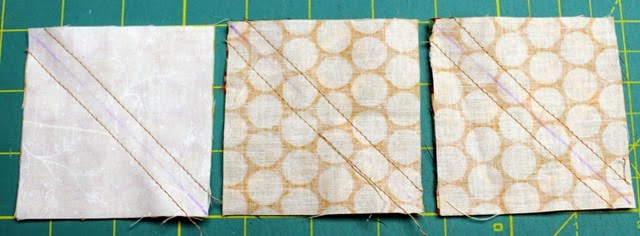 Sew a seam a quarter-inch on both sides of the lines you drew on all three pairs of the fabric.
 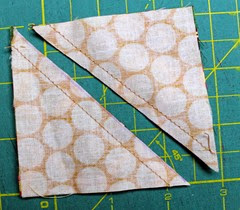 Cut each of the blocks on the line you drew. Press towards the darker of the two fabrics.
 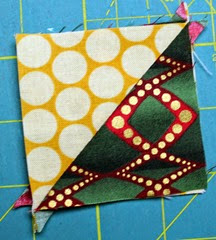 Take your six half square triangle blocks
 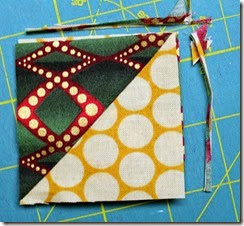 and square them up to 2.5”.
 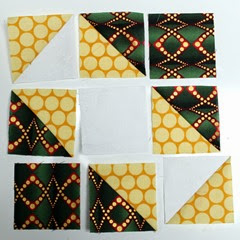 Now take your six half square triangle blocks and lay them out with your 2.5” squares you cut out initially in the setting shown above.
 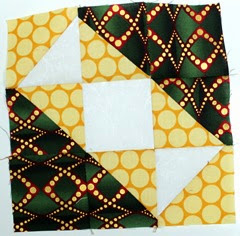 Sew the nine patch together into a block. You can already see that there is a fun peppermint shape coming out! Let’s bring that out a little bit more with some fun fused applique.
  Start by sketching out a 2” x 2” square on your paper (this is the size of your finished center block).
 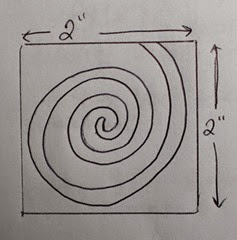 Draw the design you’d like to showcase in your mint. I decided I wanted a fun swirl!
 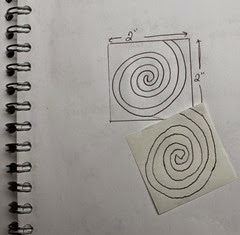 Now trace that design onto your fusible web.
 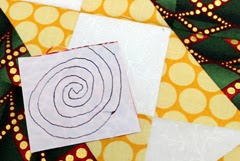 Press it onto your red fabric. And then cut it out!
 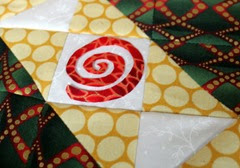 Place it how you think it looks best in your mint and press to finalize the placement.
 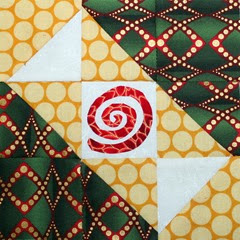 And now you have a fun mint! I still didn’t think it was quite ‘there’ just yet.
 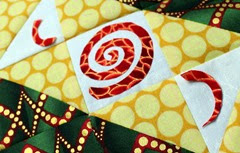 So – I took some of the scraps of red fused fabric I had left from cutting out my swirl and added two particle swirls to each part of the mint! I personally think it made a great final touch but feel free to embellish as you see fit!
 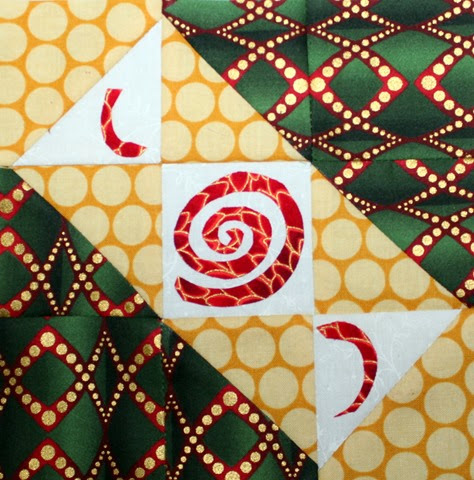 And with that…your ‘Hour Mint’ block is finished! — Get your FREE printable PDF of this block by heading to my craftsy store. Don’t wait too long…after a month (1/17/15), the PDF will be $1. Hour Mint BLOCK TUTORIAL – – – I can’t wait to see what all your blocks look like! Be sure to share you blocks and any projects you make using your blocks onto our flickr group: 52 Blocks Quilt Along Hashtag: #52bTT Stop back next Wednesday for the FINAL twisted traditional block tutorial! —

Leave a Reply