45. Yes folks! We’re on the 45th block of the 52 blocks for this Quilt Along! I’m loving how this is going and how it sparks me to see new things when I look at quilt blocks! Are you all enjoying it!? Let’s get on with it …
Drunkard’s Mushroom Block Tutorial for
52 Twisted Traditional Block Quilt Along
Finished Block Size – 6” x 6”
By playing with the orientation of your quarter circle blocks – many different images can emerge. This tutorial will show you how to bring out a mushroom!
Templates or Rulers
For this block you’ll either need to use special Drunkard’s path rulers, print out templates or make your own templates. A great tutorial for making templates can be found here from Sewn by Leila. Another free option – September 2012 FREE Craftsy BOM block was the Drunkard’s Path! And they had templates. (If you’re not a member of craftsy – don’t worry it’s free to sign up. If you aren’t signed up for the 2012 Craftsy BOM – don’t worry that’s free too! But you’ll have to do both of these things to get the printable templates). 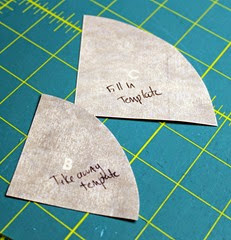 For this particular tutorial I used the Craftsy templates. They will make a 3-inch finished square.
Cutting Instructions
Background
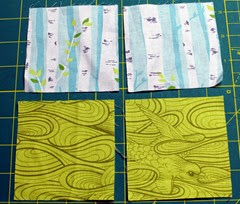
Sky: 2 – 3.5” squares (blue)
Grass: 2 – 3.5” squares (green)
Mushroom
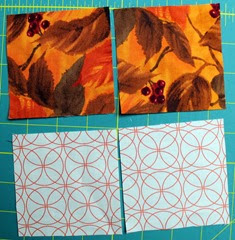
Top cap: 2 – 3.5” squares (darker orange)
Stem: 2 – 3.5” squares (lighter orange)
Directions
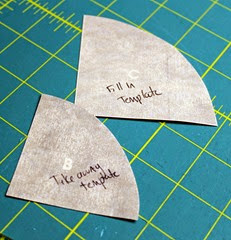 Overall this is a simple block – it can just be slightly confusing. I wrote directly on my templates which one was which to help keep things straight – the larger quarter circle is the ‘Fill In’ Template. The smaller quarter circle is the ‘Take Away’ Template.
  Because my sky print is a directional I have to be careful about where I place my templates for cutting. I need to take away a quarter circle of each sky piece – so I use my ‘take away’ template to do so on each of the two 3.5” squares.
 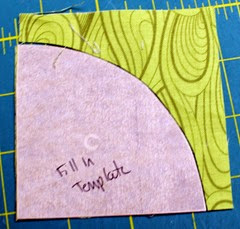 I need the exterior shape for the grass in my block so I use the ‘Fill In’ template to cut out proper shape in both grass squares.
  Both squares of the mushroom cap fabric also needs to be cut using the fill in template.
 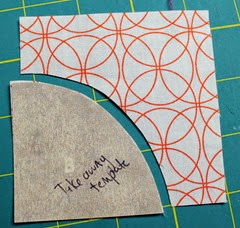 Both of the stem fabric squares need to be cut with the take away template. Now that we have all of our shapes cut out – it’s time to put things together! Sew the quarter circle caps into the sky and the quarter circle grass into the stem.
 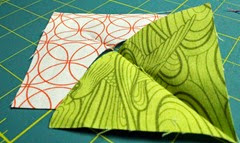 This is the second tricky part to this block – sewing a curve. I fold each of my shapes to find the halfway point on the curve. I press it with an iron to hold the spot.
 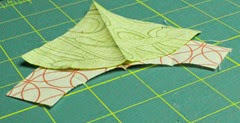 Then I place them right sides together with the creases you just pressed matching.
 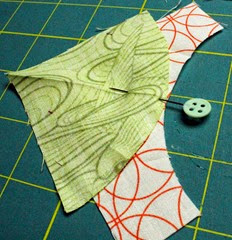 Pin them together at the center points.
 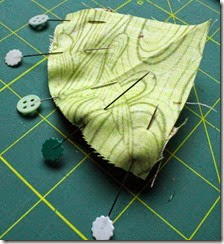 Next pin the two outer edges and then again in the midpoint between the edge and the center.
 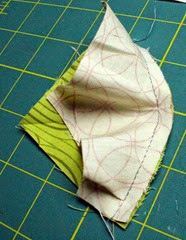 Carefully sew a quarter inch seam around on the curve. I found that it works best if you sew as close to the pin as possible without sewing the pin before you take it out.
 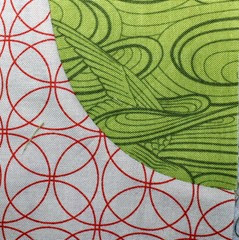 Press towards the outer fabric. Repeat this with the other three squares for this block.
 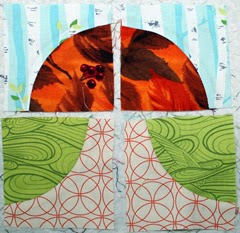 When you sew all four of the curved blocks together lay them out so they’re in the same orientation as shown above. Sew the four patch together into one block.
 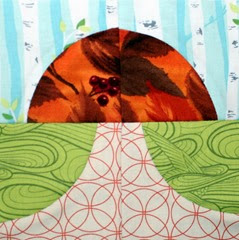 Here is the finished block! I felt like my stem fabric was a bit too light for the block and made it look more like a road into a sun instead of a mushroom.
 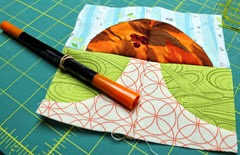 So – I took a fabric marker and decided to darken the fabric a bit.
 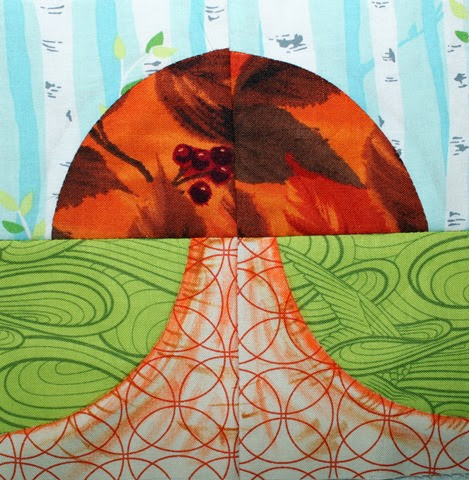 And with that…your ‘Drunkard’s Mushroom’ block is finished! — Get your FREE printable PDF of this block by heading to my craftsy store. Don’t wait too long…after a month (12/4/14), the PDF will be $1. DRUNKARD’S MUSHROOM BLOCK TUTORIAL – – – I can’t wait to see what all your blocks look like! Be sure to share you blocks and any projects you make using your blocks onto our flickr group: 52 Blocks Quilt Along Hashtag: #52bTT Stop back next Wednesday for another twisted traditional block tutorial!
Leave a Reply