
It’s Wednesday! Happy Hump Day AND Happy New Block Tutorial Day for the 52 Blocks Twisted Tradition Quilt Along! For the first block tutorial of March we’re doing a little ode to the Irish! Enjoy!
Before I begin, I have to give a big shout and Thank You to Pip for waiting patiently for me to make and take pictures of this block last night. I would have been up WAY LATER than I already was if it weren’t for her cooperation.
I asked if I could take her picture so everyone could see who helped me so much and she decided lying on the floor was the best pose.
Lucky Clover Vision Block Tutorial for
52 Twisted Traditional Block Quilt Along
Finished Block Size – 12” x 12”
I twisted the traditional block ‘Night Vision’ for our next block. Since it’s March and St. Patty’s Day is approaching I thought it would be fun to create a ‘Lucky Clover’ inspired block.
Cutting Instructions
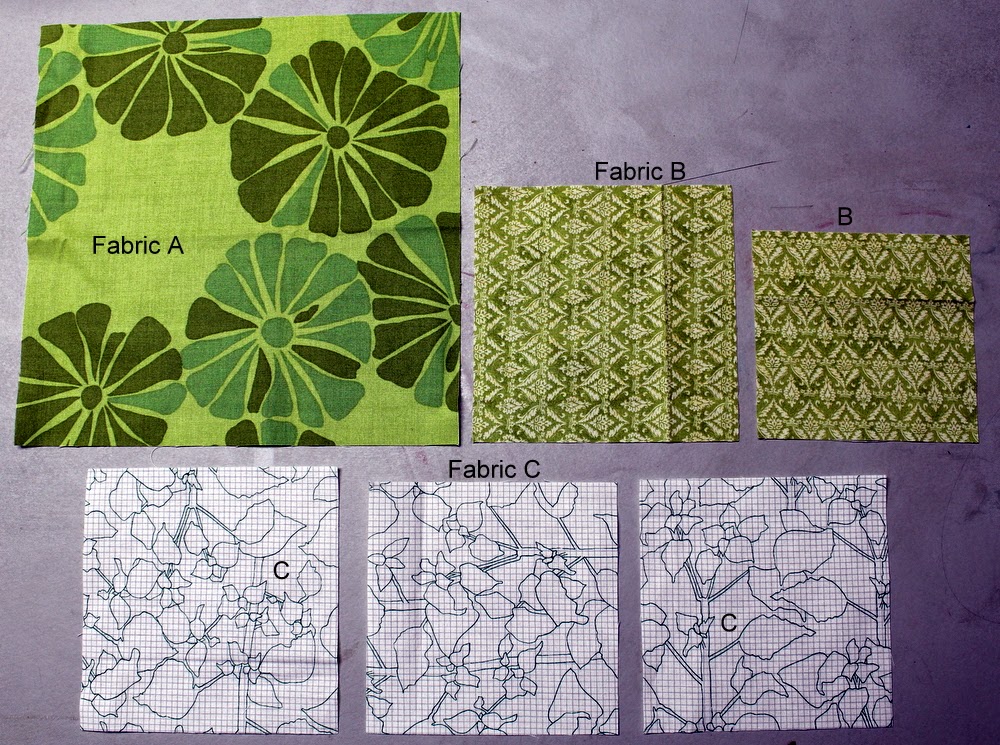
Fabric A (green) 1 – 9 1/4” square
1 – just slightly over 1” x 2” rectangle
Fabric B (lighter shade of green) 1 – 4 1/2” square
1 – 5 1/4” square
Fabric C (background/neutral) 1 – 5 1/4” square
2 – 4 7/8” squares

Fusible (your favorite kind) 1 – 1” x 2” approximately
Directions
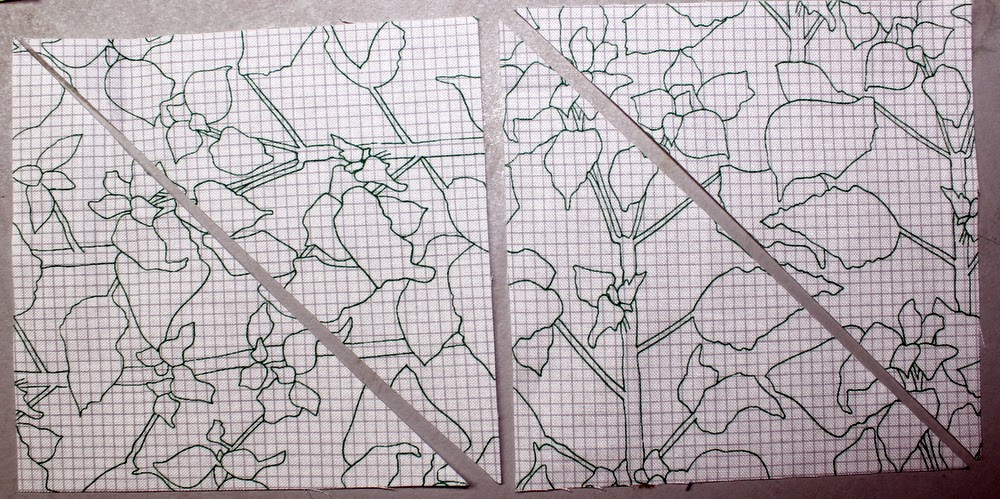
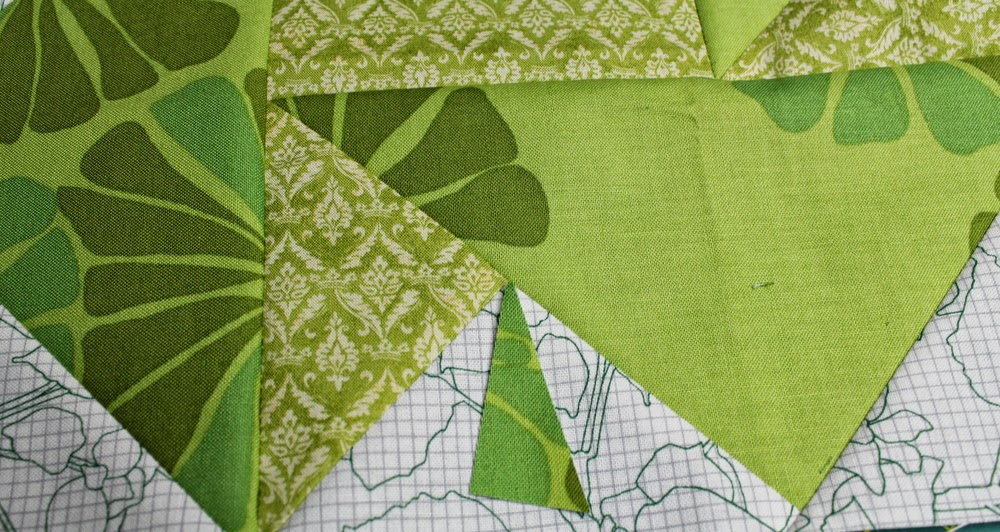
We have all of our fabric cut into squares but we have a little more cutting to do before we start sewing anything.
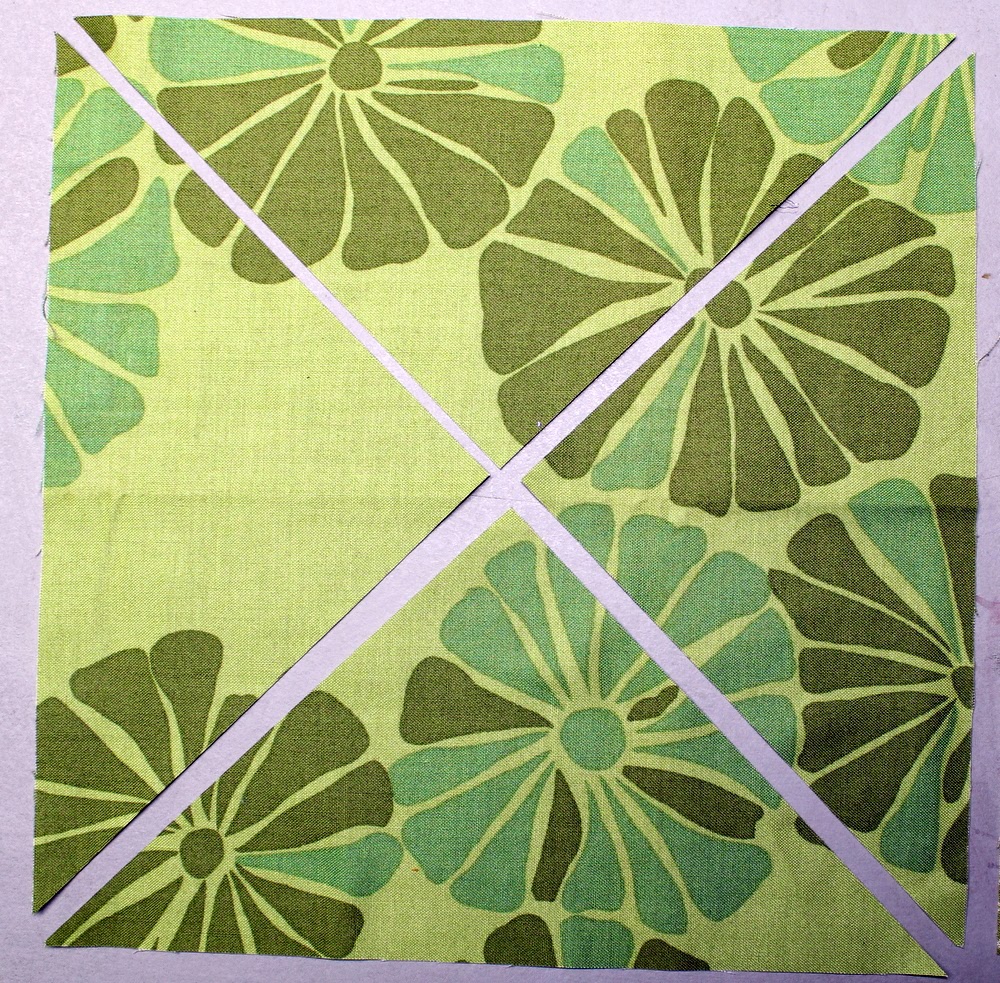
Cut Fabric A into four triangles as shown above.
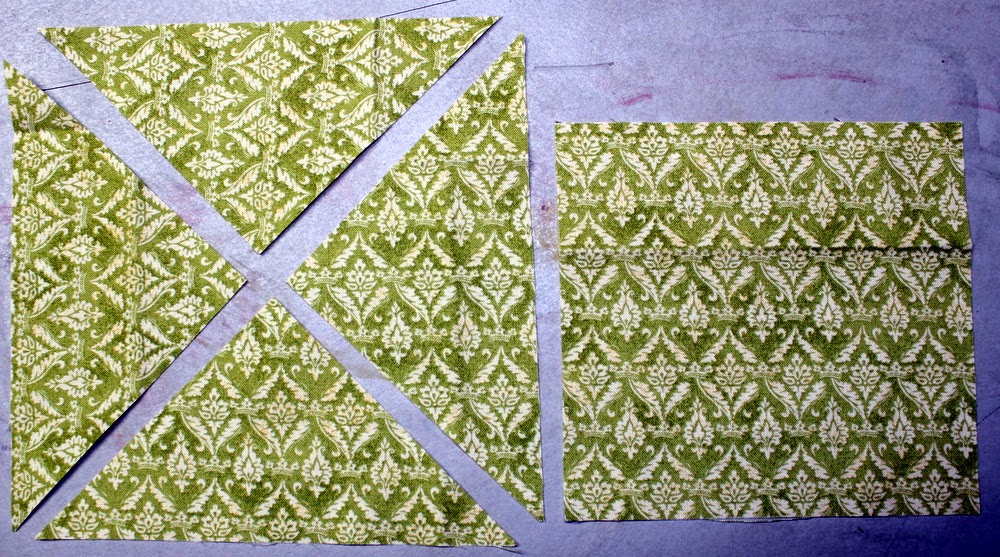
Cut the 5 ¼” square of Fabric B into four triangles. Leave the 4 1/2” square as is.
Cut the two 4 7/8” squares of Fabric C into two triangles by cutting along one diagonal.
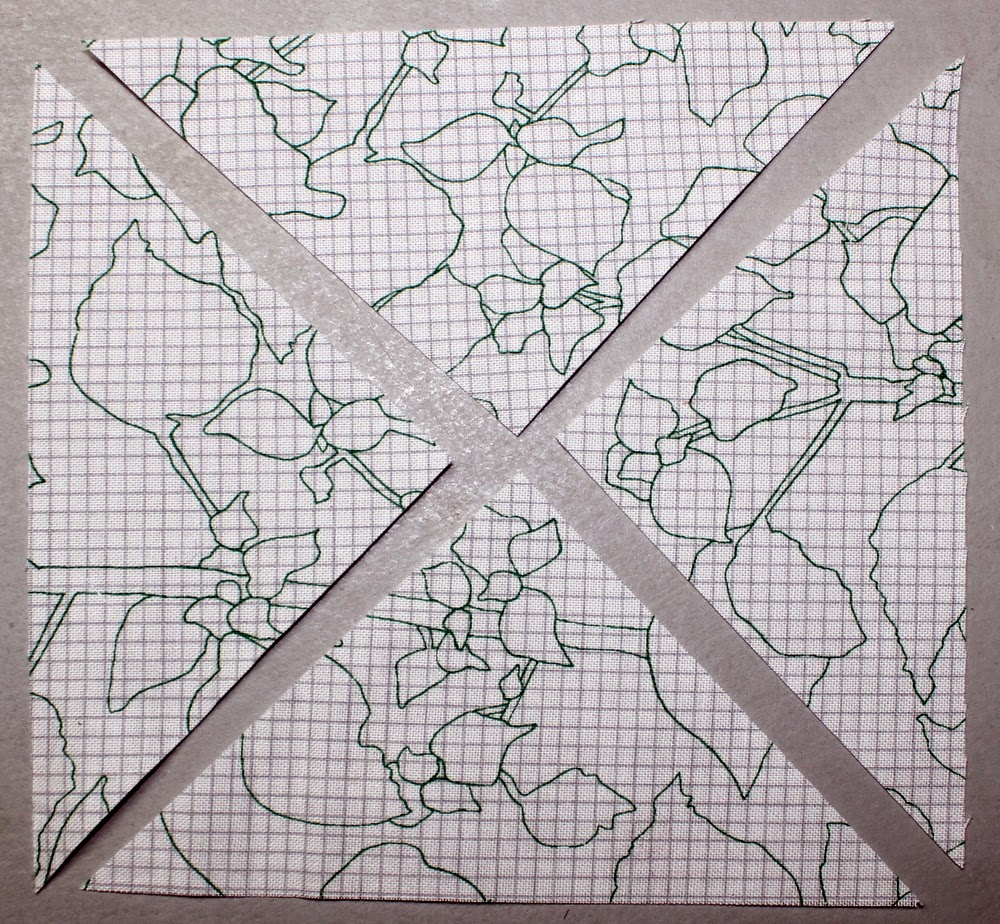
Cut the 5 ¼” square of Fabric C into four triangles.
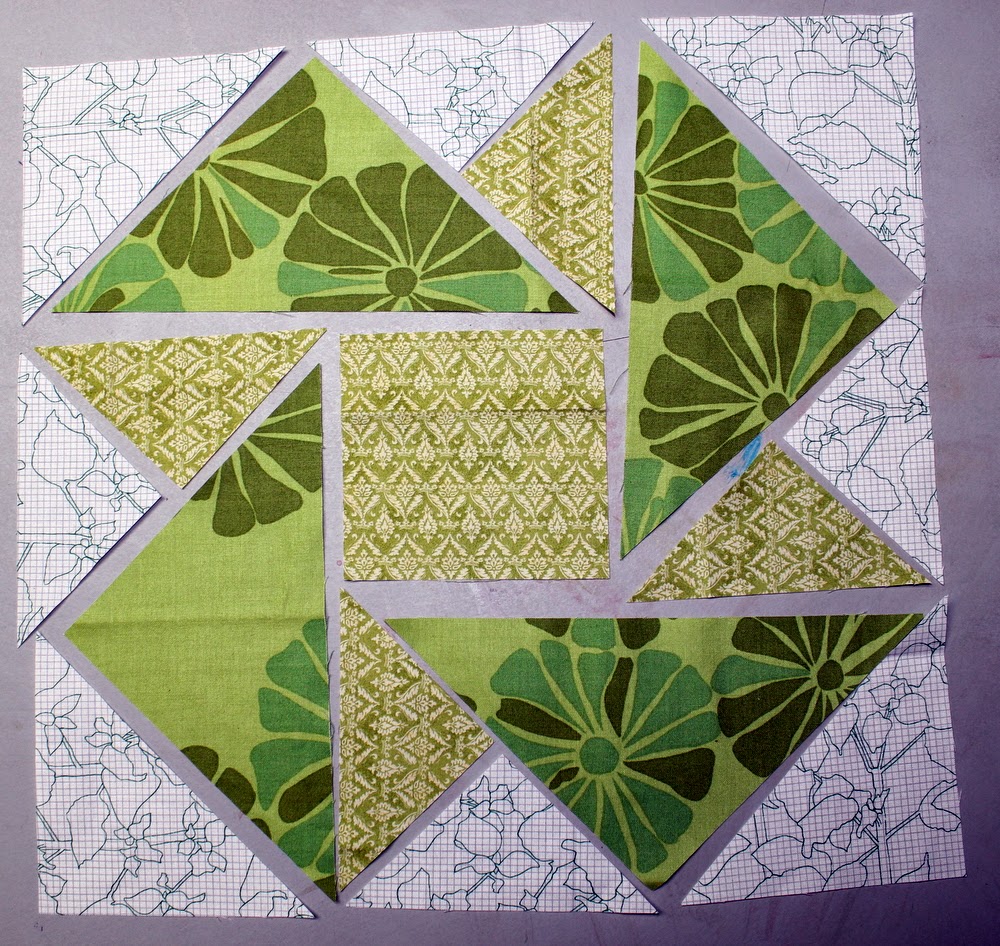
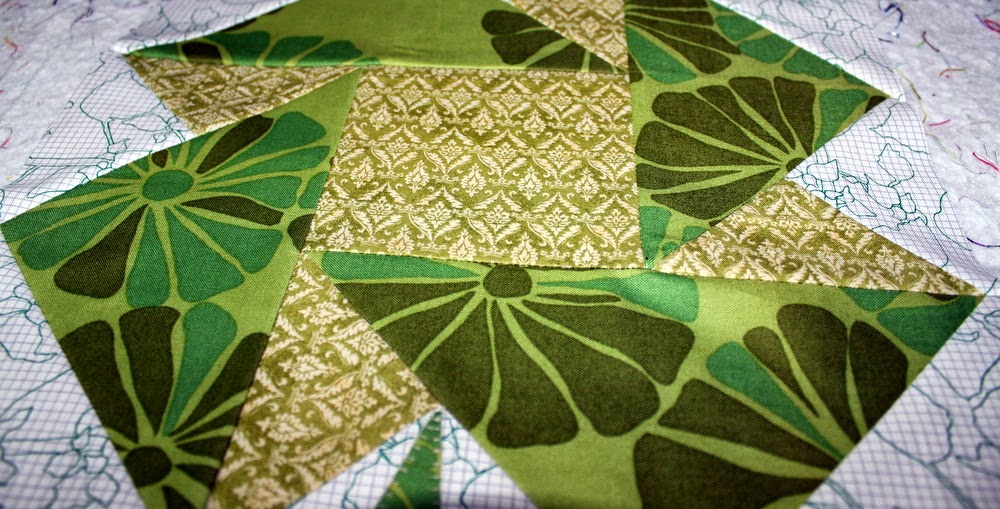
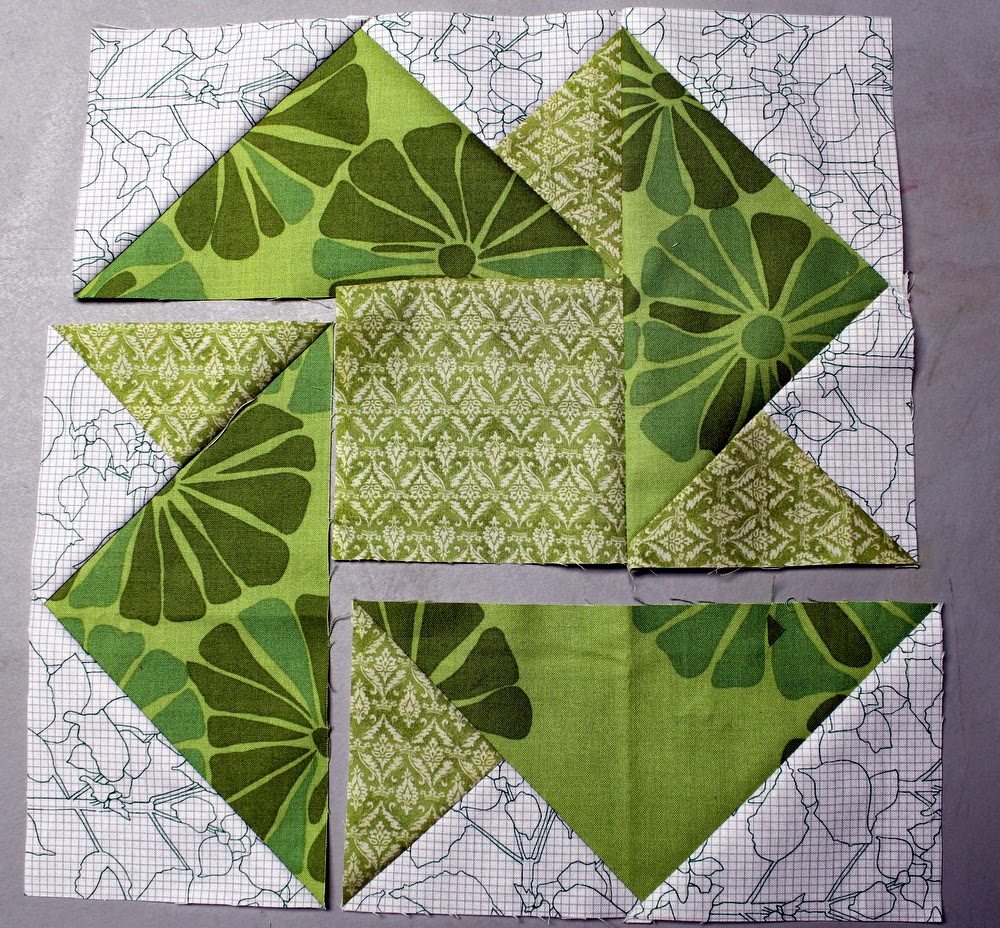
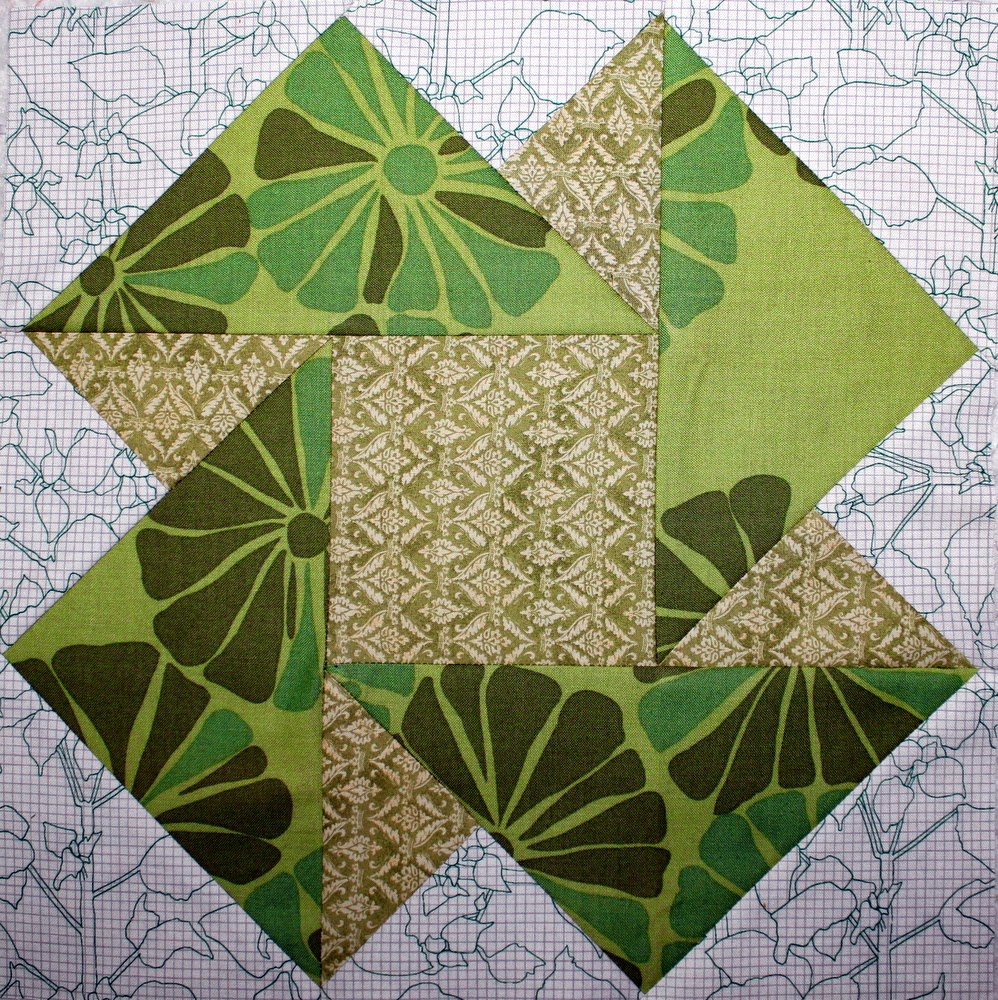
Once you have all your triangles cut lay out your fabrics as I show in the above diagram.
Sew your smaller triangles of Fabric B and Fabric C together first.
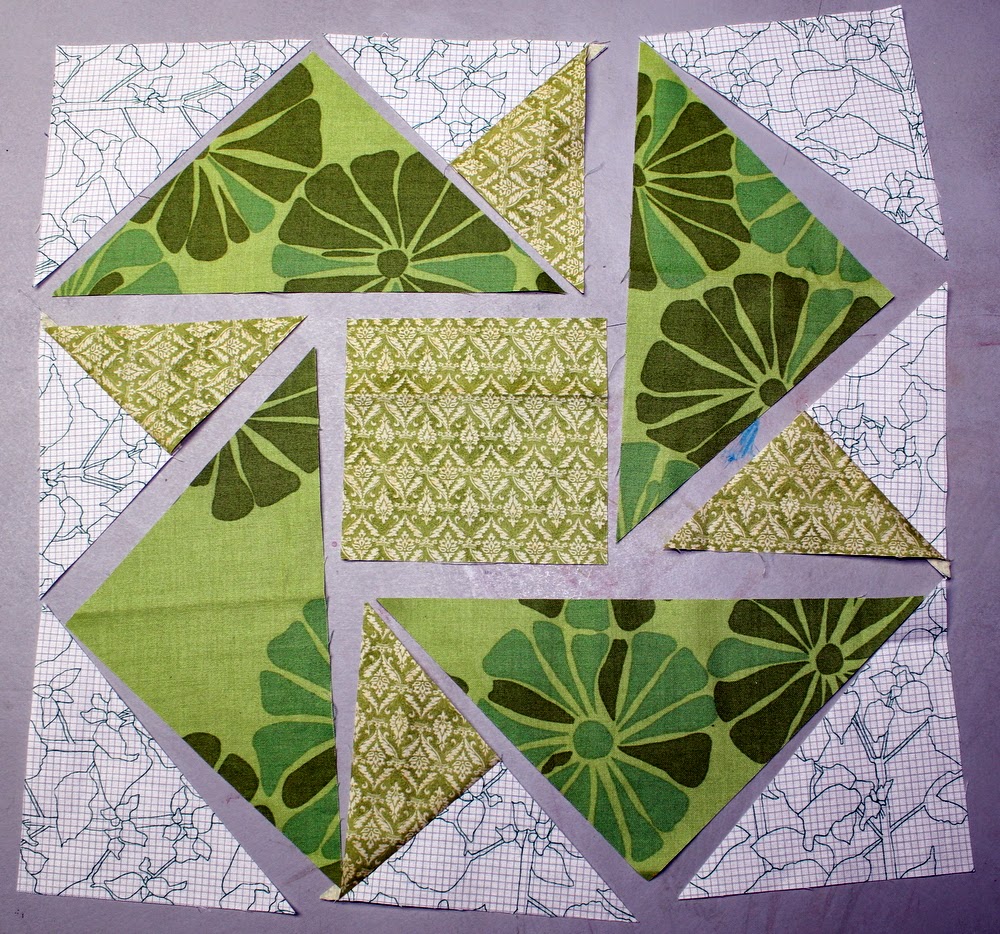
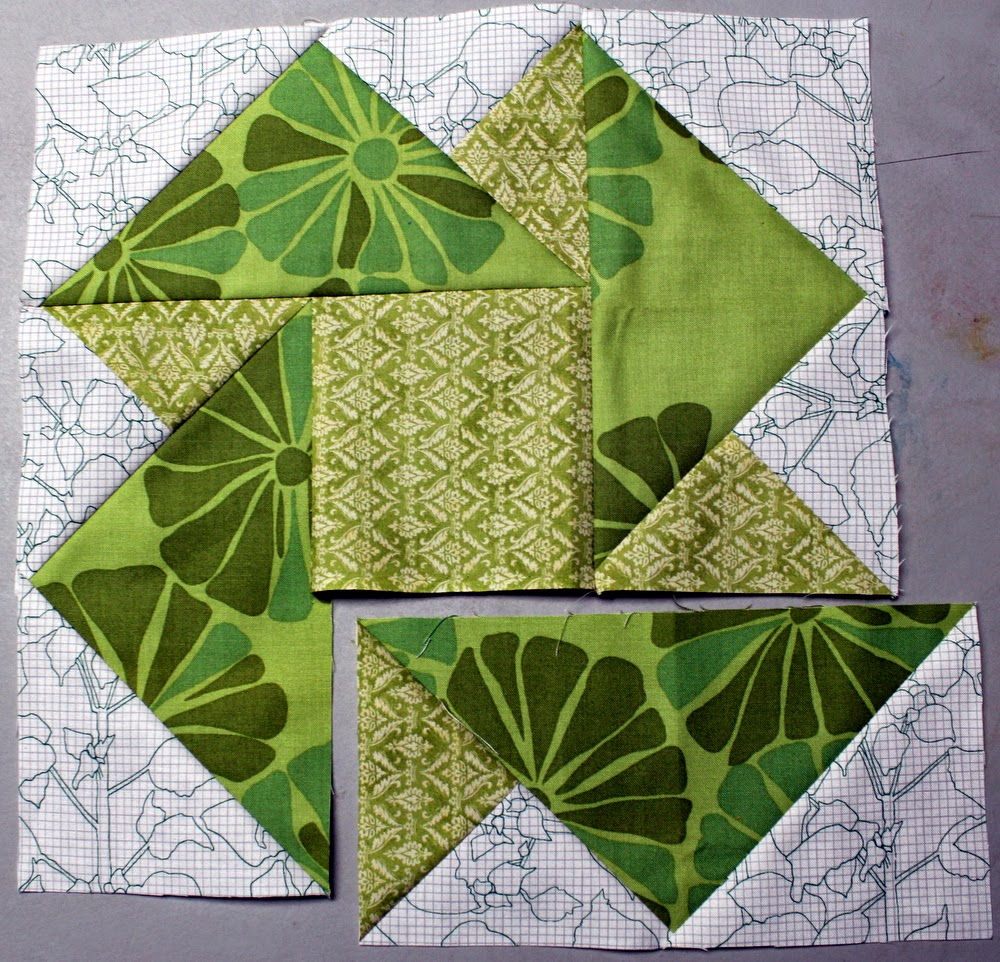
Layout your block again to prepare for creating your flying geese blocks.
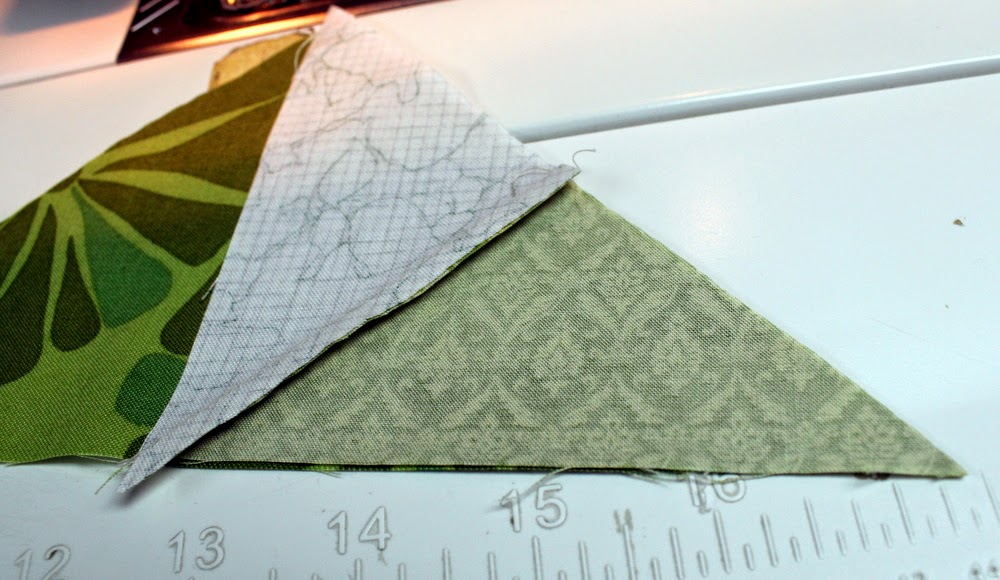
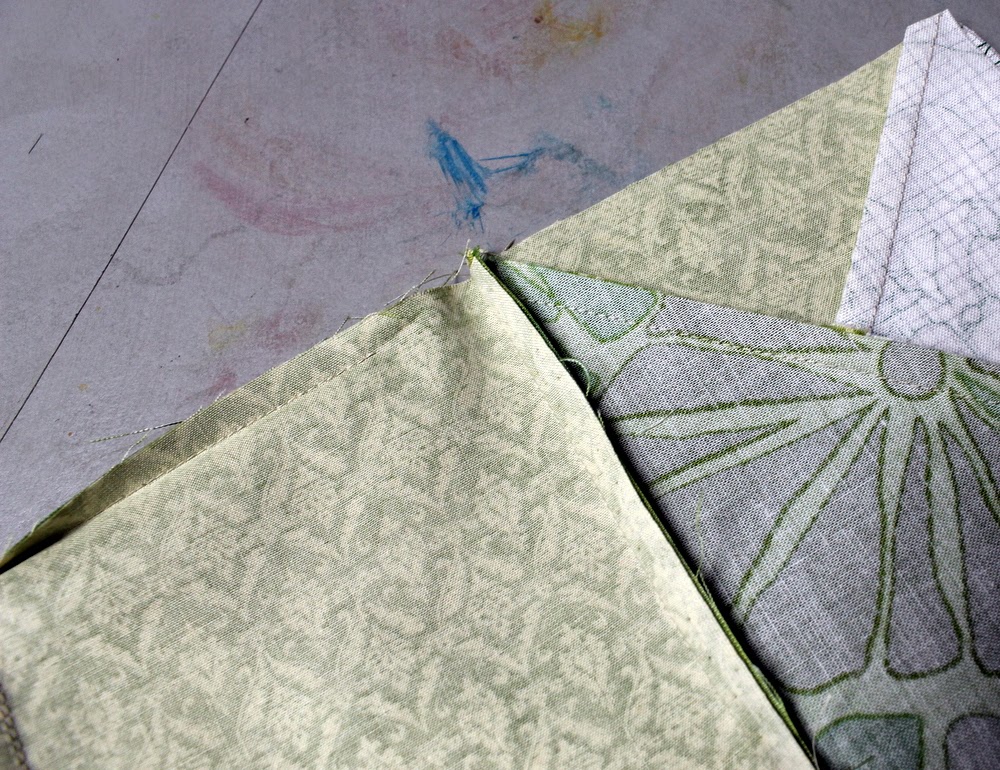
Once those are together we’re going to create our Flying Geese block. To sew these triangles on to Fabric A, place your fabrics right sides together and line up the long edge of Fabric B with the long edge of Fabric A. Be careful when stitching and pressing this diagonal seem as it is a bias edge and can stretch easily. Iron towards the Fabric B/C triangle.

Once you have the one side, on sew on the other…be sure to match up the long edges of the triangles before you sew.
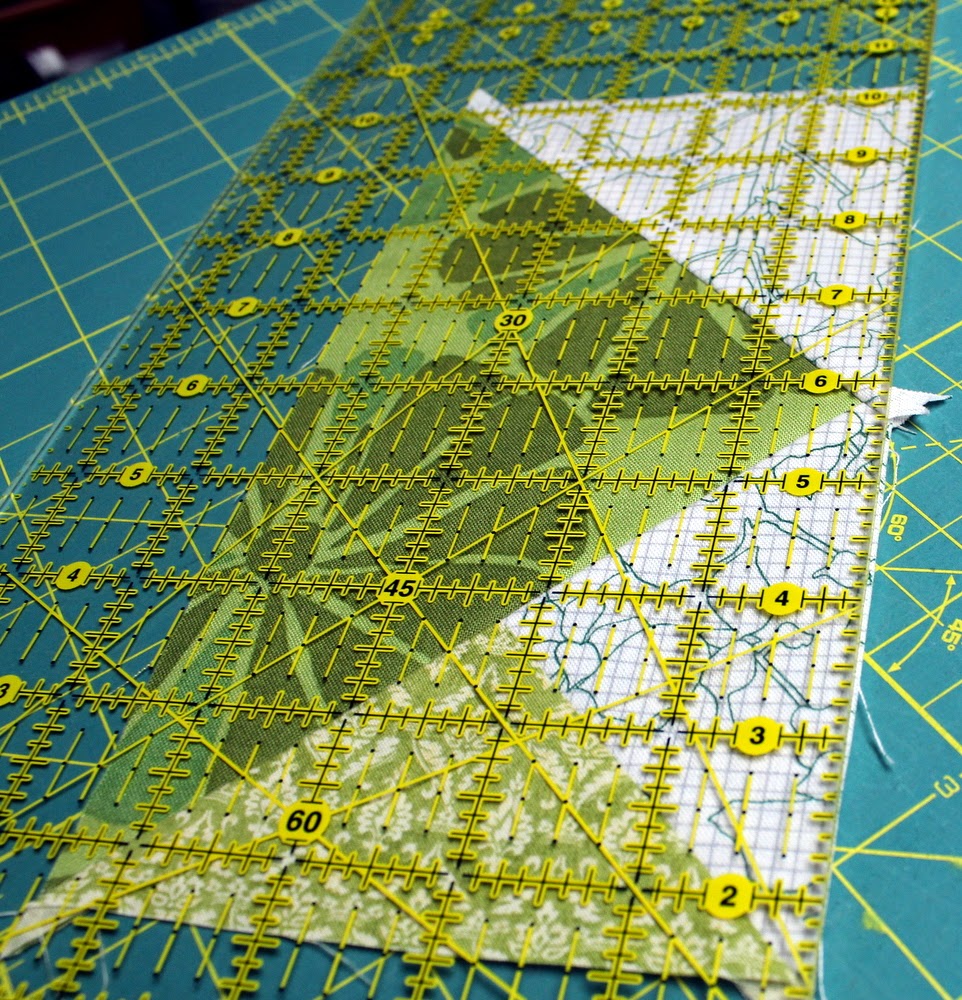
Now we’re going to ‘square-up’ (technically rectangle-up) our four flying geese block. This should be basically just trimming the dog ears off so they measure 4 ½” x 8 ½”.
We now have our four flying geese blocks made and our center square. How in the world do we sew it together?
Partial Seams
I know they sound scary…but I promise it’s not too bad.
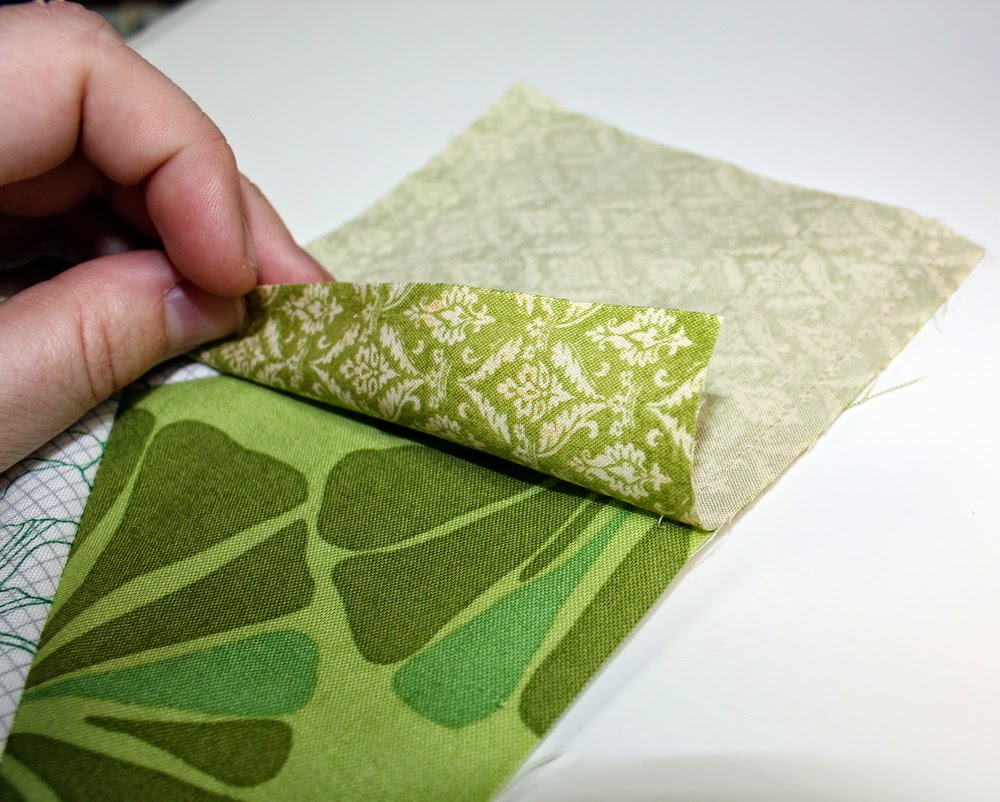
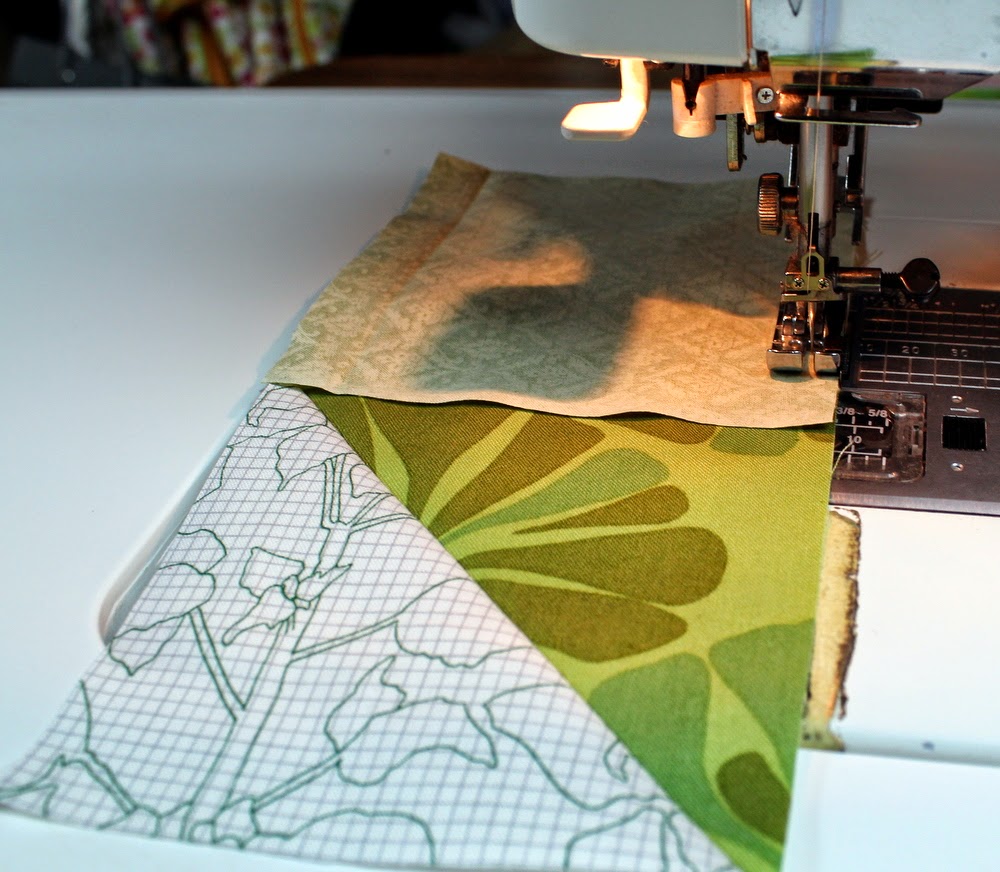
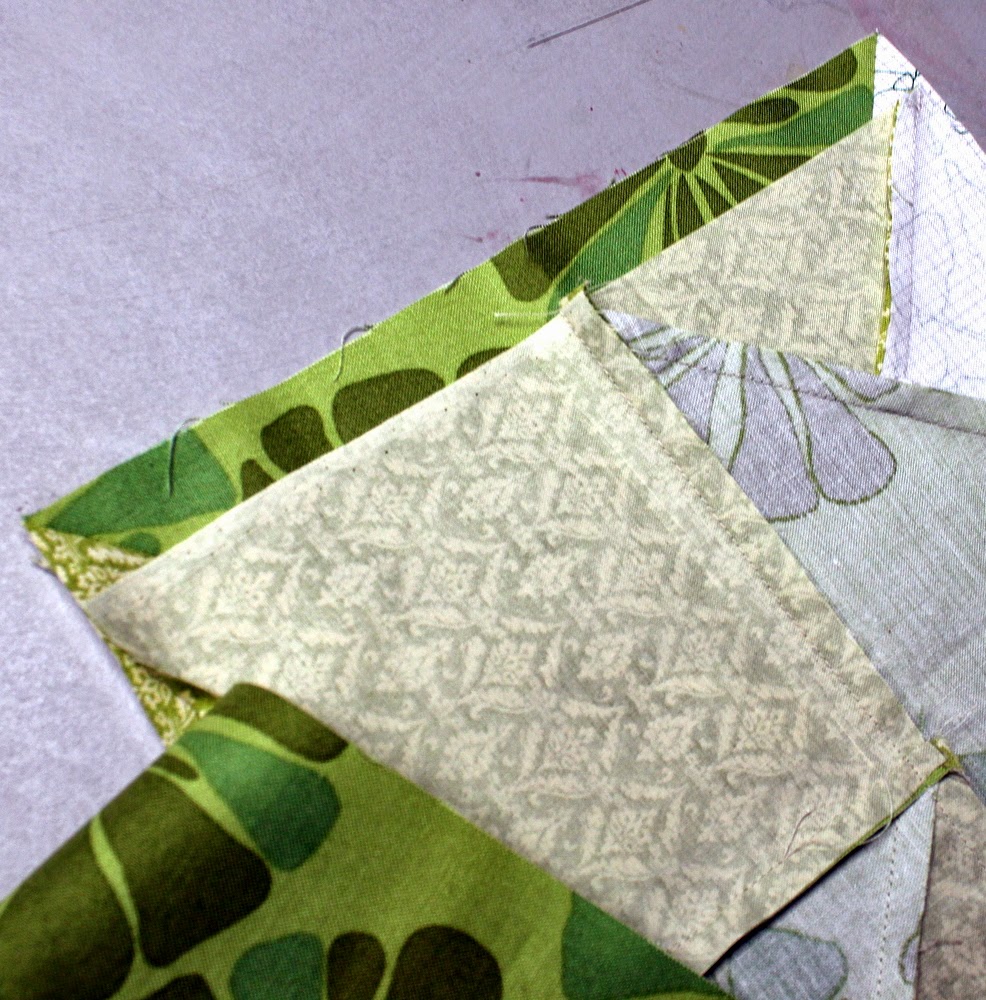
Lay your center square right sides together with the right side of your upper flying goose block. Sew from the top along the square leaving about 2” un-sewn. I lifted the square in the picture up so you can see it’s not completely sewn down. Press towards the square but focus mostly just near the right side.

This is what it looks like laid out…if you look close you can see that the square isn’t sewn down on the right side. Our next step is to sew the vertical flying geese on the right to the block you just made.
Continue to do this working your way around the block clockwise. You will be sewing full seams here. Press towards the flying geese.
When you get to the final flying goose –pull back the first goose you sewed on so you don’t accidently sew over it.
Place the goose right sides together and sew a complete seam.
Now all you have left to sew is the rest of your partial seam.
Sew this seam from the inside out toward the edge so you don’t cause any puckering in your block. Press toward the square.
Side Note: I know this process sounds scary but once you give it a try on your own block it will make much more sense! If you’re afraid to try it first on your flying geese blocks you can practice by cutting out four – 4.5” x 8.5” rectangles (these would replace the geese) and one – 4.5” square. Use these to practice a partial seam and then you’ll be ready to do this block.
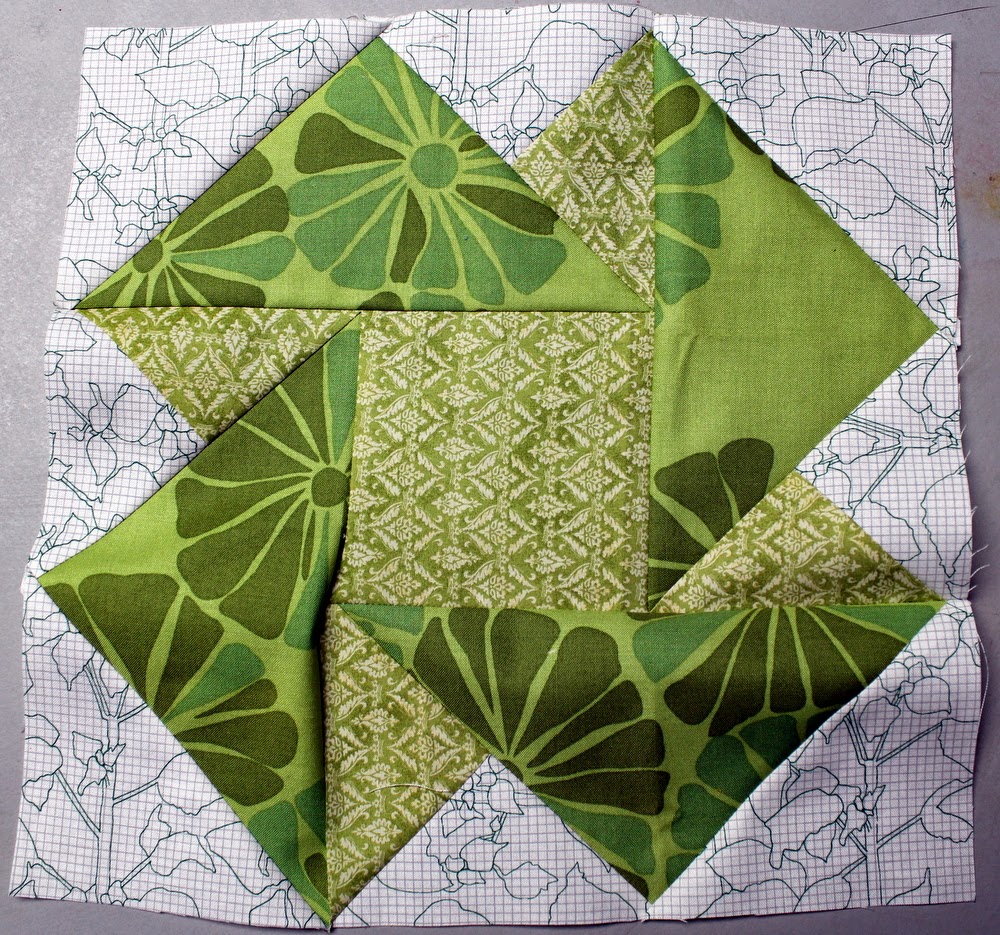
At this point I already think this block looks like a Lucky Four Leaf Clover…but if you want to really solidify the look, let’s check out this next step.
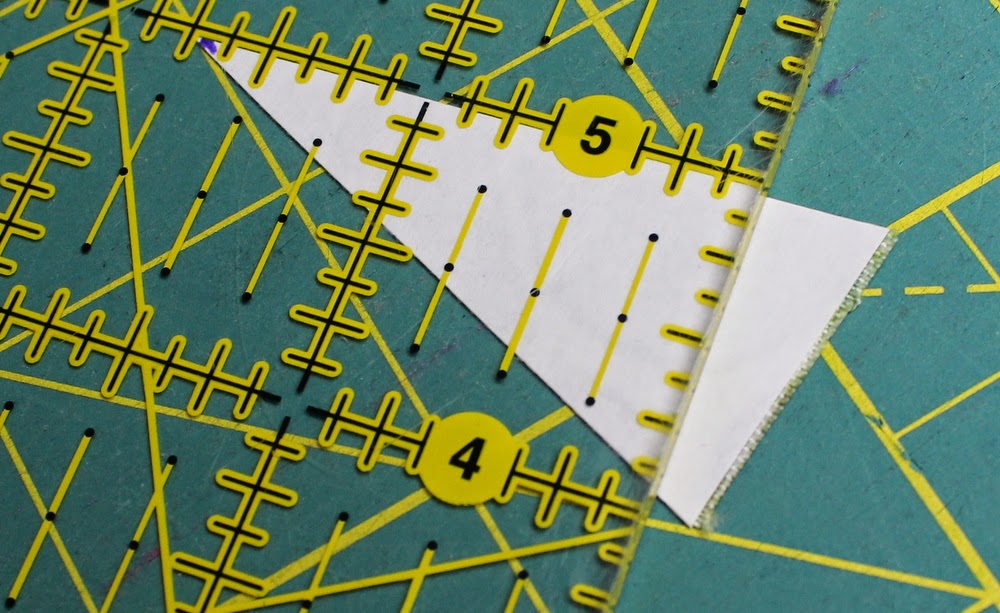
We’re going to make a stem! Take your small rectangle of Fabric A and iron the fusible to the back of it.
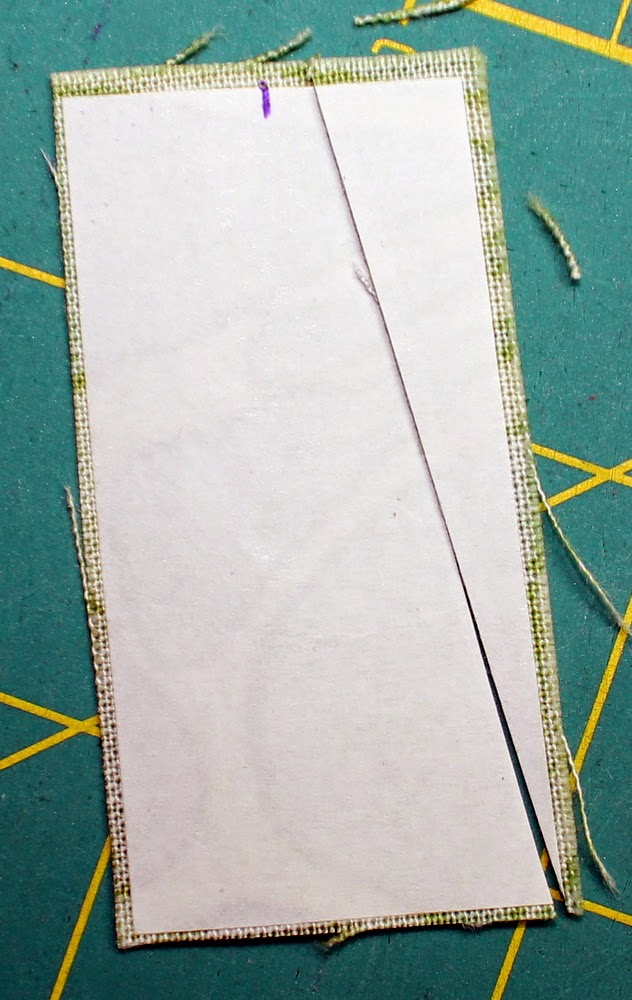
The fusible should be slightly smaller than your fabric square so you don’t iron it onto your ironing board or iron! Draw a little dot in the center of the fusible on one of the short ends. (Please ignore the cut in the rectangle please…I forgot to snap a before picture).

Use the dot you drew as a reference point to cut from the corners of the other short end to create a triangle.
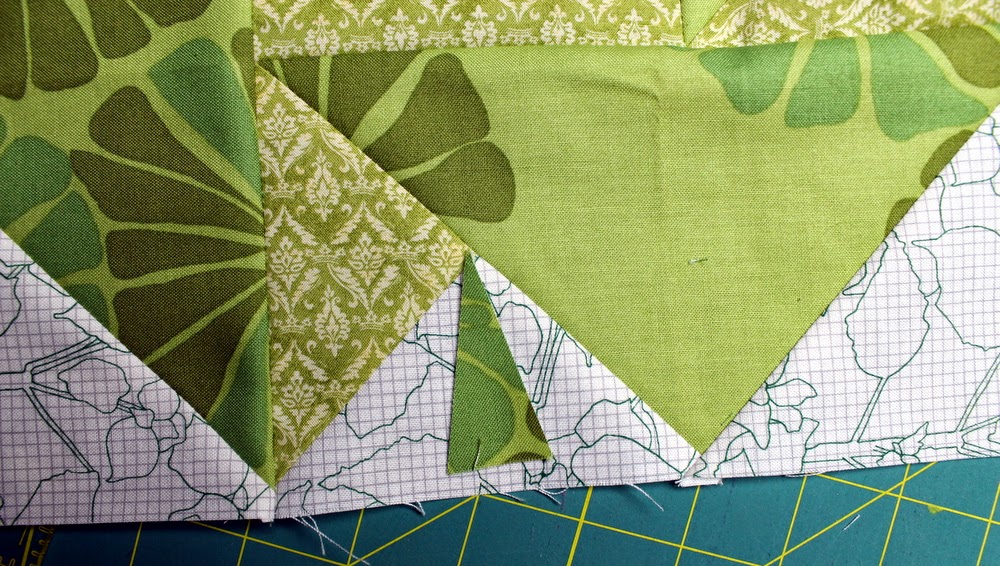
You could be done at this point…but I think a little more whimsical of a stem would look nicer.
So…I cut off a wonky bottom edge of the triangle.
And I fused it onto the block to make the stem of my four leaf clover. If you used a lite fusible be sure to stitch the edges down to secure your appliqué.

Get a FREE printable PDF of the Lucky Clover Vision Block Tutorial by heading to my Craftsy page and getting the Lucky Clover Vision Block Tutorial. Don’t wait too long though! In one month there will be a small fee for the Printable PDF pattern…you’ll always be able to view it on my blog for free though.

I can’t wait to see what all your blocks look like! Be sure to share you blocks and any projects you make using your blocks onto our flickr group: 52 Blocks Quilt Along
Instagram/Twitter Hashtag: #52bTT
Stop back next Wednesday for another twisted traditional block tutorial!
I’m adding a link up! You can link up the blocks you make to this post too!
Please link up the the ‘Lucky Clover Block’ you made! I would love to see what you came up with!
[inlinkz_linkup id=379910 mode=1]
Leave a Reply