My official ‘March Goal’ was to put these 80 block of the month, quilt along, and sampler blocks that I made two years ago together into one quilt.
I had a few other quits to work on and finish this month along with the other things in life but I managed to get this goal done!
Let’s see how it all came together..I’m working on explaining the decisions I make when putting a quilt together better.
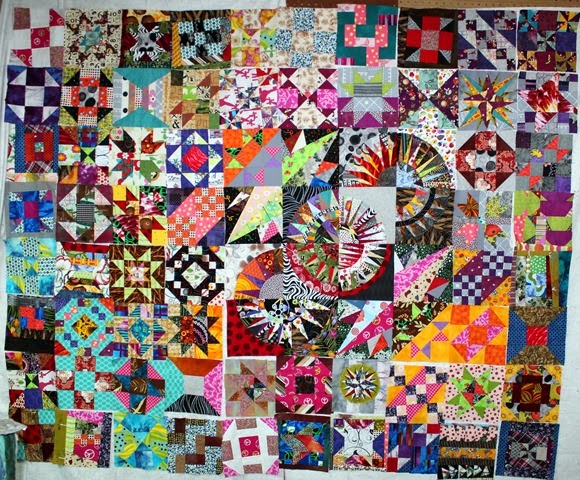 My design wall could only fit the quilt on sideways. The right of the picture is the top of the quilt. Here’s the layout I came up with and went from there.
My New York Beauty blocks look good from a distance – but they were definitely far from square. In order to not have a completely wonky final quilt…I decided to border the 4 by 4 block that included the 10 New York Beauty Block First. I used the border method of measuring the centers and using the same measurement to add the borders. 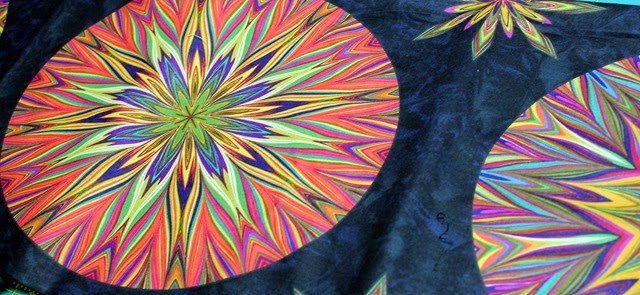 I also decided to go with a non-standard sashing. I love this crazy wild large scale print…but it’s hard to find the right place to use it. Since this quilt was already crazy – why not just go with it and make crazy sashing!?
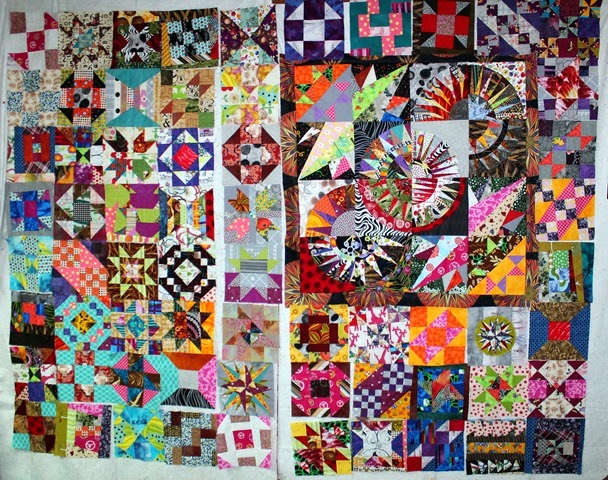 So…now I have added a sashing to a strange place in my quilt. If I were to just sew the rest of the blocks together and try to add them to the newly sashed section…they wouldn’t fit. So…I need to add two strips of sashing to each side of the newly sashed area.
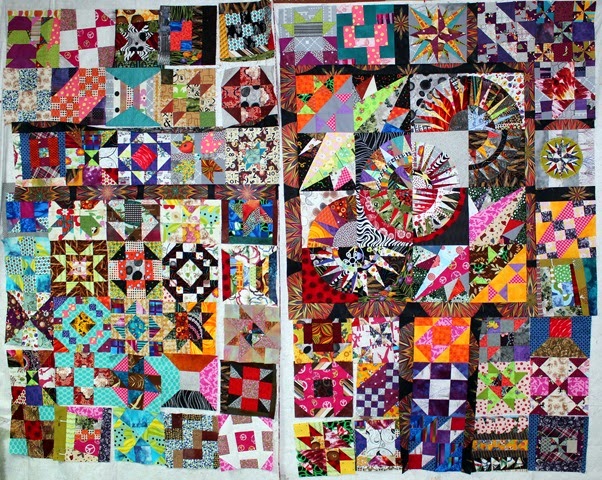
The big decision was how and where I wanted to do it. I decided to make it sort of a ‘cross’. I wanted to highly two of the Mariner’s Compass blocks I put together so I made sure they were sashed on the top and left side of the main section. The bottom and right didn’t matter quite so much to me. 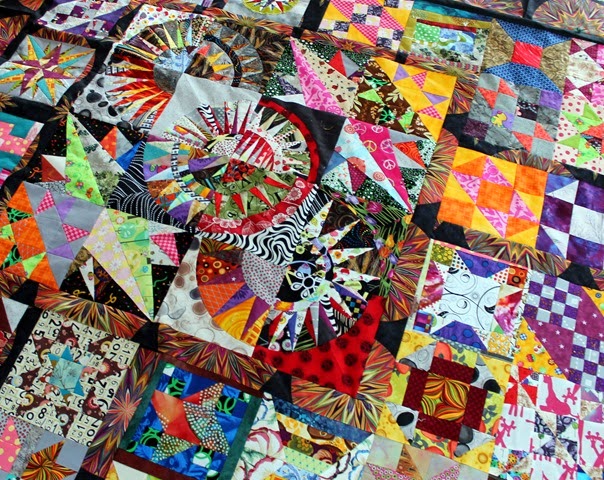 I love how sharp the New York Beauty looks when framed out with the sashing.
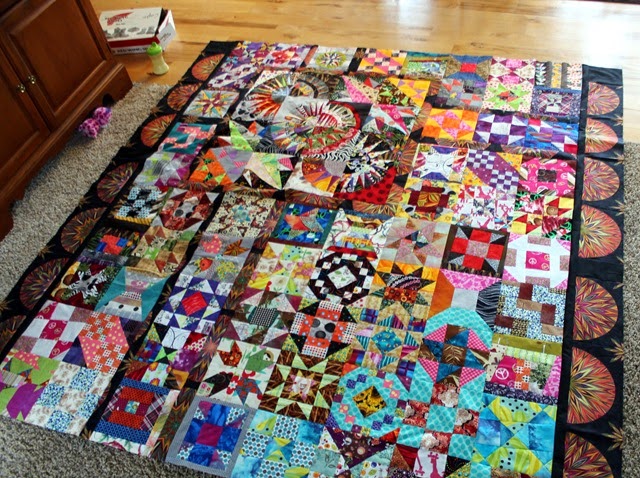 The next big decision…how to do the outer border? I had some of the circle fabric left but not enough to make it around the entire quilt. First, I started with a thin black fabric to ‘stop’ the crazy busy blocks. Then, I cut the circle fabric so that it looked like the border was scalloped. I added some more of that black between each stretch of half circle fabric and in the corners to stretch out the circle fabric that I didn’t have enough of to make the border.
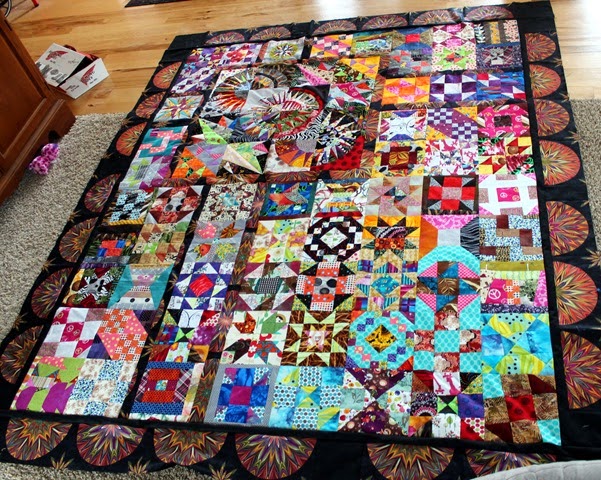 This ended up working in my favorite because these circles aren’t ‘exactly’ circles and if I would have attempted to line things up nicely on the border…it wouldn’t have worked. One of those things that all worked out the way it was supposed to.
When the border was all on I had just 2 half circles left. I marinated on those half circles for a bit and finally decided what I wanted to do with them after consulting some quilting buddies on the border.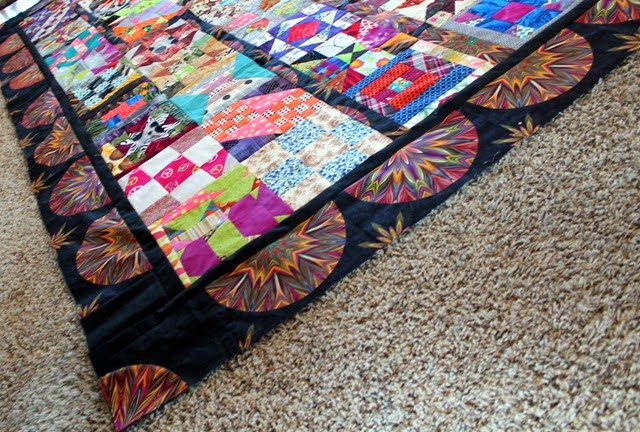 Yup – I made them into quarter circles and added them to the corners! Sometimes it’s just small details like that which add so much to a quilt!
And…with the four quarter circles added to the border – my March goal – the quilt top – is complete!
Now…it’s off to the long arm quilter…I can’t wait to see what she does! I’ll be sure to share some pictures once it’s all done!
Tomorrow I’ll be posting my April goals! Stay tuned to see what I have in mind!

KimLapacek.com | Home of Persimon Dreams and Project QUILTING
Quilt designer, teacher, artist, dreamer

Leave a Reply