
I have one more closer look for the Upcycled Project QUILTING Challenge to share with you all – the one I made – A Weeping Willow. I am not included in the popular vote but be sure to head over and cast your VOTE for your FOUR Favorite quilts before 7pm today!
I’ll admit. I wasn’t super excited when I saw this challenge. Yes. I love a good challenge – and that’s definitely what this was. BUT it was just one of those weeks. I really want to keep what I made small, quick and easy. I just had a lot of other things that I had to get done. AND and it seemed that everything I came up with had really neat embellishment ideas with non quilt/clothing meant items but I just couldn’t think of a decent enough background made of upcycled material. I wanted to use some of my gorgeous beautiful fabric that I had ust spent weeks organizing! Oh well…I can’t always get what I want though right.
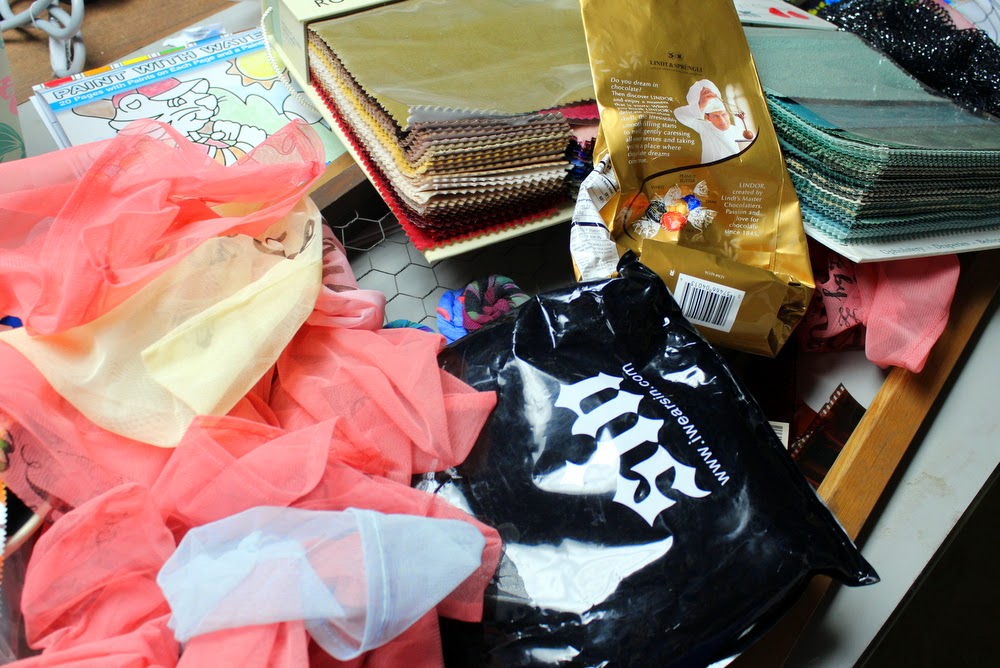
By mid-week I had sucked it up and started to pull things that would work for the challenge. My pile included an old frame I found in the shed, a Lindt Truffle bag, matilda jane mesh bags, some chicken wire, film strip negatives, a dark plastic bag, old scarves, a hand dyed doily, and some hand dyed t-shirts/tank tops. Once I saw my pile I finally had an idea.
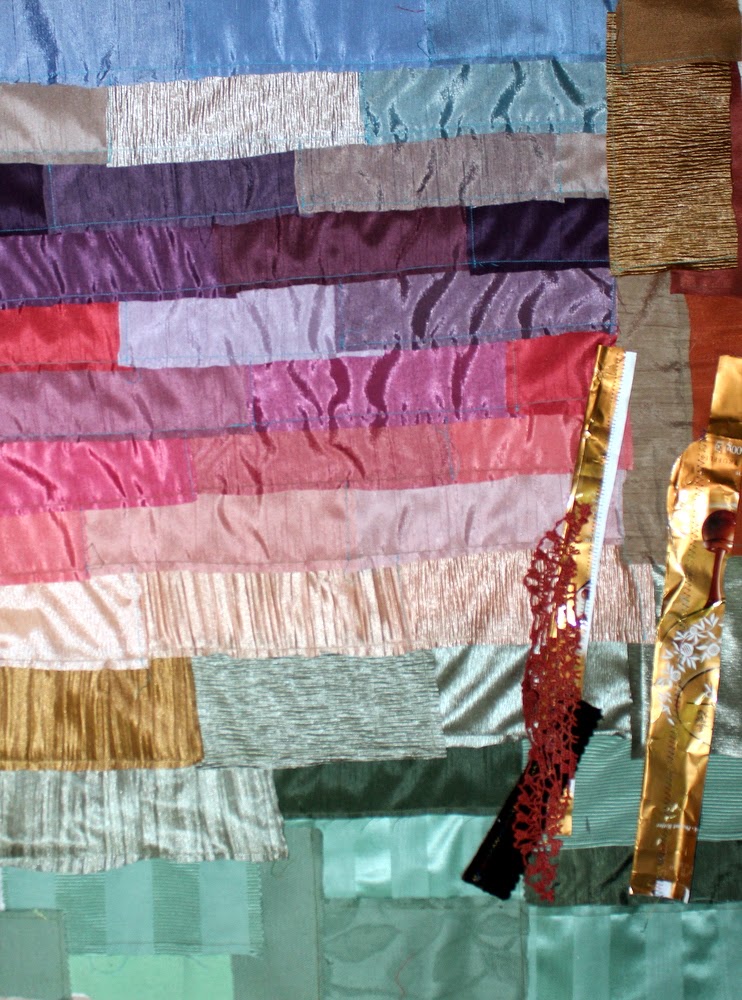
I started out by sewing upholstery and curtain remnants onto an old flour sack bag (don’t worry…it wasn’t anything exciting). I used the same raw edge sewing method I had used on my past challenge piece. It just seemed like the way to go with the different fabric types…and it added more texture. I really like the textured/color blocked background that happened here. Now – it was time to embellish. I do believe living in the middle of an apple orchard really influences my pieces. Yup – I’m going to make another tree. BUT it’s not an apple tree this time…this time I’m going for weeping willow. I started to build the texture of the trunk using more fabric remnants, the shiny gold chocolate bag, the dyed doiley,
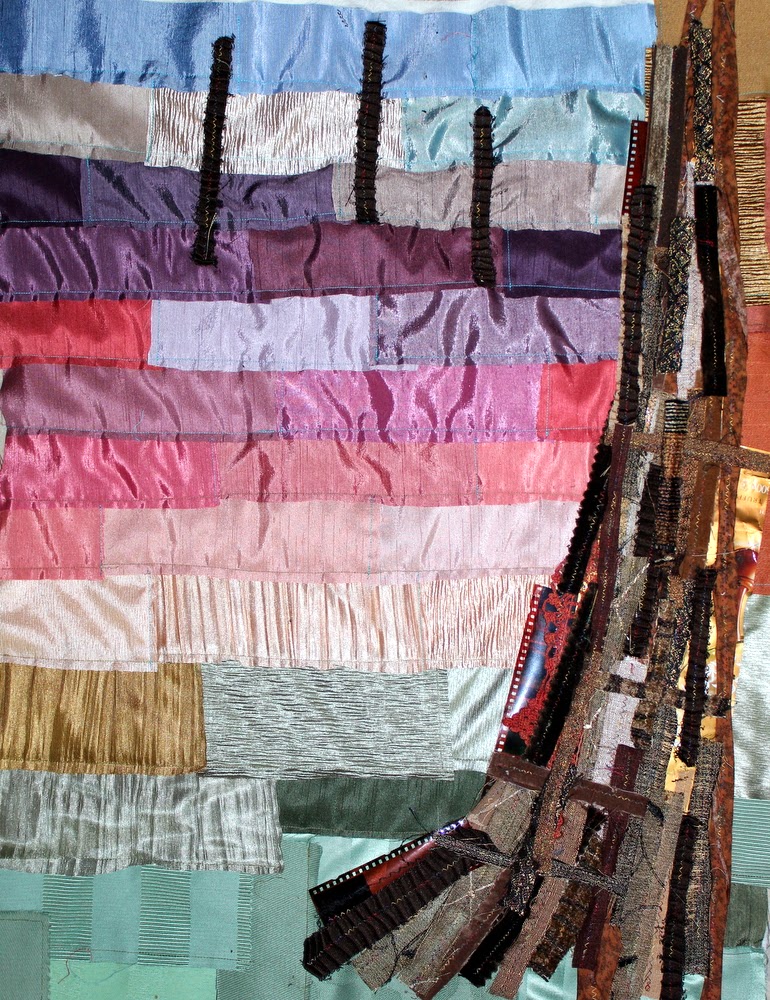
twisted fabric from an old bag, and film strip negatives. The texture created with all these different items is incredible if I do say so myself. This is definitely something that did not photograph as well as it looks in real life.
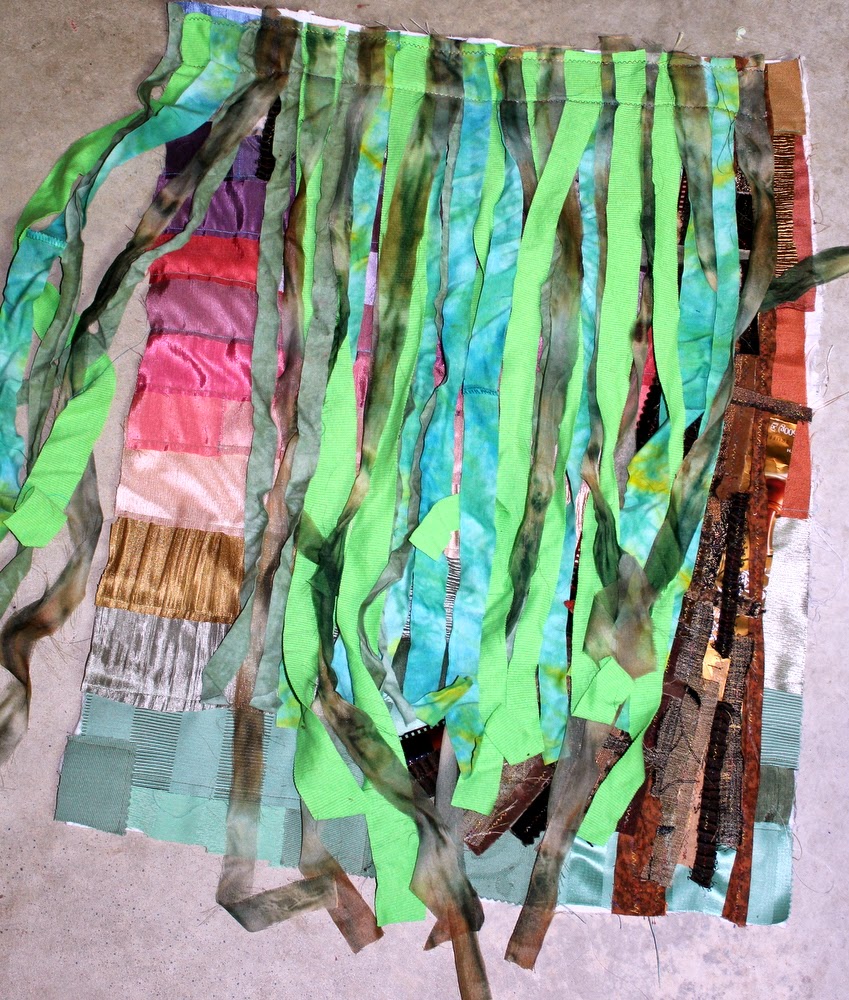
My next step was to take strips of the hand-dyed fabrics and scarf pieces and sew them along the very top of the quilt. Once I had all of these elements put together I stapled it around the old frame I had.

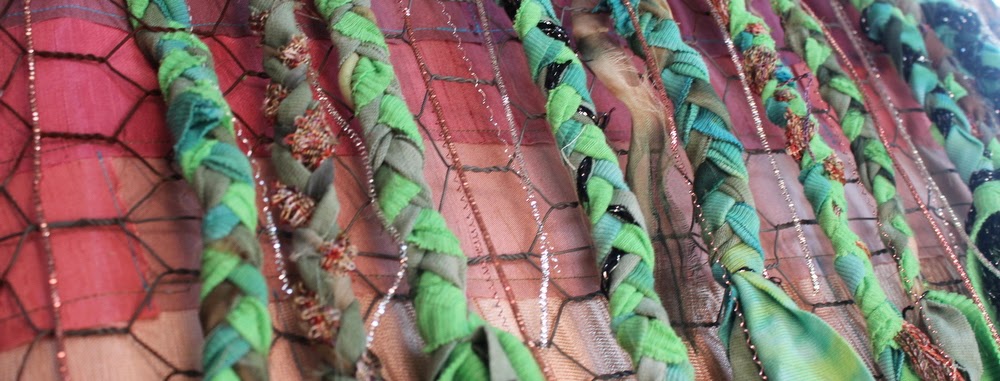
Next – it was time to braid! I wanted the strips slightly more controlled and not quite so all covering so I braided most of them to be the willow branches of the weeping willow. – Here I added more texture by using bits of string and sparkly scarves. This is how I left it after the first night. It was time to dream on it a bit.
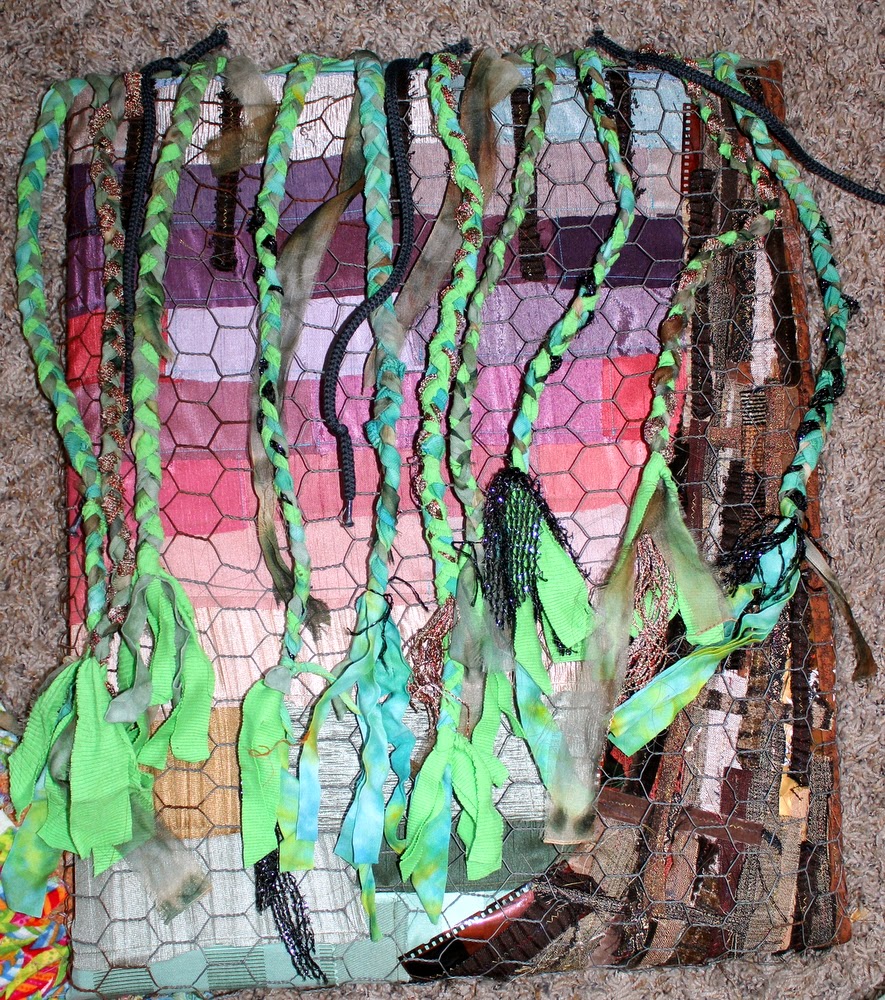
I really wanted to use that chicken wire. The piece I had was pretty small though and it wasn’t doing what I wanted. I headed out to the shed (another benefit of living on the farm) and found the perfect size piece of chicken wire that I’m pretty sure wasn’t being used for anything else at the time. I wrapped around the quilt and under the braided branches. I love the secondary hexagon pattern it created over the quilt. This is ironic because one of my initial thoughts had been to do some English Paper Piecing for this piece – the hexagons were meant to be!

I took off the pants cords I had hanging for more branches…they just weren’t quite right. Instead I added in some french wire that I had sitting about from a failed jewelry making idea.
I just LOVE the shine and additional elements the silver and copper swirly wire created. Some I left curled tight – others I stretched out a bit.
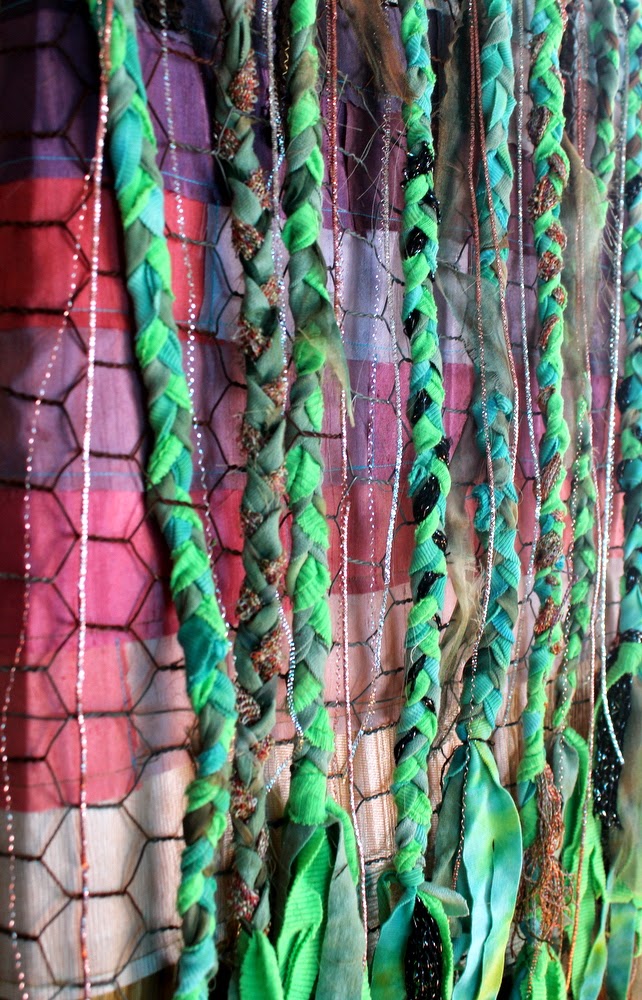
To help create a little control to some of the branches I did loosely weave a few of them into the chicken wire.
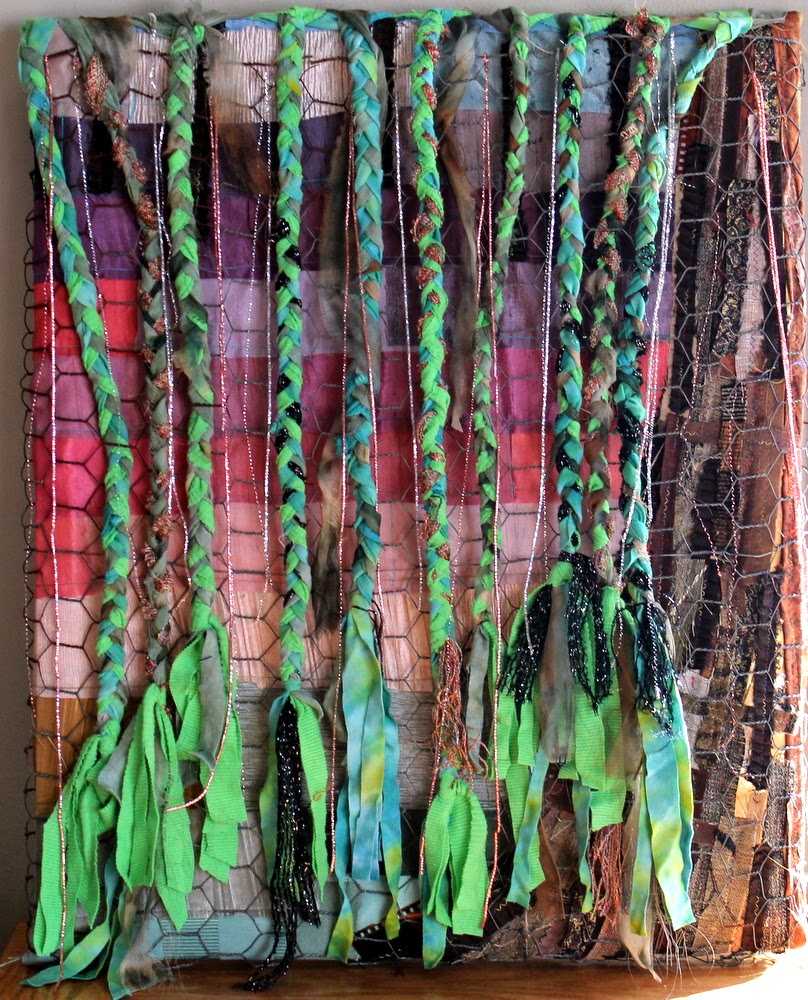
And…here it is. My final ‘A Weeping Willow’ Upcycled Art Quilt. I’m happy with it. I’m thinking this whole ‘weeping willow’ concept may become a series.
The next Project QUILTING Challenge is posted in just over two days. Sunday, February 2nd and NOON! Stop by and join in the fun! You never know what you’ll come up with!
I am so glad I clicked on your link – this is fantastic! thanks for sharing how you did it, I have not seen anything like it and it is great to see something so creative and unique! Well done!
This is awesome!! You are one creative person!! Thank you for sharing how you made it, very interesting!