Many of you know that the Home Sweet Home Quilt Along is in full swing! BUT we do have a week off between each two blocks. So – a few *bonus* blocks and sashing ideas will be given during this time. I want to show you all four bonus blocks so you could potentially have 20 blocks in the end (4 x 5 quilt) instead of just 16. I also want to show you some different sashing options – feel free to use a mixture of all of them, just one, or none – completely up to you. If you remember back to my inspiration there seemed to be lots of tiny piecing involved that helped make it look as cool as it is. Doing this in the sashing will help us to achieve that look (if that’s what you’re going for). So…onto a BONUS tutorial of a sashing technique I made up – Drunken Geese. I chose to start with a 2.5” x 3.5” rectangle (the pink owls) but you can really do whatever you want. I like the 2.5” because if you make 6 of them you have your 12.5” length and 3.5” because I didn’t want to be too big but also not too small. Okay – back to it. 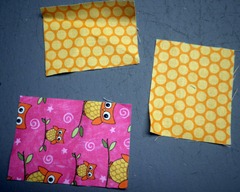 For each Drunken Goose – cute a 3.5” x 2.5” rectangle and then two squares of fabric that are around 2.5”. (these don’t have to be perfect though).
 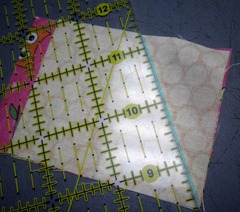 Take a ruler and mark a random line from anywhere on the top of your rectangle to a bottom corner.
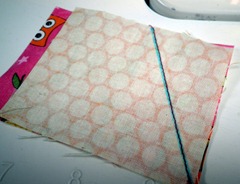 Sew along that line.
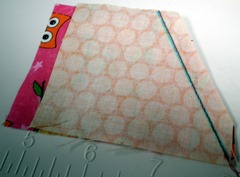 Trim the excess fabric approximately 1/4” away from the seam (you could measure this but I usually just cut with a scissors…close enough…)
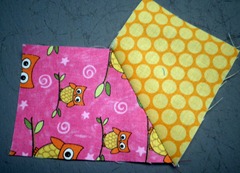 Iron towards the additional piece.
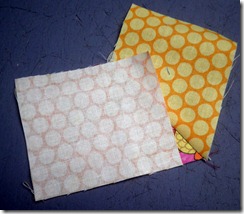 Lay your other fabric on the rectangle.
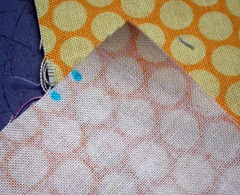 Then, draw a dot where the seam starts of your first fabric. Draw a second dot a quarter inch from that one. Now, draw a line from the second dot to the bottom corner – this is your next seam line.
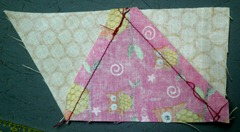
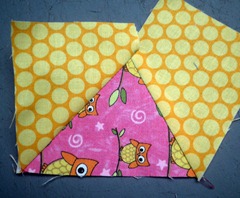 Iron open.
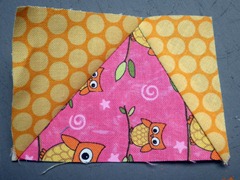
 Trim your rectangle down to 2.5” by 3.5”. Repeat this six times with all different fabric combinations. Then sew all in the same direction to create a sashing strip that is 12.5” x 3.5”. I like orientating these so the triangles point up – it reminds me of tree tops. I’m not sure how many of these I’ll make but you could do all your sashing like this if you wanted. Once you’ve made a few you can just go crazy – your points don’t have to over lap – you don’t HAVE to go the bottom corner – you can do whatever you want! Just don’t make them PERFECT – that’s why they’re DRUNKEN!
 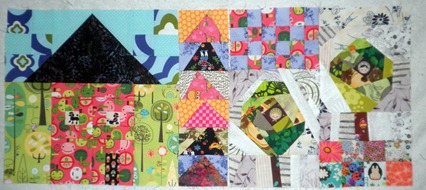 Here’s what it will look like between Block 1 and Block 2.
Get your PRINTABLE PATTERN HERE!
Don’t forget! Block 7 will go up on Tuesday, February 14th!
Leave a Reply