In a previous post I talked about creating a barn quilt to hang at my orchard. Well, the process has begun and I plan to keep you all ‘in the know’ on how it’s progressed and have some basic instructions if you ever feel the urge to make one yourself! 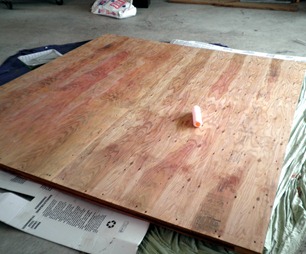 Step One: My husband went to Menard’s and purchased two pieces of 4’ x 8’ treated plywood – top grade. He then put the boards together and framed the back out with treated 2×6’s (specs say 2×4’s but we happened to have 2×6’s laying around). He screwed all the boards in. This is going to be heavy and will have to hang up high – it needs to be very secure.
 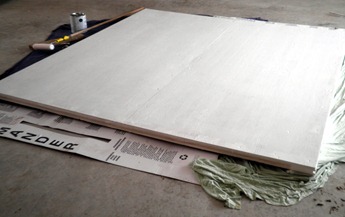 Step Two: Coat the ENTIRE piece (sides too) with high quality exterior primer – I used latex. I also put on four coats to seal it real well.
 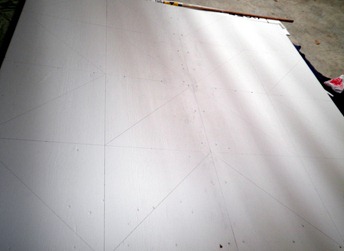 Step Three. Using a ruler and a level, I drew on the quilt design for my barn quilt.
 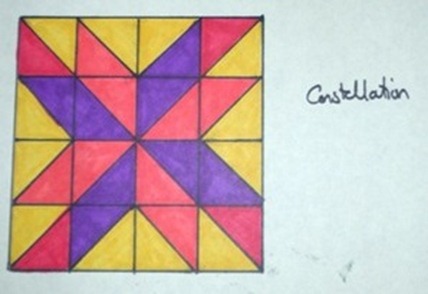 I am going to be painting a slightly tweaked ‘Constellation’ quilt block for the orchard. I know I could have used an more apple-y pattern since it’s going on an apple orchard but I just really liked this block and the rest of the family agreed.
 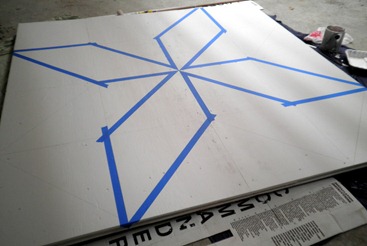 Step Four. This is the last step I’ll talk about in this post. Using painter’s tape I taped off the design of the first color (it will be orange) of the quilt block. I had to use a straight edge and razor blade to get the points in the middle really nice. —- I am not the only one that is Columbia County’s Barn Quilt Guinea Pig – Becky Gutzman is also one of the lucky firsts. She shared some pictures of her barn quilt with me and gave me permission to post about it.
 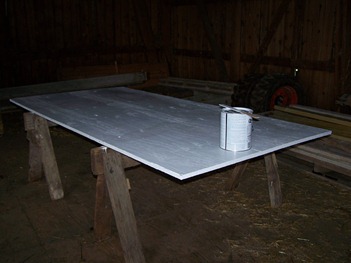 Primer Coat – Becky did hers a bit differently – she painted each board separately first and then will be putting it together in the end. It will be easier to work with a 4’ x 8’ piece versus a 8’ x 8’ piece.
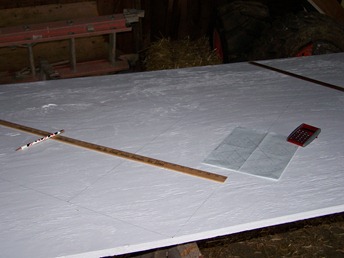 drawing the quilt pattern Becky gracefully answered a few questions I had for her as well. When did you first hear of barn quilts? I had read about the Iowa Barn quilt project in farm magazines several years ago. As I heard of other Wisconsin counties doing this, I thought I would love to have one on out farm.
 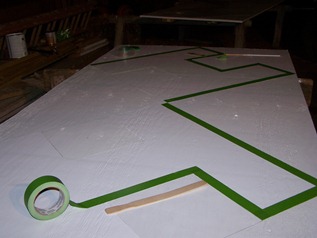 taping the design
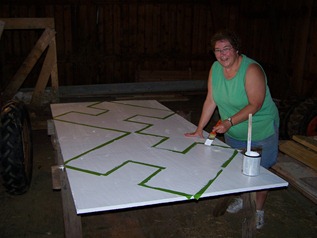 Becky painting the third coat of white in the H’s What made you want to create a barn quilt to hang on your farm? Our road is fairly well traveled for a town road, and our barn is very visible from the road; I thought it would be a great place to have one.
 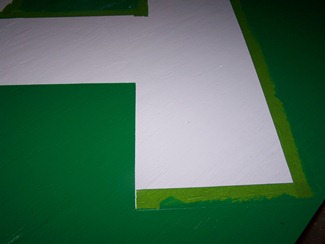 removing the tape! Why did you choose the design that you did? 4-H has been an important part of my life: I’ve been a 4-H member/leader most of my life, and my first job out of college was as 4-H educator for Columbia County. Our local 4-H club (Welsh Prairie Livewires) is celebrating 80 years this year, so I chose a 4-H quilt pattern.
 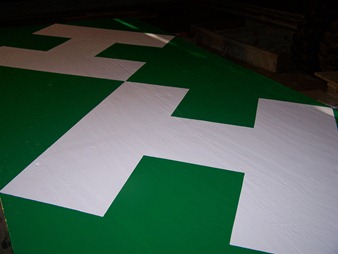 Painting is complete! Now she just has to hang it on her barn. I’ll be posting more pictures on the progress of my quilt and maybe we’ll have some pictures of Becky’s barn quilt hung later too!

KimLapacek.com | Home of Persimon Dreams and Project QUILTING
Quilt designer, teacher, artist, dreamer
…i wish i had a barn to hand a big quilt square on…..
I'm excited about learning about this. One question…when you said your hubby "put the pieces together" do you mean he glued or screwed them together back to back?
he screwed everything together. This is going to be hanging – needs to be crazy secure.
And here I was, thinking you had to get a scaffold and climb up the side of the barn and paint it ON the barn! LOL!
I am seriously considering replacing the basketball hoop over my garage with a barn quilt. Nobody uses the hoop (and if/when it does get used, invariably a window in the garage door gets broken). I live in a semi-urban area, so there aren't any barns. But I don't mind starting a new trend in the neighborhood
Are you going to post the addresses for the Columbia County project as they go up? I'd love to do a driving tour.
Sure I can do that! There will be a brochure for the tour eventually too once we get the word out and more people make them.
Quiltilicious- that would be awesome! A great trend to start!