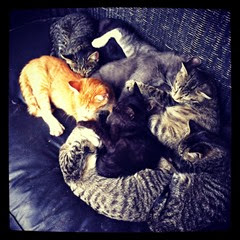
We have a few cats at our orchard. They can commonly be found all in a pile in one of the chairs in front of our shop. It seemed only fitting to share this photo with you to go along with today’s block tutorial.
Odd Fellow’s Cats Block Tutorial for
52 Twisted Traditional Block Quilt Along
Finished Block Size – 10” x 10”
By twisting the traditional block ‘Odd Fellow’s Cross’ a whimsical block full of adorable kittens is created.
Cutting Instructions
 Fabric A – Cats (four fabrics)
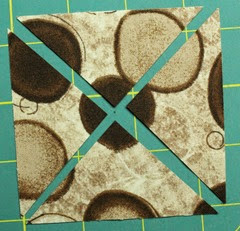
4 – 3 ¼” squares – cut both angles like shown in the picture above. Put aside two o the four triangles.  4 – 3/14” squares (one of each fabric)
Fabric B – Background 
1 – 7.25” square – cut at both angles like shown in the picture above 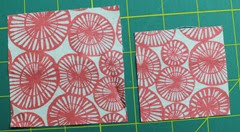 1 – 2.5” squares
1 – 3.25” square 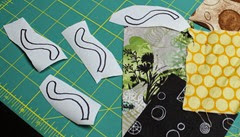 2” x 4” scraps of each fabric you use for cats. 5” x 6” fusible
Directions
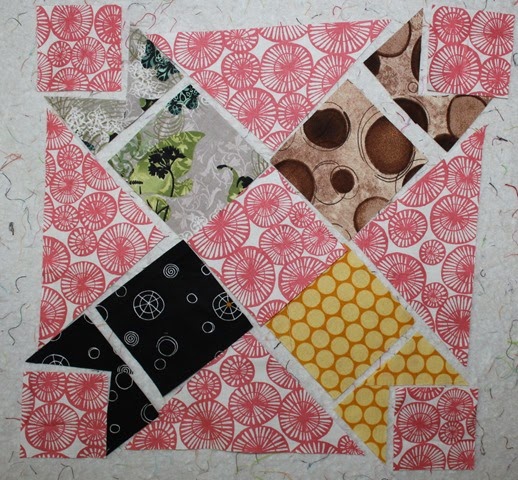 Layout all your fabric like I show in the diagram above. This will help you as you sew.
 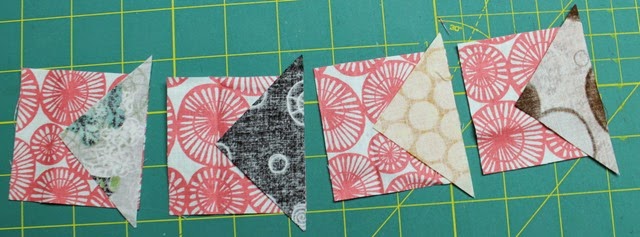 We’ll start by making the cats’ ears. Place a triangle of Fabric A right sides together with the 2.5” square of Fabric B. Center this as much as possible before you stitch it down.
  A portion of the triangle will go outside the square – just make sure that at a ¼” it lines up with the square and you’ll be perfect!
 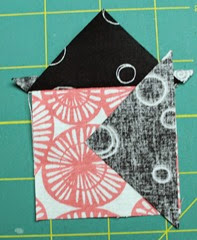 Take the second triangle of Fabric A and place it right sides together as centered as possible. Stitch it down.
 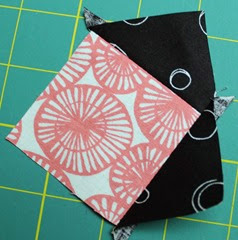 Press towards the triangle.
 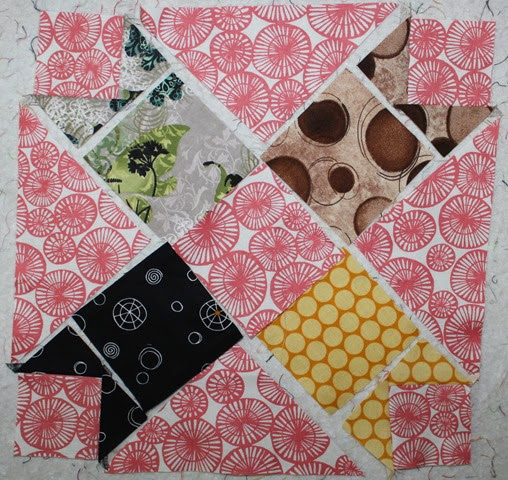 Repeat with all four cat ears. Your new layout should look like it does above.
  Now let’s sew the cat ears to the cat body. Place your ear block right sides together with the 3.25” cat body square. Press towards the body.
 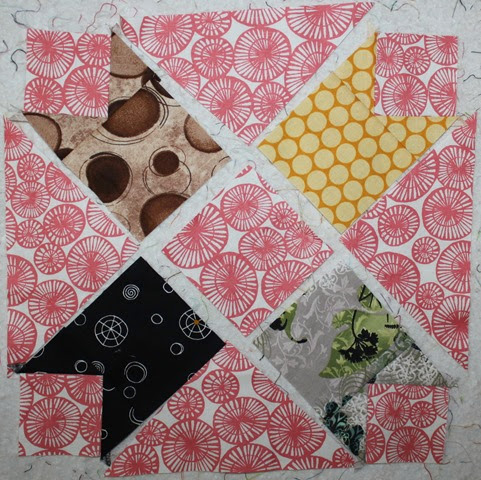 At this point we just have a nine patch on point that needs to be stitched together.
 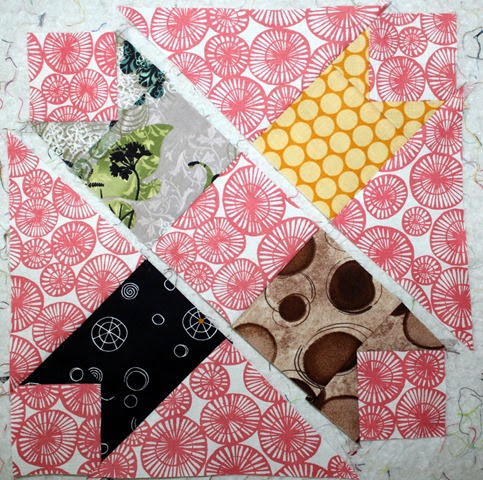 Let’s stitch these into three rows. Always press towards Fabric B – this will help making your fabrics kiss when you want to match your corners.
 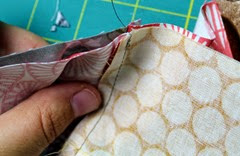 Sew your three strips together by kissing the corners together.
 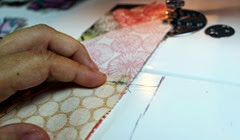 Hold your finger on this seam as you sew to ensure the perfect points!
 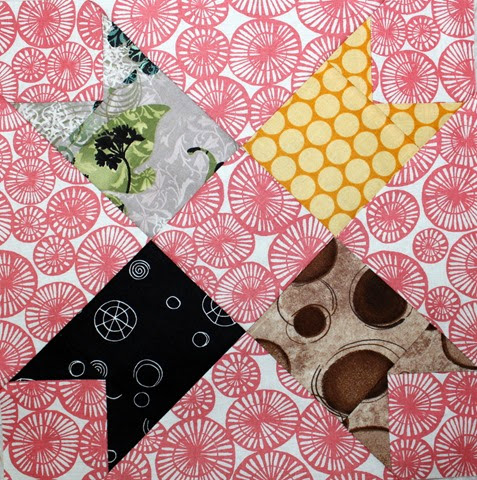 Press towards the larger triangles. Now – let’s draw our kitten’s tails!
 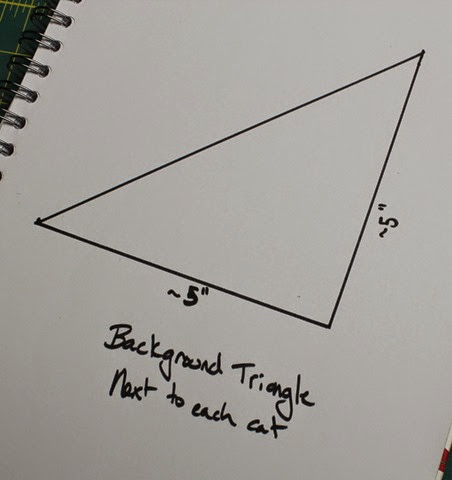 Instead of just making a template that you can print I am going to show you how you can draw your own applique templates. First – draw a right triangle the size of the block your applique is going into. In this case – the two sides are approximately 5”.
 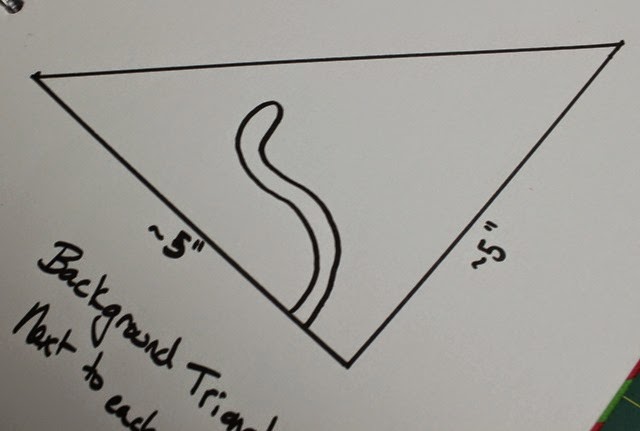 I drew basically an outlined ‘S’ coming off one edge for my cats’ tails.
 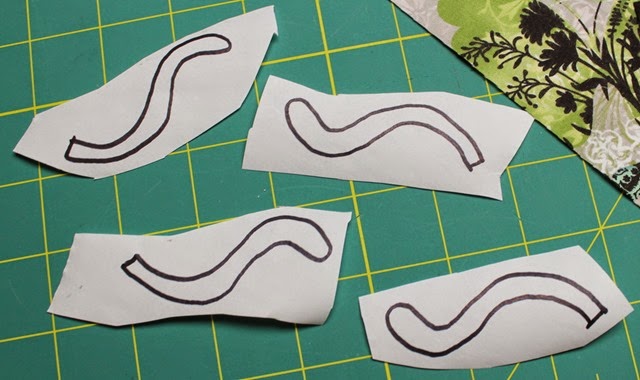 Use this image to trace onto the fusible scraps.
 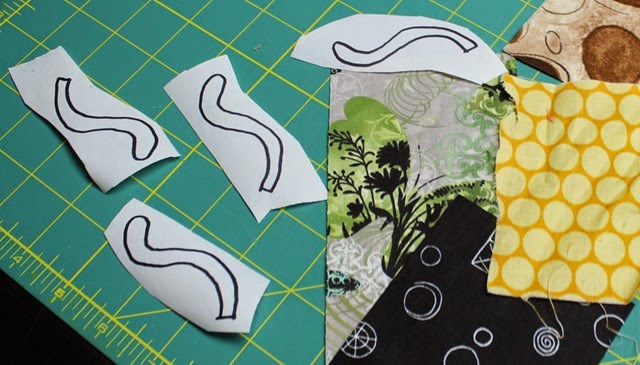 Fuse eeach of these tails to a scrap of Fabric A.
 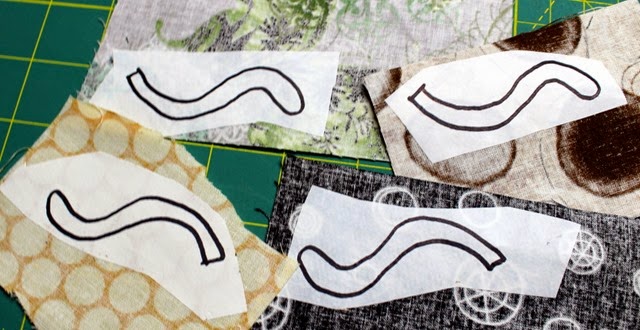 Maker sure to fuse to the wrong side of the fabric.
 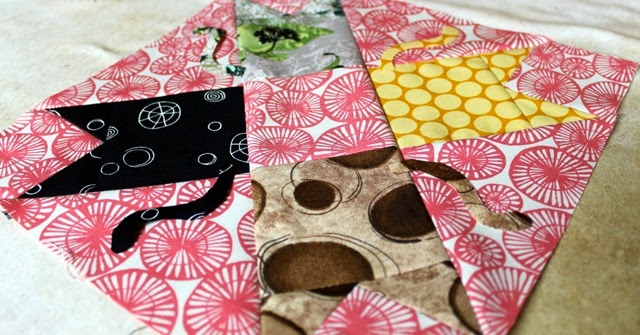 Place the tails where you’d like them and press them down in place.
 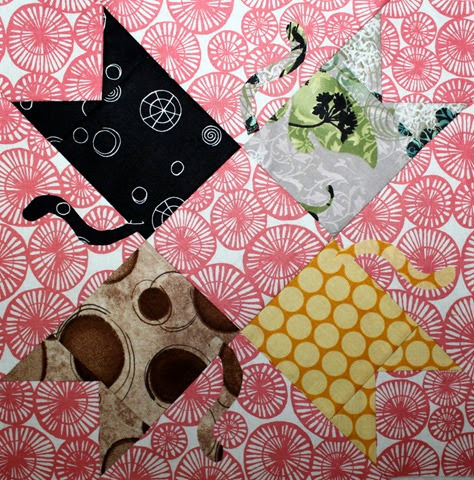 You could either draw or embroider more details to your cats – like legs, eyes, noses, and mouths – if you’d like but I like just the silhouette of each critter. And with that…your ‘Odd Fellow’s Cat’ block is finished! – – – Get your FREE printable PDF of this block by heading to my craftsy store. Don’t wait too long…after a month (11/22), the PDF will be $1. ODD FELLOW’S CAT BLOCK TUTORIAL – – – I can’t wait to see what all your blocks look like! Be sure to share you blocks and any projects you make using your blocks onto our flickr group: 52 Blocks Quilt Along Hashtag: #52bTT Stop back next Wednesday for another twisted traditional block tutorial!

Leave a Reply