Sunny Butterflies Block Tutorial for
52 Twisted Traditional Block Quilt Along
Finished Block Size – 8” x 8” and/or 16” x 16”
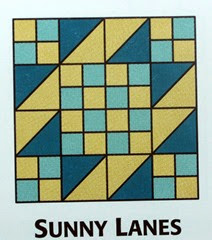
I twisted the traditional block “Sunny Lanes” for our next block. I twisted this in a few ways to create the look below.
Cutting Instructions
8” x 8” Finished Block
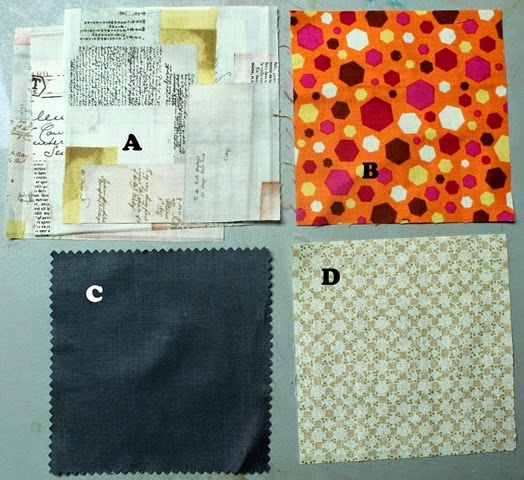
Fabric A (background)3– 5” squares
Fabric B (wing (orange))
1 – 5” square
Fabric C (body (dark))1 – 5” squares
Fabric D (secondary background)
1 – 5” squares
16” x 16” Finished Block
Fabric A (background)8– 5” squares
Fabric B (wing) – either all of one color or four different colors4 – 5” square
Fabric C (body (dark))2 – 5” squares
Fabric D (secondary background)
2 – 5” squares
Directions
I’m going to start by showing you how to make the 8”x8” finished block.
To make this we just need to make two four patches and two half square triangles (HST).Let’s start with our four patches.
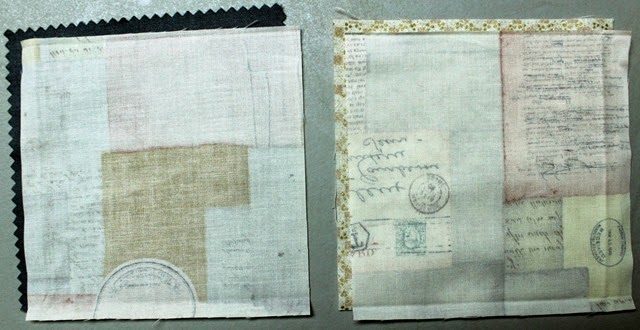
Put a Fabric A square right sides together with a Fabric C and a Fabric D square.
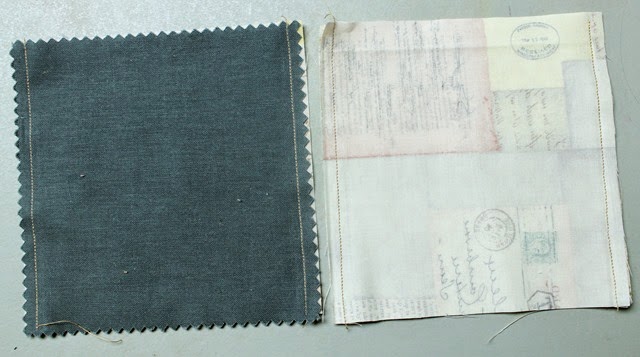
Stitch a quarter inch seam on two opposite sides of the sandwiched squares.
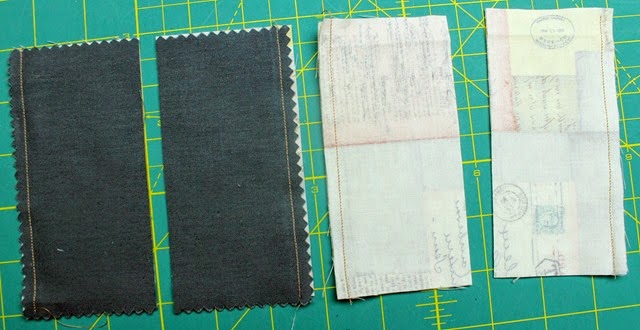
Cut the squares in half. Iron towards Fabric C and Fabric D. You now have four blocks – two of Fabric A/C and two of Fabric A/D.
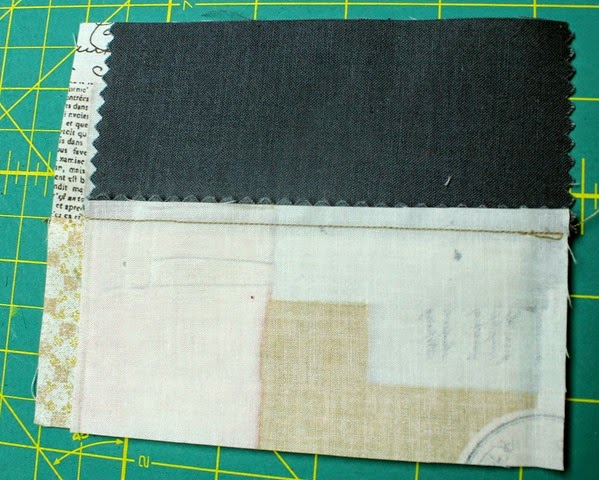
Sandwich one A/C square right sides together with one A/D square. Fabric A should be opposite each other if you pressed correctly and your seams will ‘kiss’.
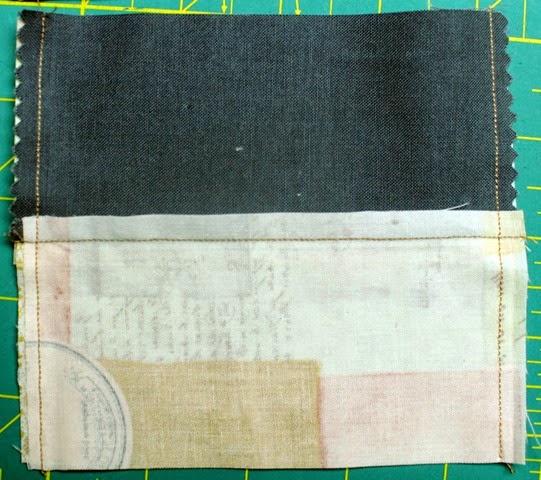
Stitch a quarter inch seam on two opposite sides of the sandwiched squares.
Do this with both pairs of fabric.
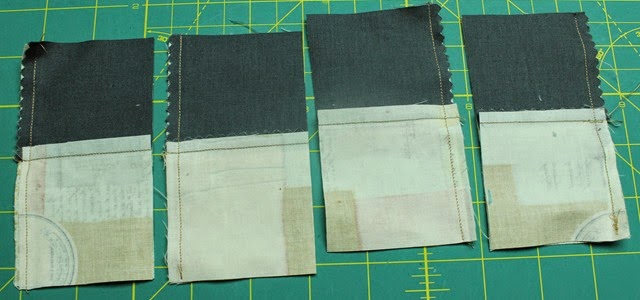
Cut the squares in half. Press to the side with fabric C.
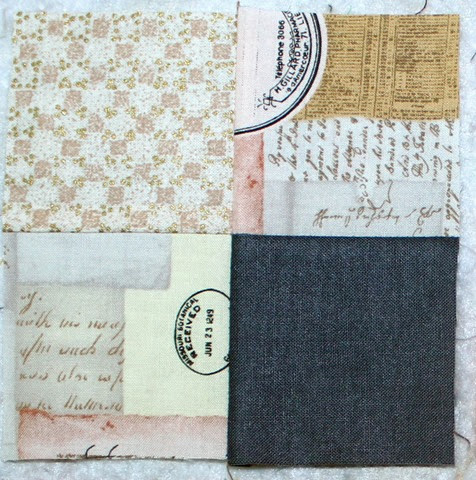
You now have four four-patches like the one shown above. You will use two of these for the 8”x8” block. Set aside two of these blocks.
Next up – let’s make two half square triangles!
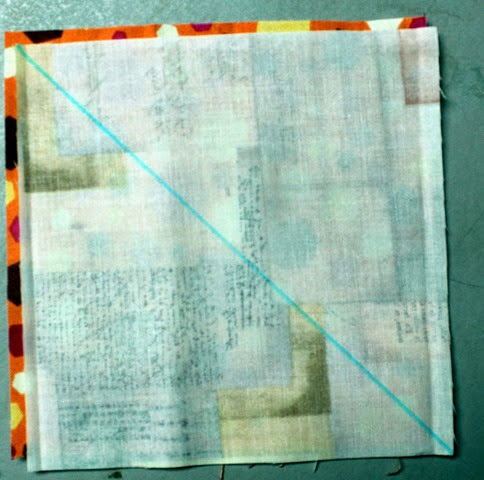
Draw a diagonal from one corner to the other on your remaining 5” Fabric A square. Put your Fabric A square right sides together with your Fabric B square.
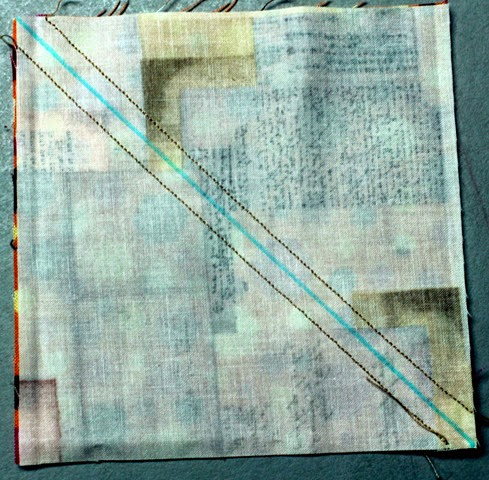
Stitch a quarter inch seam on both sides of the line you just drew.
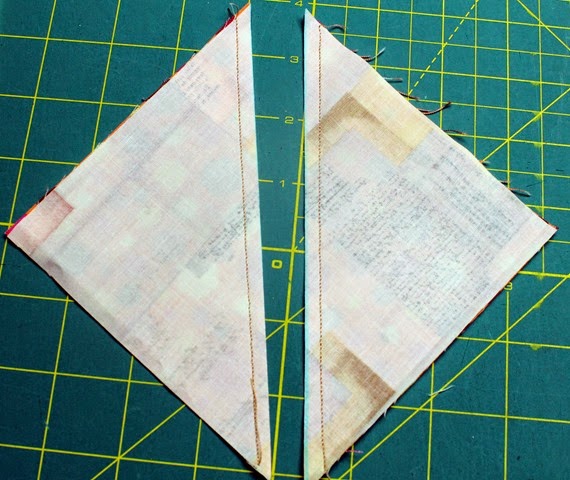
Cut along the line you drew.
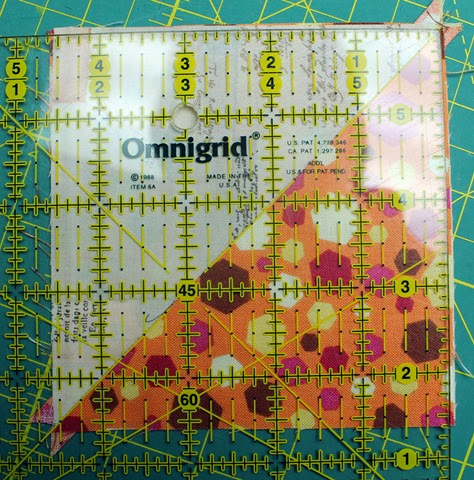
Iron towards Fabric B and square block up to a 4.5-inch square.
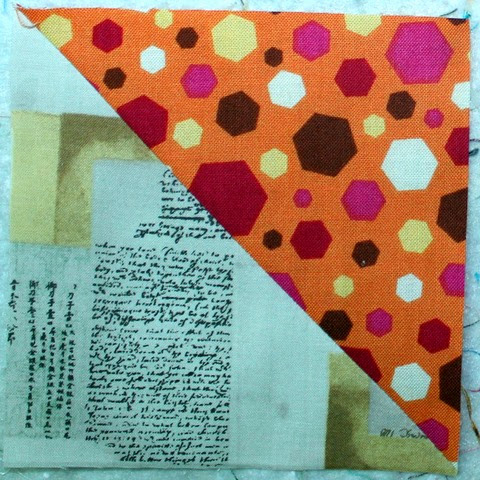
You will have two of these.
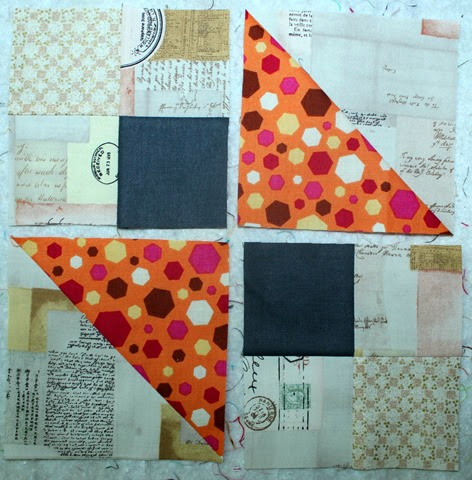
Now – lay two four-patches and two HSTs in the orientation I show in the picture above. Sew them together.

You can either draw or embroider some antennae to your new butterfly.
To make the 16” block – just make three more of these blocks. Don’t forget – you still have two four patches left over from the first block you made!

Here are the four I made. I love a scrappy quilt so I made all my wings different.
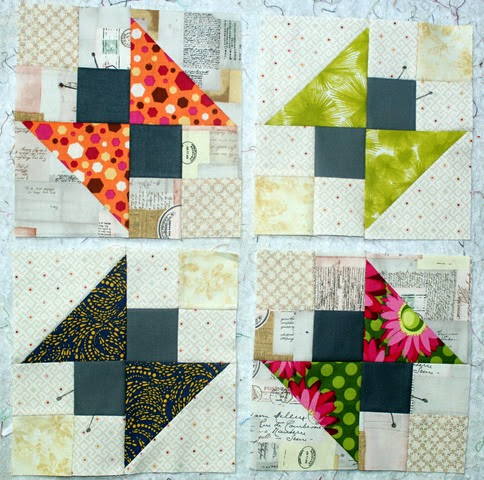
To make the 16” block, lay your Sunny Butterflies out like shown above and stitch together. I didn’t do this because I’m not quite sure what I want to do with my blocks – yet. They may be fun cornerstones in a quilt and I would rather stitch them together later than have to do some seam ripping.
And there you have it – two different options for the Sunny Butterflies Block! Thanks for following along and I hope you enjoyed this block tutorial!
Get your FREE printable PDF of this block by heading to my craftsy store. Don’t wait too long…after a month(5/16), the PDF will be $1.
I can’t wait to see what all your blocks look like! Be sure to share you blocks and any projects you make using your blocks onto our flickr group: 52 Blocks Quilt Along
Instagram/Twitter Hashtag: #52bTT
Previous Blocks
Stop back next Wednesday for another twisted traditional block tutorial!



Leave a Reply