My February goal for ‘ A Lovely Year of Finishes’ was to start and finish quilting my ‘My Favorite Block’ Quilt Top.
I did complete my goal AND I learned A LOT in the progress.
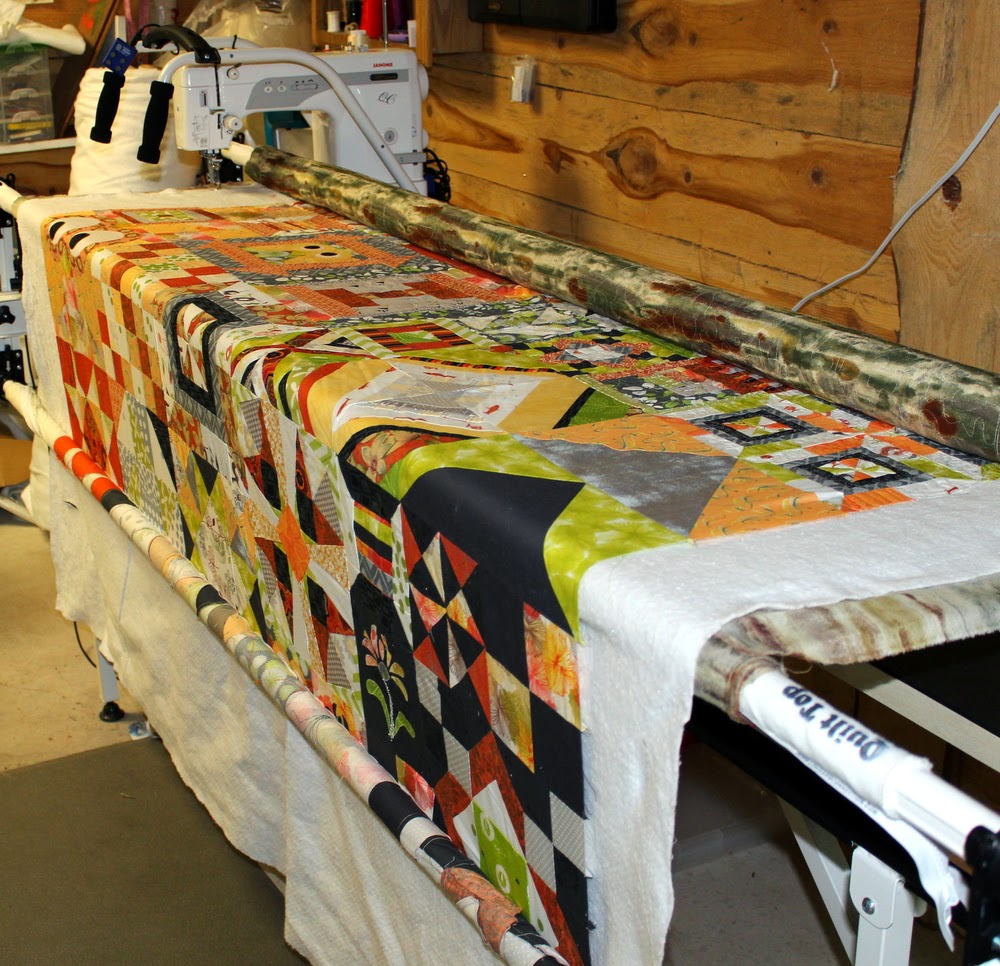
Lesson 1: Quilting on a frame is way more than just moving your machine around and making pretty patterns!
When you try out the quilting machines at shows the fabric, batting, backing, etc is already all set up for you. You just push the button and start quilting! Which is super fun and you feel amazing when on your second try you do manage to make a feather…on a big open piece of fabric that doesn’t really matter. You are hooked!
When you get your machine home all set up and ready for you to load the quilt on – YOU have to do it all! The dealer isn’t there each time you have to load the quilt….you have to. Which takes time. When you’re used to just piecing and then sending quilts off, you don’t realize the extra time involved in actually doing the quilting part of the quilt. I think this has been one of my biggest hurdles in getting comfortable with my machine. As it is, I don’t have a lot of time to even just piece, so it’s hard to fit in my schedule the loading of the quilt and the quilting of the quilt. Once again – it’s all about timing and time management. While I did finish my goal of quilting this quilt I didn’t finish much else for ‘extra’ projects.
I have always respected what long arm quilters do – but I have to say after tackling this project I have a new found respect for what there ENTIRE job entails!
Lesson 2: I am not very good at focusing.
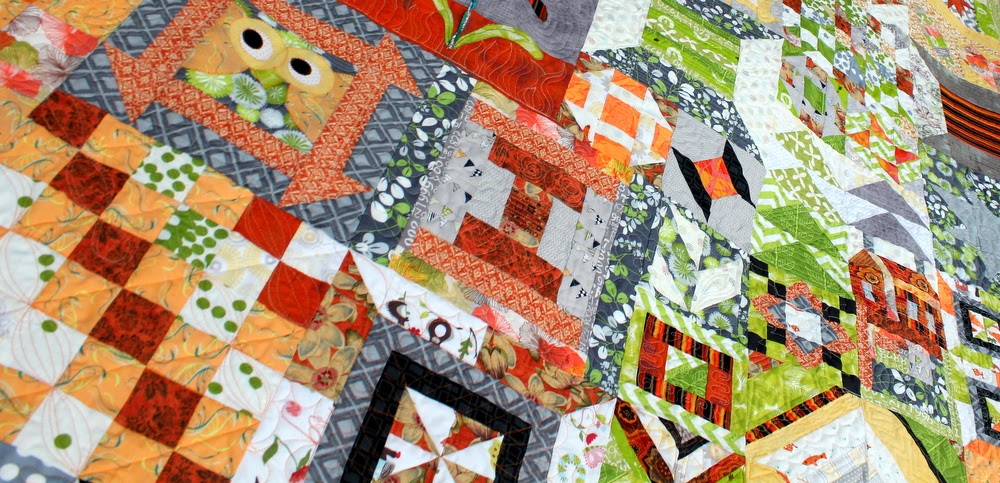
So – my machine is just a super fast straight machine on a frame. Which means I can do about 6-inches in a strip – which isn’t the biggest strip so a lot of quilt rolling goes on. Which also means I have to remember what pattern I started on a particular block. This quilt was a good one to work on with this machine since it’s a sampler with many 6-inch blocks. If I rolled it properly I could fit an entire block into one roll. The problem came about more with my 12-inch blocks. Sometimes I would forget which pattern I did on the top half of the block for the bottom half – oops!
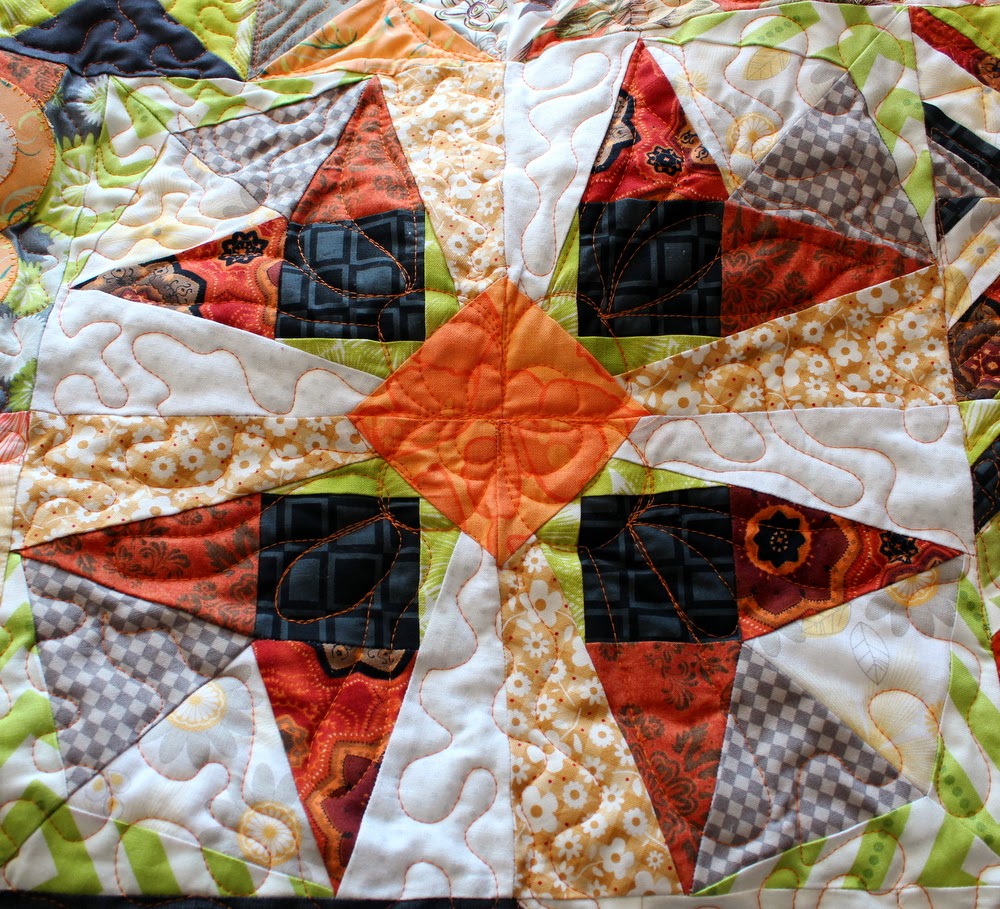
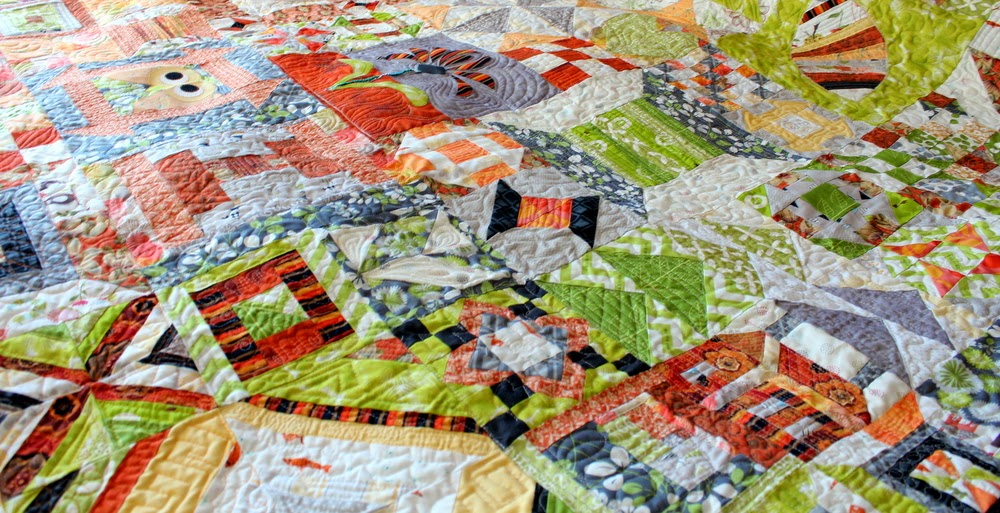
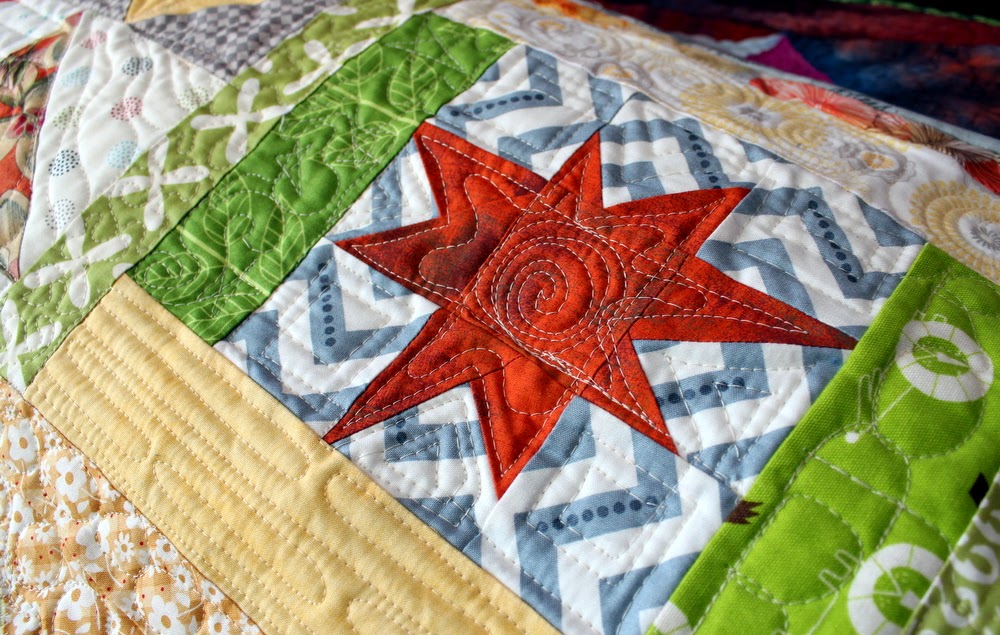
I’m also really glad this was a sampler so I could do lots of different free motion stitching designs on the blocks without it looking too weird. I also started by doing each block differently but soon realized that meandering in the ‘background’ areas of the blocks helped things flow much better.
And sometimes I didn’t have the block rolled out far enough so I didn’t quite make it to the bottom of a block…I figure it still looked good – right?
Lesson 3: I get bored quickly.
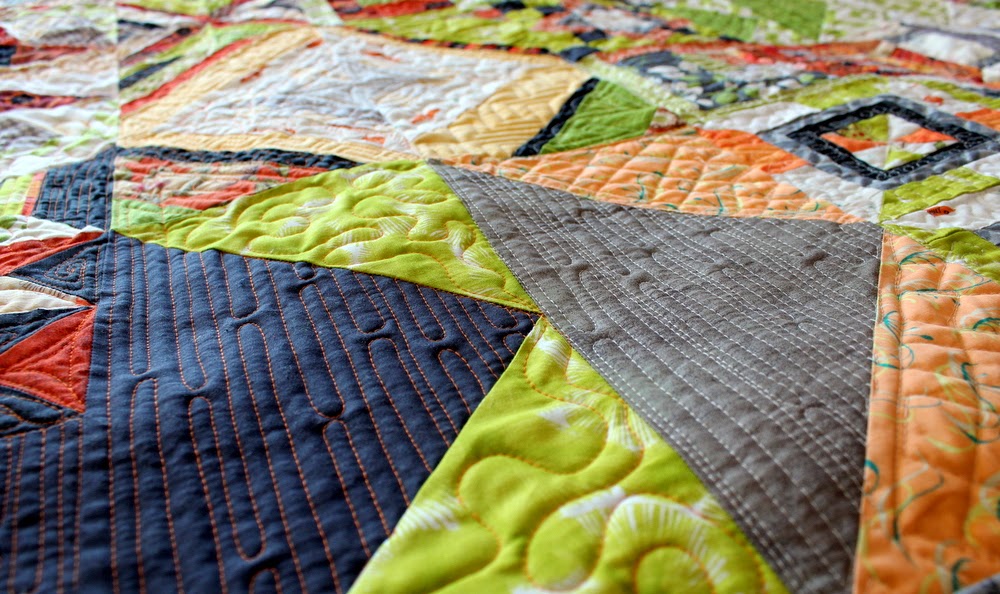
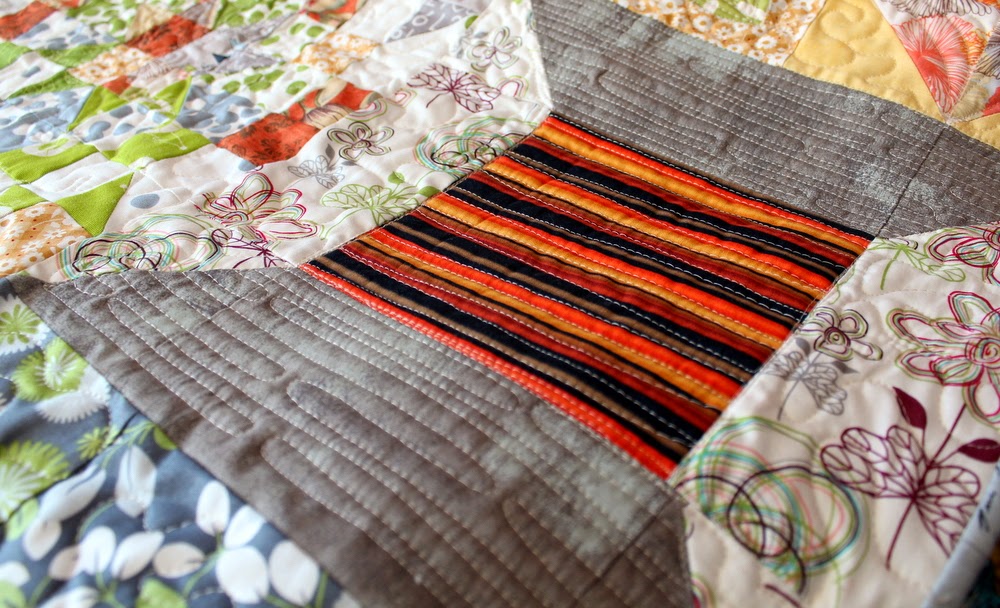
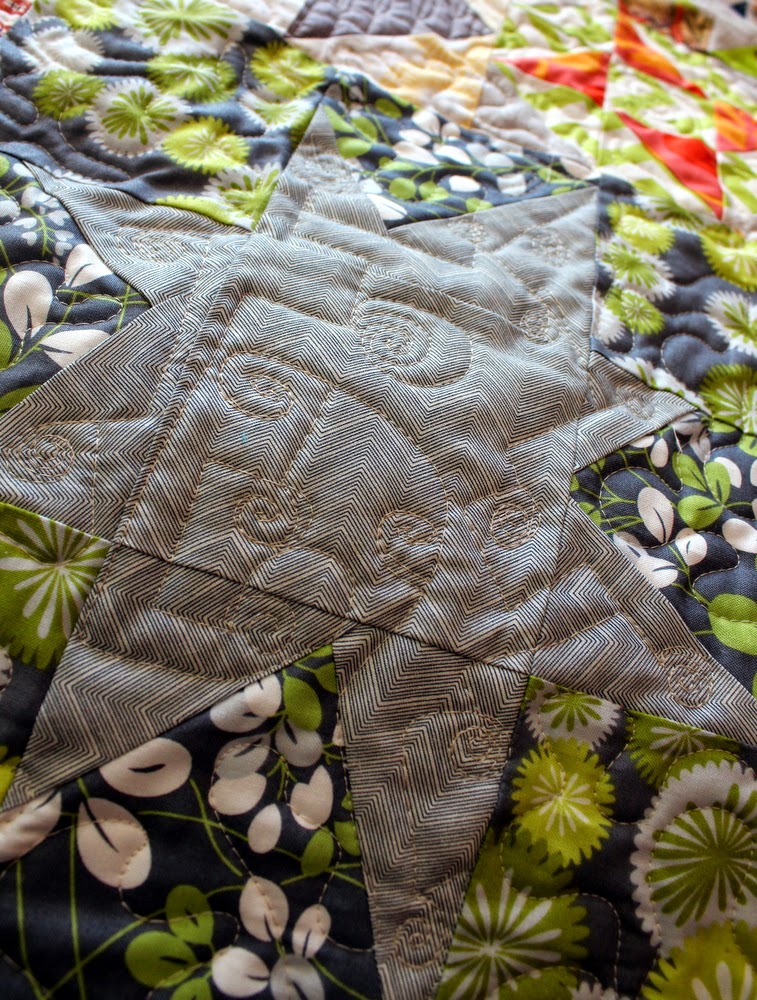
I used a neutral Aurifil thread for most of the quilt. I was getting super bored with the neutral thread so by the bottom of the quilt I switched to an orange Aurifil thread. It may be a bit odd to do most of the quilt in one color and then switch in the end but oh well – it made me happy. I think in the future I’ll have to pick a few threads to use and then switch them as needed throughout the quilt instead of just the bottom quarter. You can see the two different colors on my giant geese. It could be worse – I could have switched up mid-grey goose.
Lesson 4: I’m really good at some free motion quilting patterns.
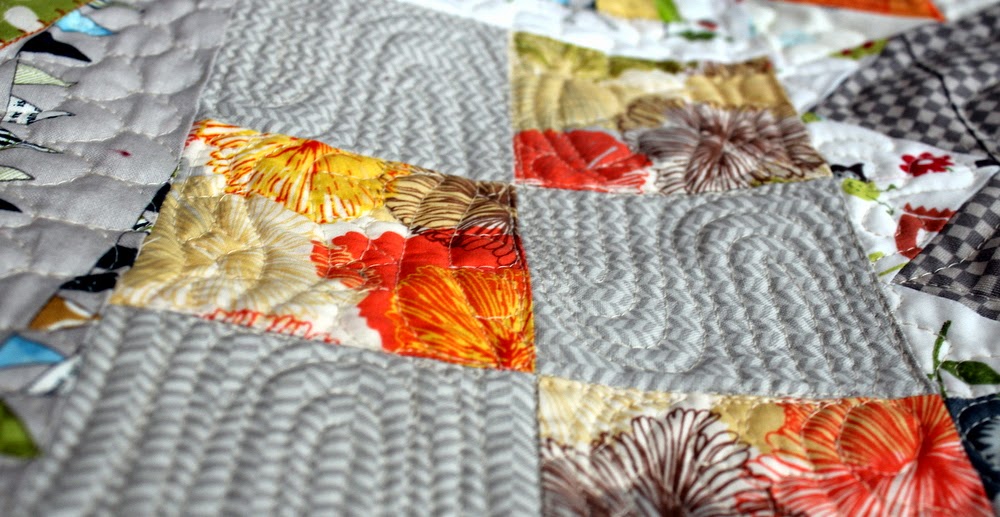
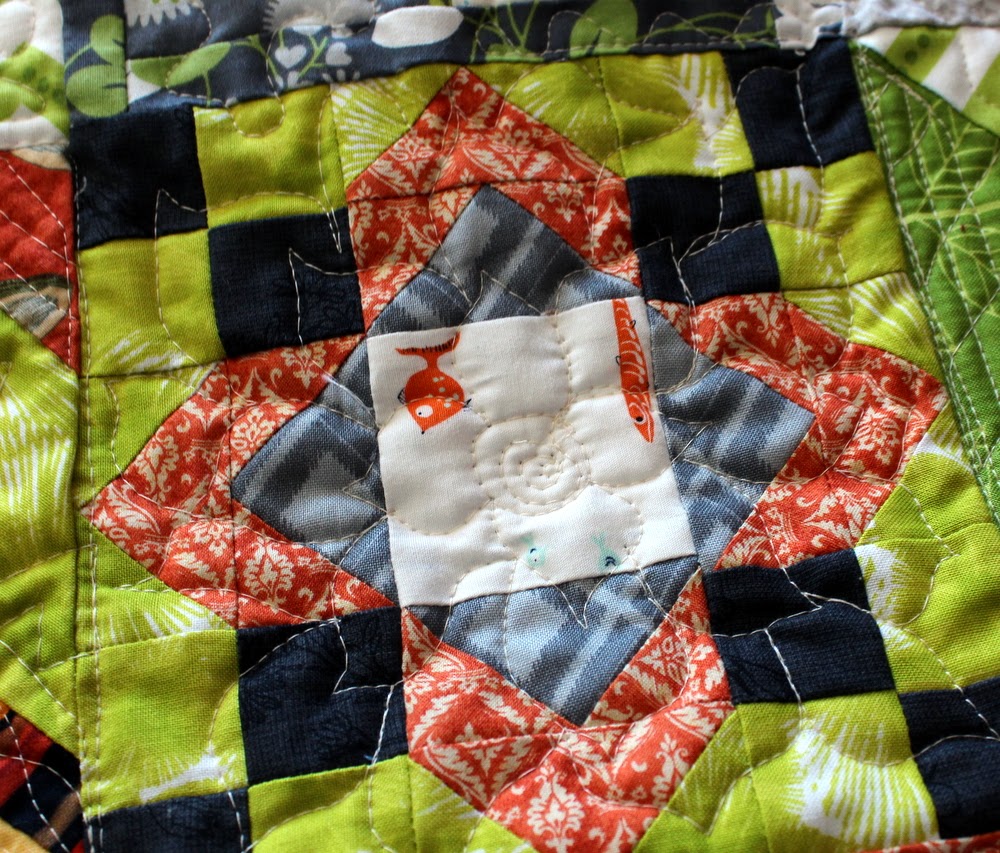
Like ‘Etch N Sketch’ from Leah Day. Pretty sure it’s one of my new favorite. I used it in the top and bottom of my spool blocks. I used Shadow Waves in the ‘thread’ portion of the Spool block. I love these two combined!
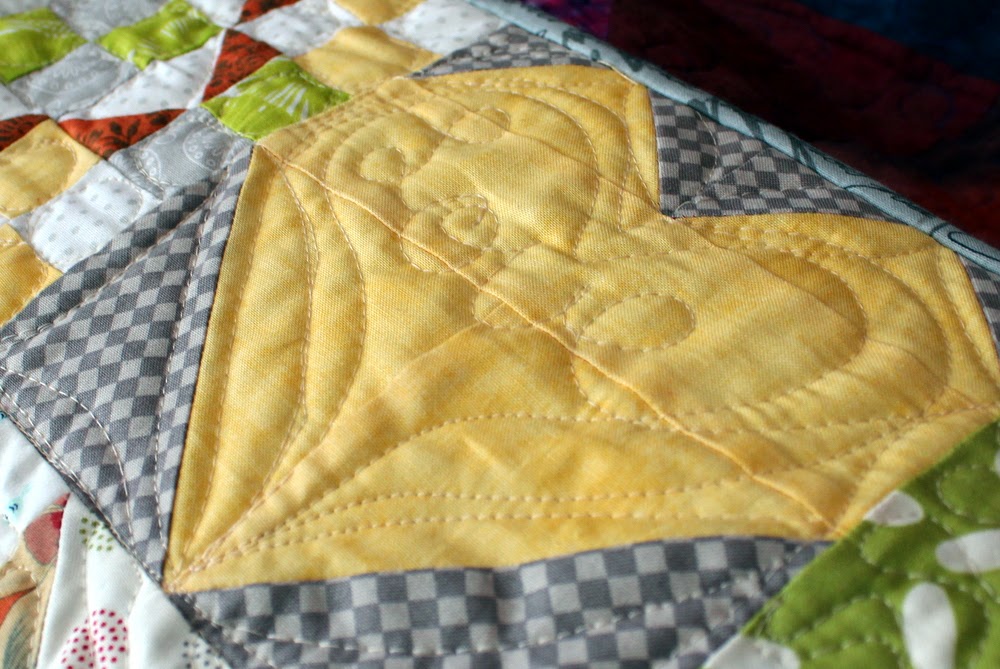
I also like what I did in my ‘heart’ blocks. Writing words like ‘love’ is one thing I enjoy mixing into my quilting.
I’m not sure if you can see it…but in the green lion fabric I wrote out the word ‘ROAR’.
I think I did pretty good on my ‘River Path’ attempt.
I don’t know if I can stress enough how much Leah Day’s video’s have helped me be a better Free Motion Quilter. I HIGHLY recommend checking out her site and her video’s! Even the patterns that look simple…are not always as easy to do as they look but after you watch Leah’s tutorial you’ll be much better and more aware of what you’re doing and what you should be thinking as you work on the design. Oh – I should mention that her quilting is done on a standard machine BUT they translate into a framed quilting machine just fine too!
Lesson 5: I’m really NOT good at some free motion quilting patterns.
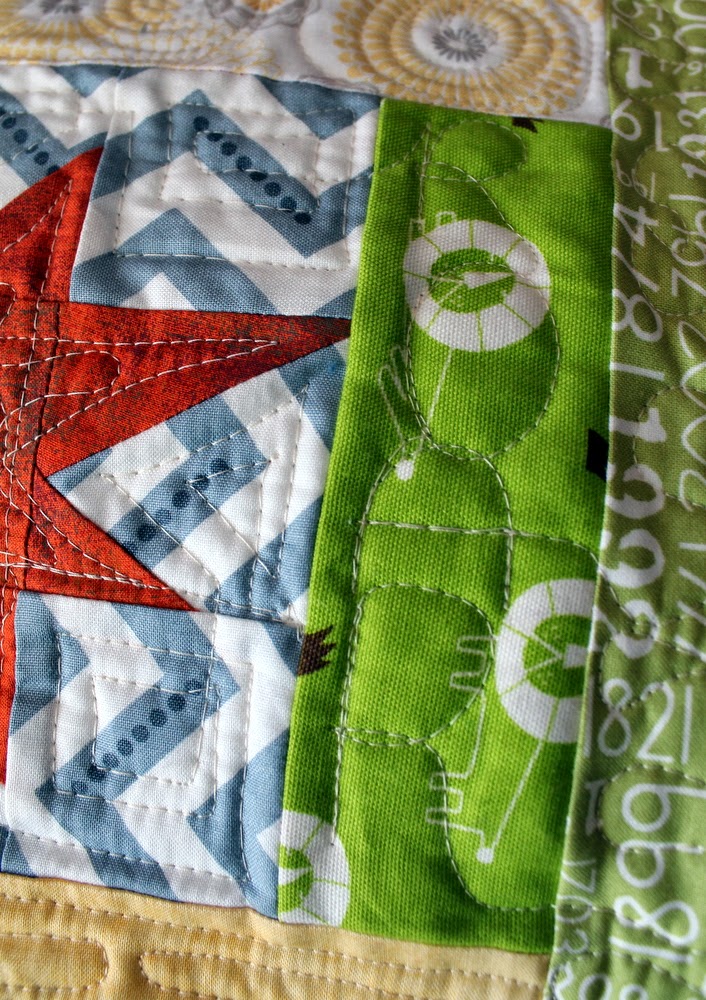
I’m going to go out on limb and say that my attempt at the Lollipop Chain FMQ pattern was a fail. This is not to say that I won’t get better at it but this just did not work like it did in my mind. I also have to admit that I did not watch Leah Day’s tutorial on how to do it – I just looked at the picture. I do find that watching her videos and listening to tips she shares throughout them tend to make my attempts a bit more successful.
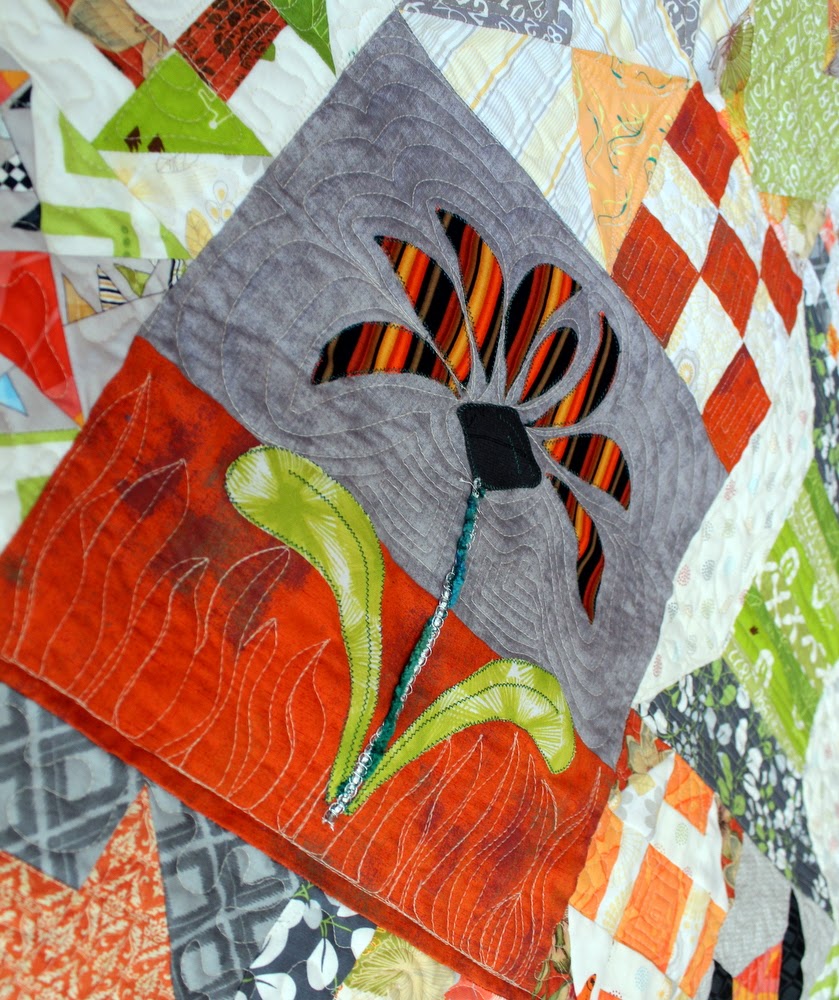
I don’t think this was a complete fail but here I attempted a modified Delilah flower… definitely need more practice!
Lesson 6: I did not ruin an amazing award winning quilt.
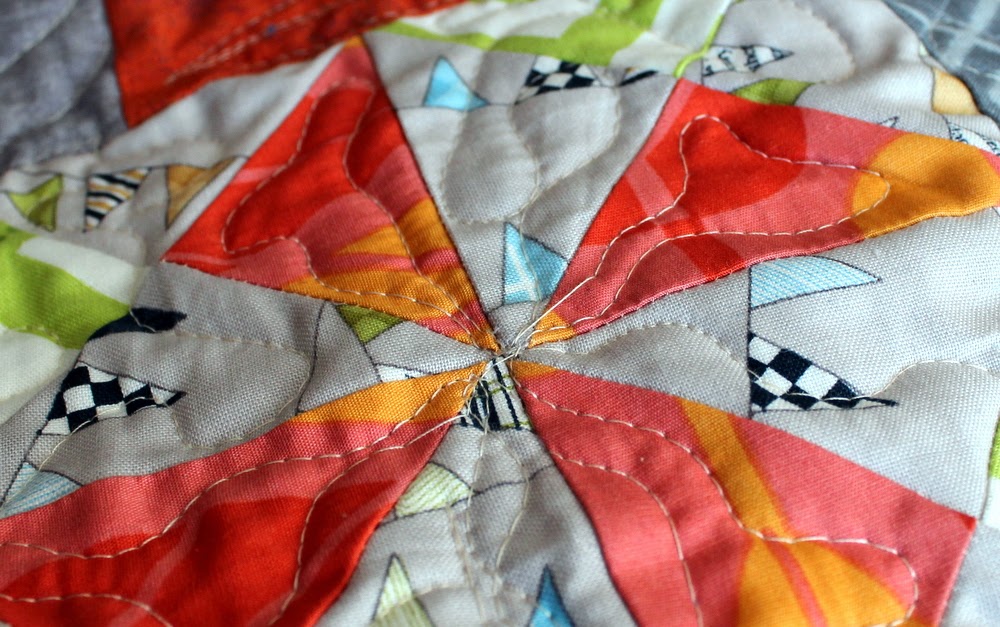
There were moments as I battled with thread issues (see the dropped stitches in my pinwheel?)
and dealt with my quilt not staying perfect and puckering in some spots on the edge that I thought to myself, “Oh my Gosh! I’m ruining a prize winning quilt by doing this myself!”
And then I stepped back and really looked at my quilt. Is it really amazing, cool, and unexpected? Yes? Is it really award winning quality? No way. And it wasn’t before the quilting started. While my piecing skills have improved drastically over the last few years of working on samplers and BOMs, it is still far from perfect. An award winning quilt really needs to have points match where they’re supposed to.
Even though if you look at this piece from a distance it looks great and the piecing looks accurate, if you really get up and close to it – you’ll see, I still have plenty of room for improvement! So while, I did not ruin an award winning quilt by quilting this myself, I DID make a great quilt to use in future Trunk shows. It’s a non-standard sampler quilt that I can show many free motion quilting lessons on. Double plus!
Lesson 7: My Janome 1600 is not a Gammill. (but I still love her)
I do not have a perfect long arm quilting machine. For me to expect her to work like a Gammill or Juki is just unreasonable.
It does have a stitch regulator but it’s just not meant to be a long arm machine and it doesn’t work the best. SO – when I DO have a quilt that I have pieced really well…I’ll probably not be quilting it myself…at least for awhile.
Lesson 8. I still need A LOT of practice!
While my machine is not a Gammill – my mistakes are not completely my machine’s fault. I need to practice! I need to take the time and keep a quilt loaded on the machine so I can keep practicing. I’m not going to get better if I quilt a quilt, pull it off the machine, wait a few months to put another one on.
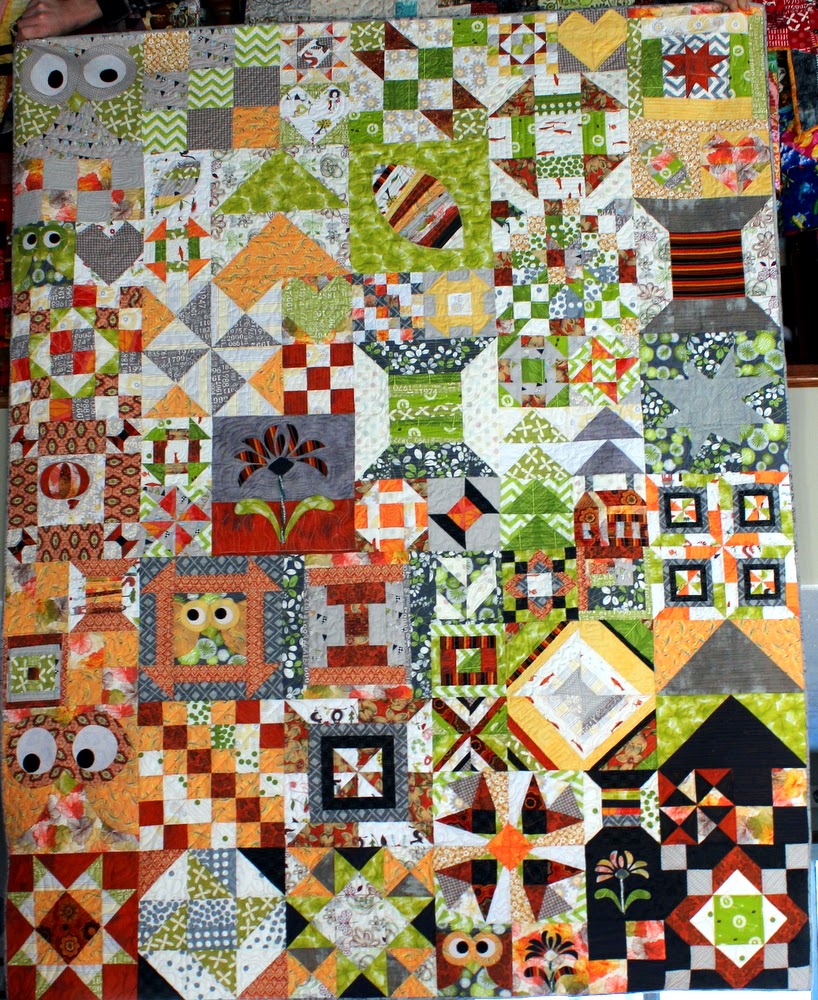
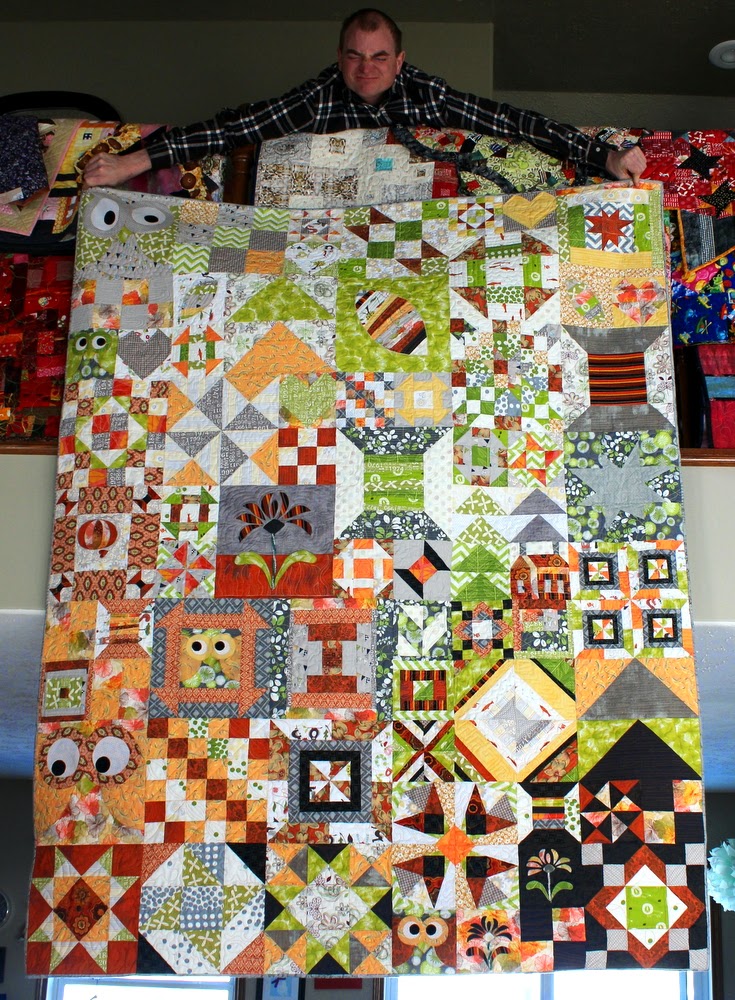
And with all those lessons learned – I still finished my goal (and it’s bound!)
When the weather gets nicer (at least above zero) I’ll get some better pictures on my deer fence.
But for now…Jared holding it over the railing will just have to do! (he always makes faces when he knows I’m taking a picture) I used a grey fabric to bind the quilt…I thought it worked nicely to pull it all together. It does feel good to have a WIP marked off and put onto my ‘FINISHED’ list!




Very nice! So what is it that causes those dropped stitches? Is it going too fast over that area? I have had that happen lately, and it made me slap on the walking foot and give up on free motion for that project.
Beautiful – and it one day will be your history quilt – of what you learned quilting it and how you have changed your style over time! Congrats on a fabulous finish!
Great job! I really like it and I think you learned a ton in the process. Way to step outside your comfort zone.