 This is another great sashing tutorial that I’ll be referring back to in future sashings for the Home Sweet Home Quilt Along. If you just want to make just a single Window Pane it will also work great as a cornerstone. We’ll be using pretty small pieces so it’s a great way to use up some of those awkward scraps you’ve gotten while working on the main blocks.
Cutting Instructions
Fabric 1 (dark): 2 – 1.5” x 1.5”, 2 – 1.5” x 3.5” Fabric 2 (dark): 2 – 1.5” x 1.5”, 2 – 1.5” x 3.5” Fabric 3 (light): 2 – 1.5” x 1.5”, 2 – 1.5” x 3.5” Fabric 4 (light): 2 – 1.5” x 1.5”, 2 – 1.5” x 3.5” Fabric 5 (light): 1 – 1.5” x 1.5” Fabric 6 (light): 1 – 1.5” x 1.5” Fabric 7 (dark): 1 – 1.5” x 1.5” Fabric 8 (dark): 1 – 1.5” x 1.5” I’m going to show you how to make the first block and then you’re going to make four of these total to create the strip.
Instructions
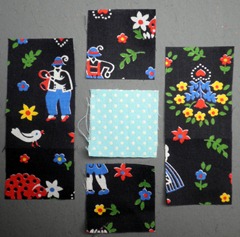
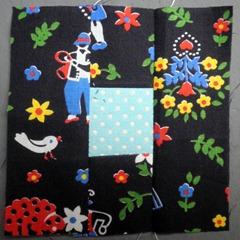
Set up your Fabric 1 fabrics and your Fabric 5 fabric as shown in the picture above.  Sew the smaller dark squares on either side of the smaller light square. Iron away from the center. Sew the two darker fabrics to the side of the square and once again iron away from the center.
 Repeat this process with all sets of fabric to create four window pains.
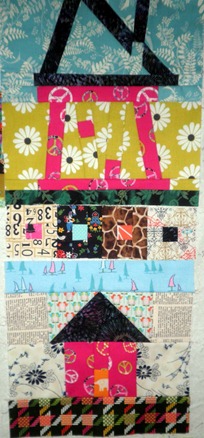
  You can see ‘Window Panes’ in between Block 8 – A Wonky Modern House and Block 12 – Little House

Leave a Reply