A personal situation has arisen with our Block 8 designer so I’m not exactly sure when I’ll be posting it. Sorry for the inconvience but I promise I’ll post as soon as I can!  Since we don’t have our block yet I thought I’d share with you all another pieced sashing tutorial. Cutting Instructions for ‘Tall Trees’
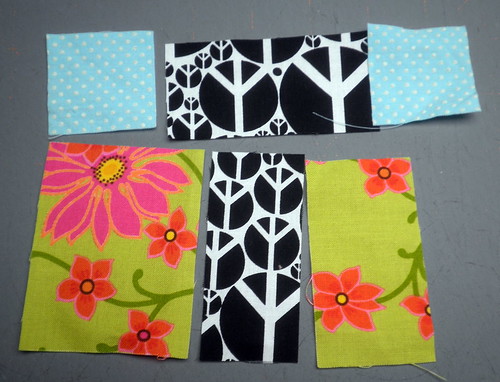 Fabric A (black and white piece sign): 1: 3.5” x 1.75”, 1 – 1.5” x 3” (this length doesn’t really matter – they can be different as we’ll trim to the right length in the end) Fabric B (blue): 2 – 1.75” x 1.75” Fabric C (green): 1 – 2.5” x 3”, 1 – 1.5” x 2.5” (again, these can vary just so that they are all 2.5” long and that once they’re sewn together they’ll end up measuring at least 3”) Time to Start Piecing
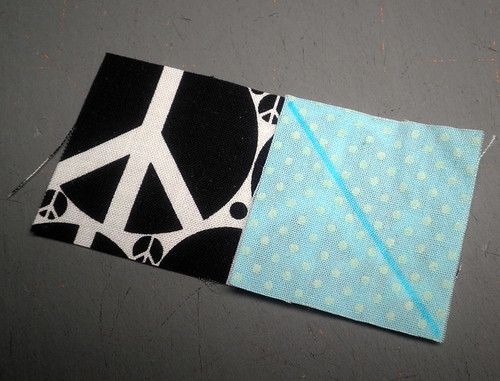 Take you 1.75” square of Fabric B and draw diagonal lines with a water soluble pen.
 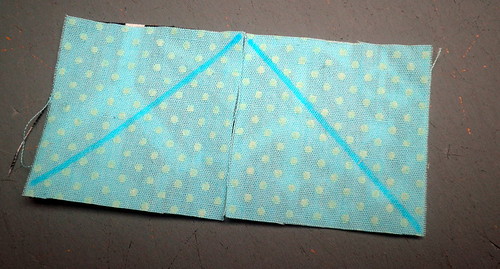 As shown in picture. Sew along this lines and iron toward the Fabric B. Sew the Fabric C strips to either side of the 1.5” strip of Fabric A.
 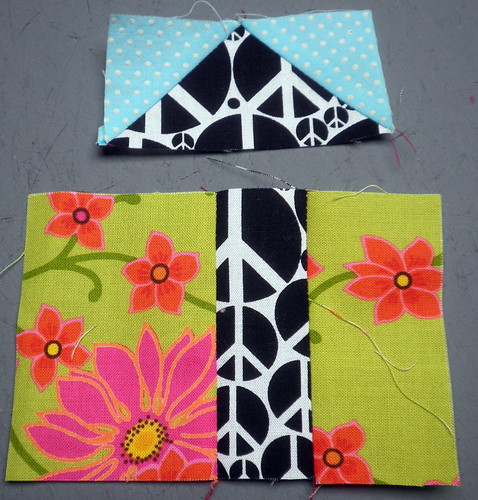 Here’s what it should look like at this point. Trim the piece with the long strips of Fabric A and C’s to 3.5” wide. Sew to the top flying geese piece.
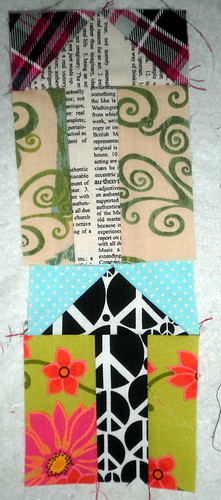 Do this same process again with other fabrics. I’ tried to use fabrics from the blocks I already have made or fabrics I plan on using.
  Make at least 3 ‘Tall Tree’ Blocks. It’s okay if they’re all different heights. Once they’re sew together trim down to 12.5”.
 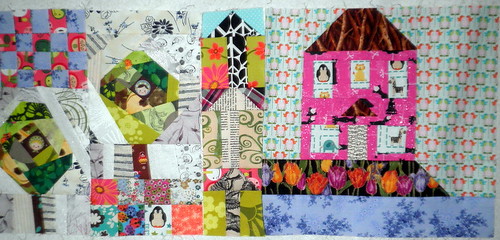 Here is the ‘Tall Tree’ Sashing between Block 2 and Block 3. Remember – you can make all your sashing like this, just one of your sashings like this OR you don’t have to do any sashing at all! This is just another option to help make your quilt even more fun!

KimLapacek.com | Home of Persimon Dreams and Project QUILTING
Quilt designer, teacher, artist, dreamer
Love this sashing Kim.